Homemade bread (and butter!)

Monday, January 28, 2013


This past week has been a long one in our house. Anne came down with a nasty cold last Sunday, passed it on to me, and then I passed it to James. And then just when we thought the little one was almost all better, she came up to us and informed us that "ear HURT, mama." We took her to the pediatrician, the whole sneezing lot of us (we were very popular in the waiting room, as you can imagine), and found out that on top of a cough, A. also has a double ear infection.

We're on the mend now, but long story short: we spent a lot of time inside the house last week. Which means I don't have any fun adventure posts in the can to post this week.

But we did try to keep busy, all the same. One of the things I like to do when I'm not feeling bad enough to lay on the couch all day but am feeling bad enough to crave comfort food is to break Paleo edge and bake a loaf of bread. Anne likes it, too. Bread is a little bit like magic, even if you're an adult. To a kid, it's super-mega-amazing. This little ball of goop? Watch it get bigger and bigger and turn into something completely different.

I especially like this recipe because it requires minimal effort, as far as bread-making goes -- it doesn't need an overnight rise or a second kneading. An hour from proofing the yeast, I was pulling a fully-baked loaf from the oven. And it's delicious, the perfect satisfying texture -- chewy crust with a soft, fluffy interior. It doesn't get much better than that.

Unless...you add butter!

Which leads us to the second part of our kitchen magic show: homemade butter. I remember making this with a group of preschoolers back when I was a camp counselor in the summers during college. It's really the easiest thing in the world: fill a jar halfway with heavy cream. Screw the lid back on, and shake shake shake. Within 10 minutes of continuous shaking, the fat will start to separate from the whey. Shake it another five minutes, and you'll have real-life actual butter.


Some tips: First, a lot of online butter tutorials call for you to put marbles in the jar along with your cream. This is not necessary and is not recommended, at least in my opinion. It's a good idea to chill the jar in the fridge or freezer for a little while before starting, and I learned the hard way back in the day that sometimes marbles + cold + vigorous shaking = broken glass. We didn't use anything in our jar, and it turned out fine. Don't be taken in by the pro-marble movement!

Second, the butter from this method tends to be a little wet, so we squeezed it in a cheesecloth once to get the liquid out.

Third, you should add some salt to your butter after you scoop it out. About 1/4 teaspoon should do it. You can also add other stuff to your butter, if you want -- we added a touch of honey, but you could also do thyme or oregano (or cinnamon or pretty much anything). And don't forget about the buttermilk in the jar after you take the butter out!

This butter also tends to be excellently delicious.


Stay healthy, everybody! Wash your hands, for real. 

Road trip to Cape Charles

Thursday, January 24, 2013


After visiting Kiptopeke State Park on Saturday, James and Anne and I set off on a little road trip. The toll to get over the Chesapeake Bay Bridge to the Eastern Shore is pretty steep ($17 round-trip), and it seemed like a waste to drive right back without exploring a little more. We ended up spending a few hours poking around Cape Charles, and by the end of the day, decided we'd definitely gotten our money's worth.

(As an aside, I think I've decided that winter is one of my favorite times to visit beach towns. It's not crowded with tourists, which means the locals aren't sick of us yet, and that means we can spend more time talking to them and getting to know the ins and outs of the place. Also, you can have a good scope and find out the best spots -- that way if you do come back in summer, you'll already know just where to go to have a good time. And finally, the beach has a special kind of beauty in the winter -- the landscape is so austere, and without the distraction of sand toys and swimming and boogie boards and sunburn, you can appreciate its beauty a little more. Bonus: THERE ARE NO MOSQUITOES. The Eastern Shore has a little bit of a mosquito problem in summer... my mom likes to tell a story about visiting Wallop's Island for work and looking down to see her nude pantyhose BLACK with the little suckers. Shudder.)

We started off our Cape Charles adventure with lunch at Sting-Ray's restaurant in Capeville. Sting-Ray's is a quintessential stop if you're in the area, one of those places that should be featured on Diners, Drive-Ins, and Dives (if it hasn't been already). From the outside, the restaurant doesn't look like much -- it's actually located inside of an Exxon station. But the food is amazing. Tons of fresh, local seafood, including oysters, crab, and fried drum, navy bean soup and clam chowder, and homemade pies for dessert.


After we ate, we took a turn down a long country road and found ourselves at the old site of Arlington plantation, home to the Custis family (Daniel Custis was the first husband of George Washington's wife, Martha). In it's day, Arlington was the most architecturally sophisticated house in the country and was an important location in Bacon's Rebellion, an important clash between the American colonists and their English governors. Unfortunately, Arlington is no longer standing, but the old foundation has been preserved, along with the family tomb (the O.G. Arlington cemetery) situated picturesquely by the bay.


From there, we headed down to the Cape Charles Historic District, and spent a while walking and viewing some of the town's old Victorian mansions. Did you know that Cape Charles has the highest concentration of Victorian buildings anywhere on the East Coast? The town was planned and built between the 1880s and 1920s, which means every single house we saw was loaded withgingerbread scrollwork, turret towers, and roof gables. We stopped for a while at Central Park and at the Cape Charles beach, which happens to be the only public bayside beach on the Eastern Shore. It was gorgeous, with a seawall and a sweet beach pavilion -- and even a few intrepid swimmers braving the cold, cold waves. We didn't -- we're not that adventurous. But we did promise we'd come back and test the waters when the weather is warmer.


We finished with a trip to Rayfield's Pharmacy, which features an old-fashioned soda fountain and jukebox, where we got chocolate malteds and watched Baby A. boogie down.


All in all, it was a rambly day, full of local flavor, new and interesting sights and sounds. The stuff the very best road trips are made of.


Have you ever been to Cape Charles? What are your favorite Eastern Shore destinations?

Kiptopeke State Park

Tuesday, January 22, 2013


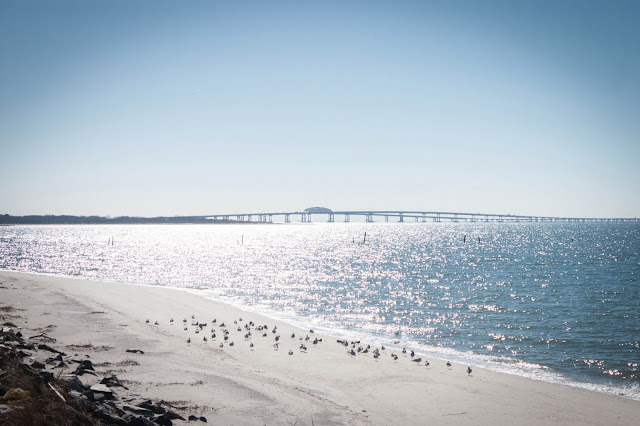
This past weekend, to celebrate the return to sunshine after a very waterlogged week, James, Anne, and I made a road trip across the Chesapeake Bay Bridge-Tunnel to visit Kiptopeke State Park on the Eastern Shore of Virginia.

Kiptopeke is famous for its beaches -- which front on the Chesapeake Bay -- and its birds -- the area serves as one of the nation's most important migratory bird study sites. In fact, the park has a little bit of a bird theme: each of the trails that wind through the woods is named for one of the birds that can be found making their home at the park: Warbler, mockingbird, osprey, peregrine falcon, raptor, and bald eagle.

The trails are a nice mix of terrains, from sand to gravel to boardwalk, and most are an easy walk for kids of all ages (ranging from .2-1.5 miles). Additionally, many of the boardwalk trails (including the one leading to the beach) are handicap accessible.

This was Baby A.'s first hiking experience in which she would be expected to ACTUALLY WALK as opposed to being carried on our backs, so we wanted to make sure that we kept things pretty easy for her little legs to handle. We decided to make a loop: take the Wood Warbler trail to the beach, and the Peregrine falcon boardwalk back to our car: all in all, about five blocks' worth of walking. I am forever grateful to the kind and gentle soul who thought to reinforce the raised boardwalk trail so that no toddlers could slip through the cracks. But I do kind of want to give the guy who decided on all the stairs a piece of my mind. Because you know A. had to climb each and every one of them herself and wouldn't accept any help, no sirree.

No, dada! I do it!


By far, the best part of Kiptopeke was the beach. It was so pristine and remote, acres of pale sand stretching up to the pine forest. The water that lapped up into the little coves was so clear and clean that we could see the sandy bottom, and the sand was littered with beautiful razorback clam shells and shark's purses. Anne collected so many of them that by the time we got back to the boardwalk, our pockets were full.


Besides the beach and the overlooks, Kiptopeke offers a fishing pier, boat ramp, and bike trails, as well as camping and lodge facilities for overnighters (including several yurts -- awesome!) And because we were there late in the day, we got to see one of the best sights the park has to offer: the sun sinking right down into the Chesapeake. Definitely a beautiful thing to behold after all those days of rain.

Click here for more information on visiting the park, including a trail map.


Have you ever been to Kiptopeke? What was your favorite part?

How to make a terrarium

Thursday, January 17, 2013


I blogged just before the holidays about how James and Anne and I were making a lot of our Christmas presents this year, and got a few inquiries about what we made and how it went. As to the latter question...it was a great experience but a lot of stress, and I think next year I might be a little less ambitious so that I can enjoy the holiday season more (you told me, Dee!)

As to what we made...my dad got a bunch of different pickles, my sister and cousin got handmade necklaces, my mom got a disk with all 4,000 pictures I have taken of Anne since she was born painstakingly cropped and edited (this was by far the biggest time-sink).

But the project that was the most fun to make was the terrariums we made for my aunts. They got a great response, and I liked them so much that last weekend, I decided to make a couple for myself. At not yet two, this wasn't a project Baby A. could really participate in, but I think older kids might really enjoy it. So I thought I'd share.


You will need:

  • glassware
  • gravel or small rocks
  • activated charcoal 
  • potting soil
  • plants
  • spaghnum moss 

A few notes: first, we found that the best place to get inexpensive terrarium glass is the thrift store. We visited a few and found all shapes and sizes, big, small, round, square, lids and no lids. (Though you should consider the type of plants you want to grow when choosing your terrarium -- succulents and cacti won't do well in a terrarium with a lid because of the extra moisture.) 

Second, it's important to note that activated charcoal isn't the same as the charcoal briquettes you use for grilling -- the kind you need for a terrarium is the same kind found in aquarium filters. We pulled apart an old Brita filter and used the stuff in there but garden centers may also sell it. Speaking of garden centers, McDonald Garden Center in Virginia Beach has a wonderfully extensive terrarium section, and Alan, who manages it, is all too happy to discuss the types of plants that work best together, arrangement ideas, plant care, etc. We had a blast talking to him and got a lot of inspiration from his beautiful creations. 

Third, we found that choosing plants of differing heights/colors/textures makes for the best-looking arrangement, but this is obviously a subjective thing and will vary from person to person. 


Step 1: Wash and dry your glassware. This will help prevent bacteria/mold growth. 

Step 2: Add a layer of rocks. (It's probably best to give them a quick wash, too). The rocks will help with drainage -- because there's no drain holes in your terrarium, the rocks will keep the water off of the roots of your plants and keep them from rotting. We used little bags of stones we found in the garden department at Ikea for $1. 

Step 3: Add a thin layer of charcoal on top of the rocks. This is not strictly a necessary step, but it will keep the terrarium fresh and help with odors from any standing water. 

Step 4: Wet the potting soil (it should be damp, able to somewhat hold its shape if you squeeze it in a ball but not dripping) and add it on top of the charcoal. Altogether, the rocks + charcoal + soil should take up at least 1/3 of your terrarium. 
Step 5: Remove your plants gently from their containers. Dig shallow holes with your hands or a spoon, and place the plants in. (If you've chosen a container with a narrow opening, you can use chopsticks or tongs to maneuver the plants into place). At this point, you might want to move them around a bit to find the best arrangement. When you've gotten them just how you like them, gently pat another layer of soil over top of the root ball to hold the plants in place. 

Step 6: Add spaghnum moss and any decorative objects you might find to your terrarium. 

Anouk volunteered this Lego polar bear...I think he looks pleased with his new habitat. 

I had a hard time taking photos for this project...it's difficult to remind yourself to stop and take a picture when you're in the moment and your hands are covered in dirt and charcoal. For more detailed step-by-step and for information on caring for your terrarium, click here
Or you can attend the terrarium workshop at McDonald Garden Center this Saturday, January 19th, at 2 PM. More details here
The Children's Theatre of Hampton Roads: Bucket of Monkeys Improv Troupe

Wednesday, January 16, 2013

Almost as soon as Anne was born, I started dreaming about all of the fun things we would do together in coming years. One thing in particular that I thought about over and over again was getting dressed up and going to the theater together. I looked forward to sitting in a darkened theater with A. and watching her little face grow rapt as the actors on stage grabbed her imagination and carried it away.

This past Sunday was a very special day for us. We got dressed (not up, but I did manage to find matching socks for us both, which is a pretty big deal) and drove to the Virginia Beach central library, where we saw The Children's Theatre of Hampton Roads' improv troupe, Bucket of Monkeys, put on The Three Musketeers. Our very first show -- first of many, I hope.


I was impressed with pretty much everything about CTHR: from their mission, to provide children's theater that is educational, interactive, and affordable, to the way the actors managed to translate a complicated story in a way that would be fun for a wide age range of audience members (including the parents), to the props (foam swords!) that they handed out as we left the auditorium after the lights came up.

I was also impressed by how well the five actors in the troupe worked together, and how much heart they put into their performances. Each one of the performers was highly skilled (and obviously having a blast), but special mention needs to be made of Jessica Pinsky's villain, the Comte de Rochefort, who was so over-the-top, appealingly evil that we couldn't help but root for him despite ourselves. (I also have to give props to Alex Gaver, the hardest working woman in show business, who provided us with a whole cast of supporting characters, including an entire ARMY). Best of all, the cast did a meet and greet after the show, so we got to shake their hands, collect some autographs, and tell them in person how much fun we had.

At 21 months, Baby A. was probably the youngest audience member there, and there were moments in the hour-long performance when she got a little squirmy. But she also danced, clapped, laughed, and by the end, was putting her arms up in the musketeer cheer with the rest of us. And to see her doing that was everything I hoped it would be.

There are two more chances this month to catch Bucket of Monkeys doing The Three Musketeers: they'll be at the Suffolk Center for the Cultural Arts this Saturday at 11 AM, and back at the VB central library on January 27th, at 2 PM. Tickets are only $5! (Click here for more information about these performances and to read about upcoming productions.) 

Great Bridge Lock Park

Monday, January 14, 2013


When we're out running errands on the weekends, we like to try to look up a nearby park to visit in between stops. Anouk gets to run off some steam -- we all get to stretch our legs -- and sometimes we find a place to add to our list of favorites. Everybody wins!

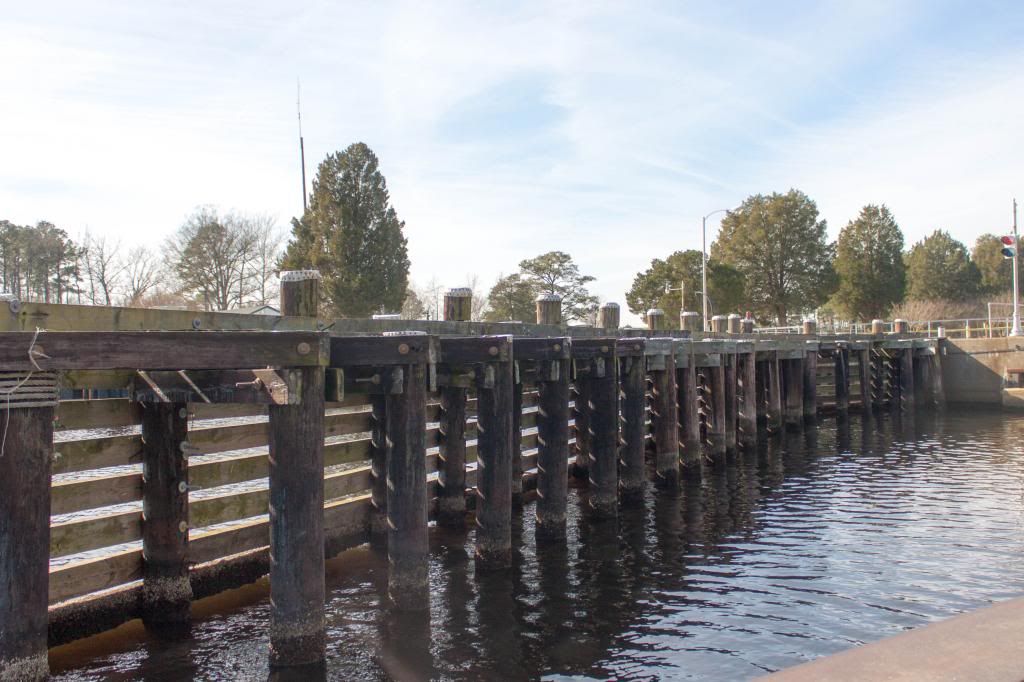
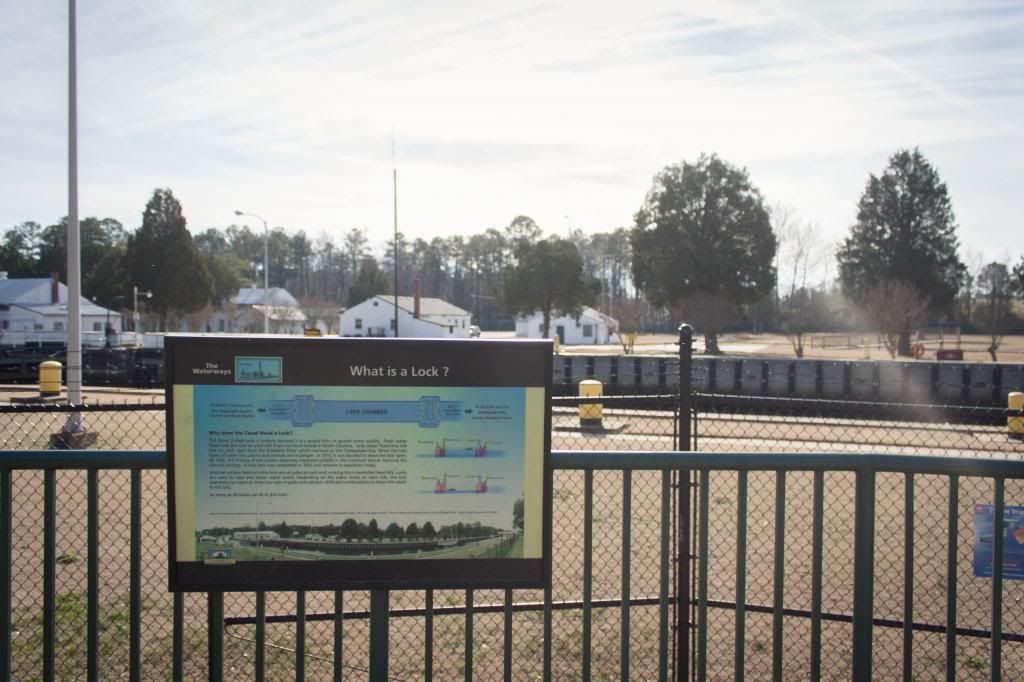
The weekend before last, we were out at breakfast at Greenbrier, and on the way home, stopped by Great Bridge Lock Park to explore. The park is named for the Army Corps of Engineers lock that was built to separate the salt water of the Elizabeth River from the fresh water of the Great Dismal Swamp. It's situated on a little peninsula -- on one side, you can watch big boats going through the lock on their way down (or up) the Intracoastal Waterway. On the other, you can see small boats and canoes dotting the tidal marsh. It's a great place for boat enthusiasts, that's for sure.


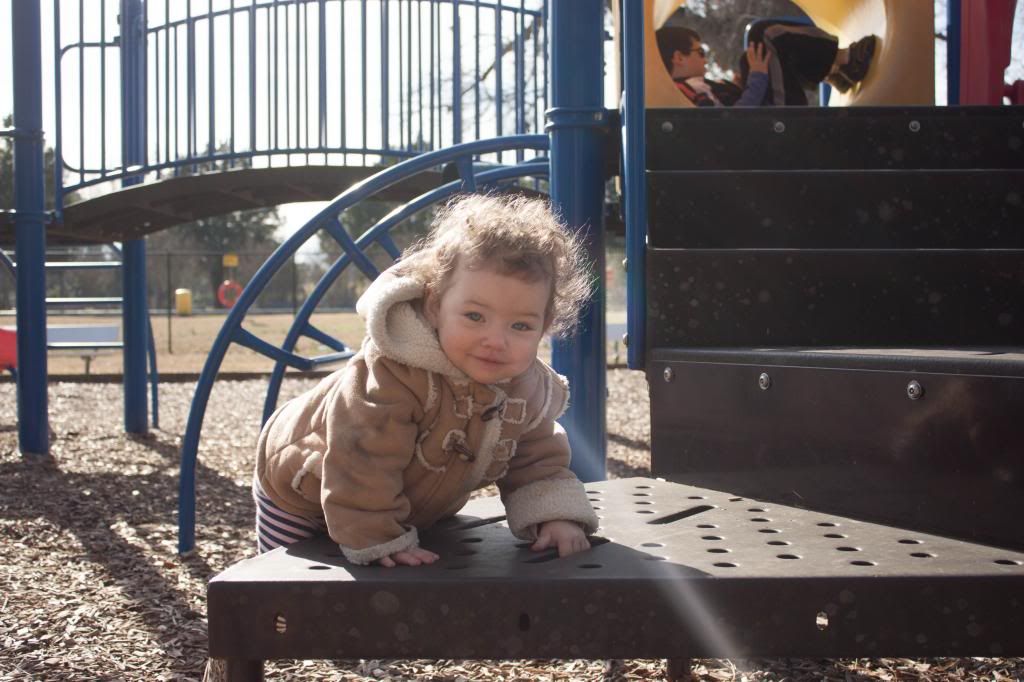
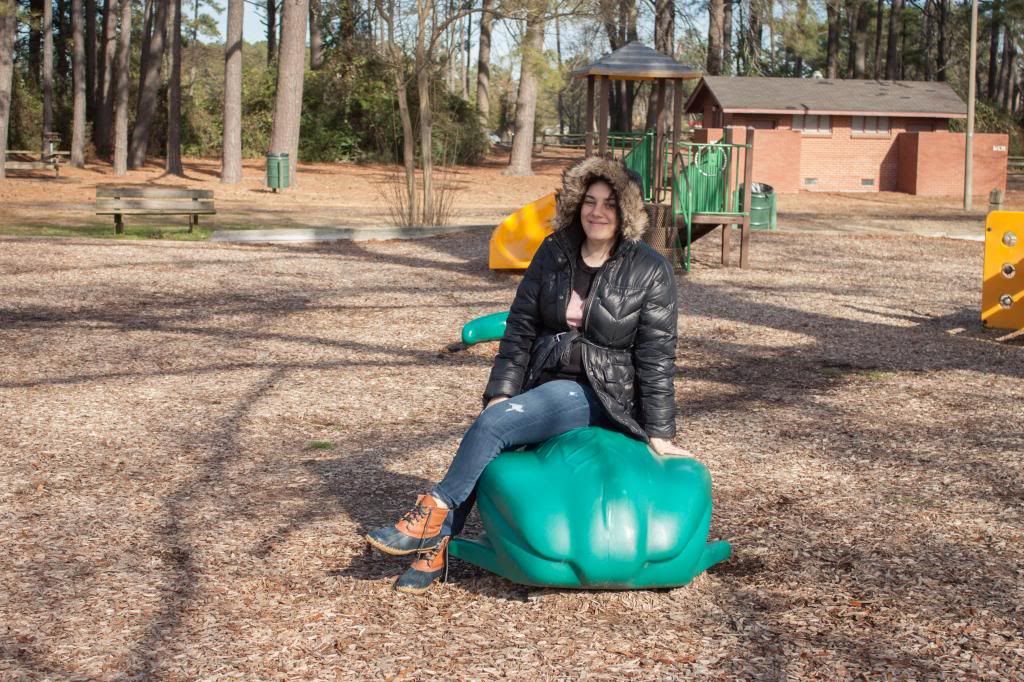
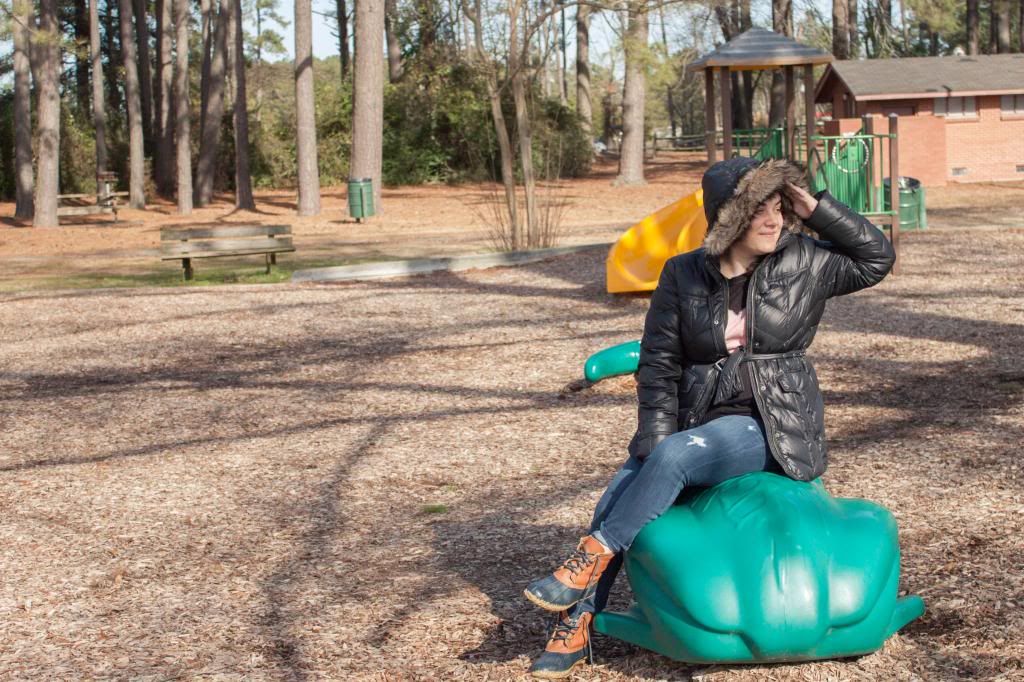
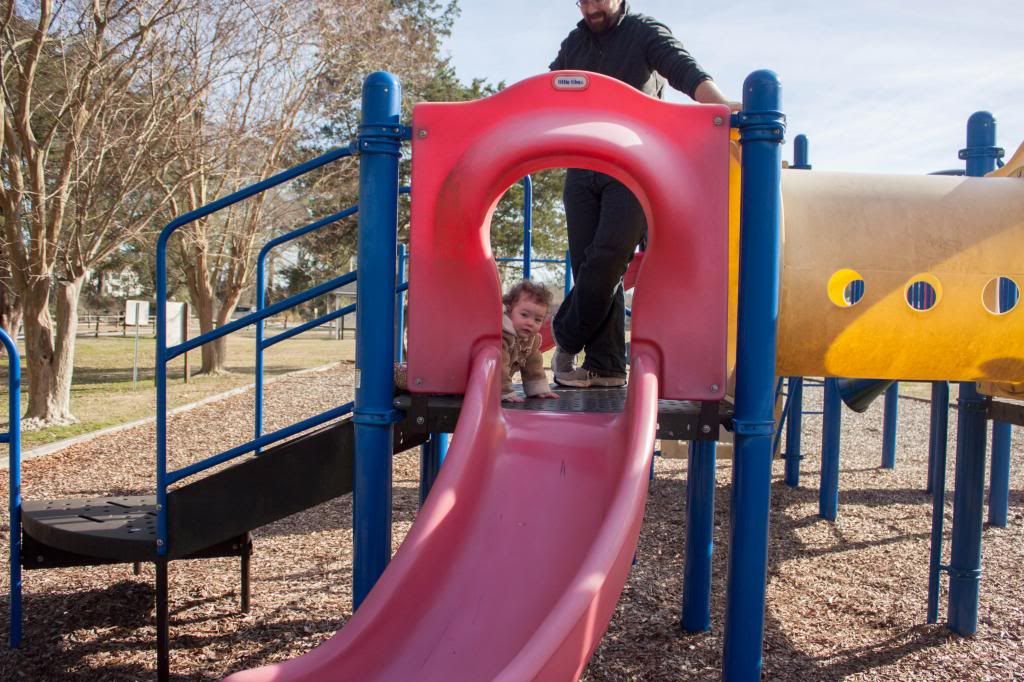
We spent a little while at the playground, which we rated a solid 8. No water feature (we're still looking for the perfect summertime spot to replace our favorite splash park up in DC), but there were a couple of climbing gyms, plenty of swings, and some cute riding animals. Here is me enjoying one of them. I am calling it 'Woman with Frog Butt.'

Work it.

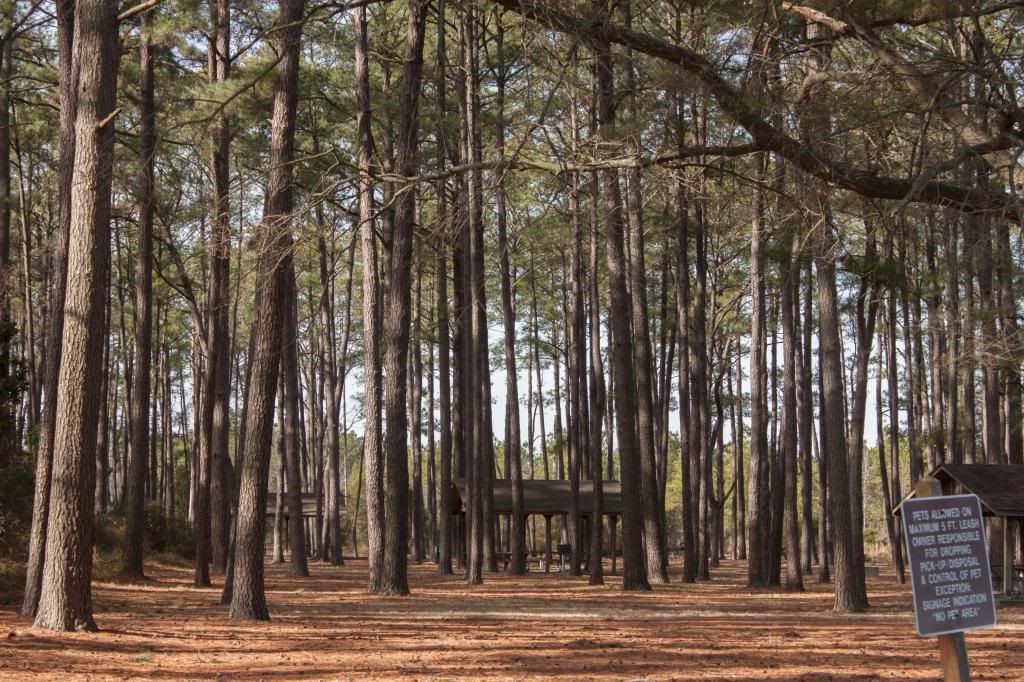
Some other key features of the park include: a canal overlook, a spacious picnic area, and a walking trail that winds through the woods all the way around the peninsula. James was also really excited to see there was a boat launch -- he's looking forward to coming back in the spring with his new Christmas kayak.


Hooray! We love finding new places! Have you been to Great Bridge Lock Park? Or to Deep Creek Lock Park?

An afternoon in Olde Towne Portsmouth

Friday, January 11, 2013


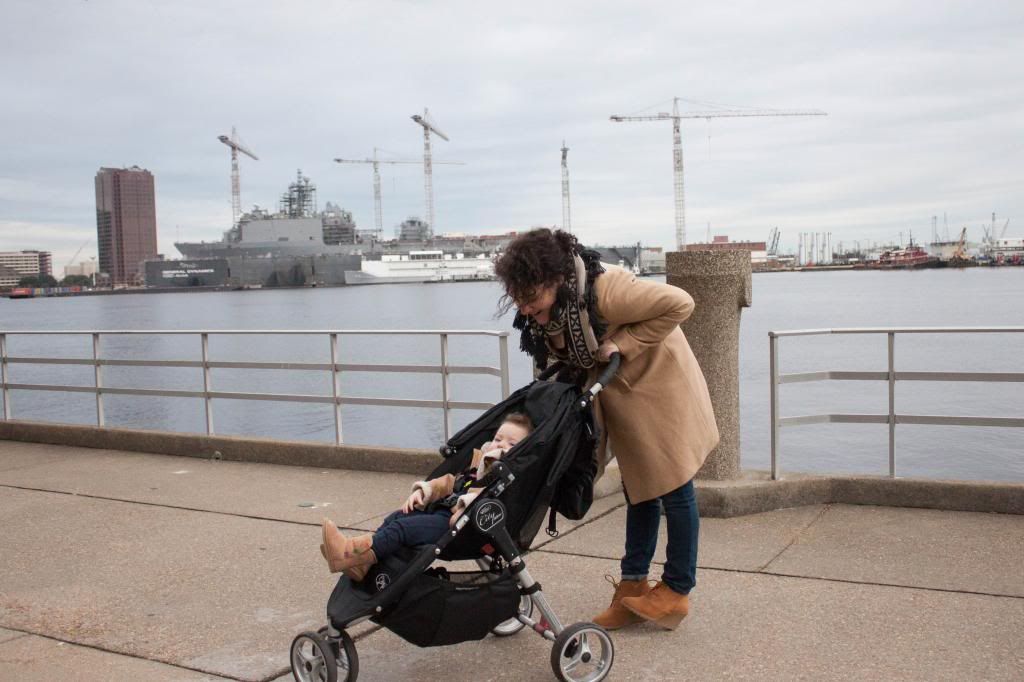
As I mentioned earlier in the week, on Sunday, J., Baby A., and I took the ferry to Portsmouth. We had no particular plans of places to go or things to do. The wonderful museum district was right there, but because of the Redskins game later in the day, we didn't dare do anything too time-consuming that might prevent us from being back home in time for kickoff.

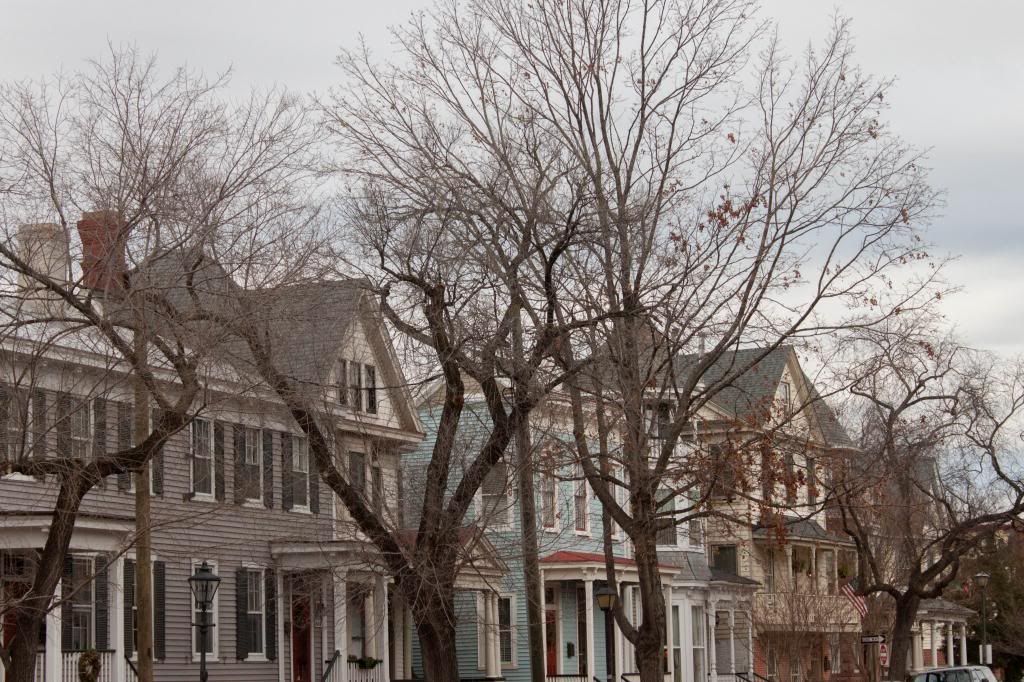
So we just walked for a bit. And ended up discovering some interesting little features about the city that we'd never known about before. In case you ever find yourself in a similar predicament, I give you a recap of our impromptu mini-walking tour of Historic Portsmouth, VA. Here are some of the things we saw and enjoyed.

-The seawall

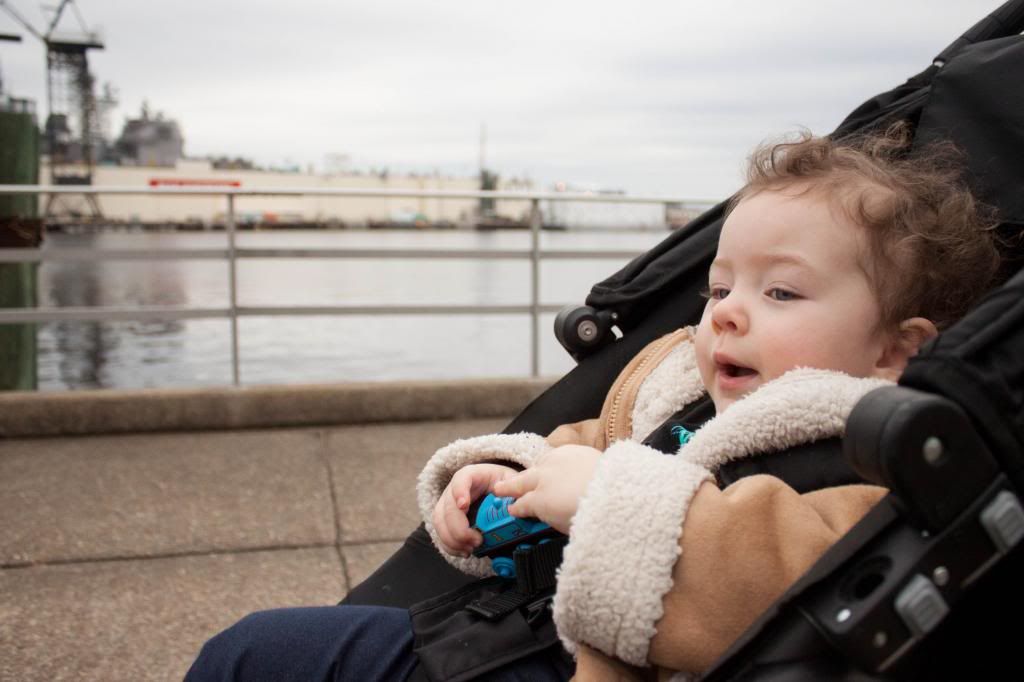
The Portsmouth seawall stretches along the riverfront and walking it gives a wonderful view of the boats going past. Just on our way between the High Street and North Landings, we saw a couple of tugs (who sounded their horns obligingly -- is there anything more satisfying than the reverberating sound of a tugboat horn on a cloudy day?), a container ship, and a few beautifully painted yachts. Baby A. had a blast waving at them and added the word "boat" to her expanding vocabulary.

-Hog Island Lighthouse Lens

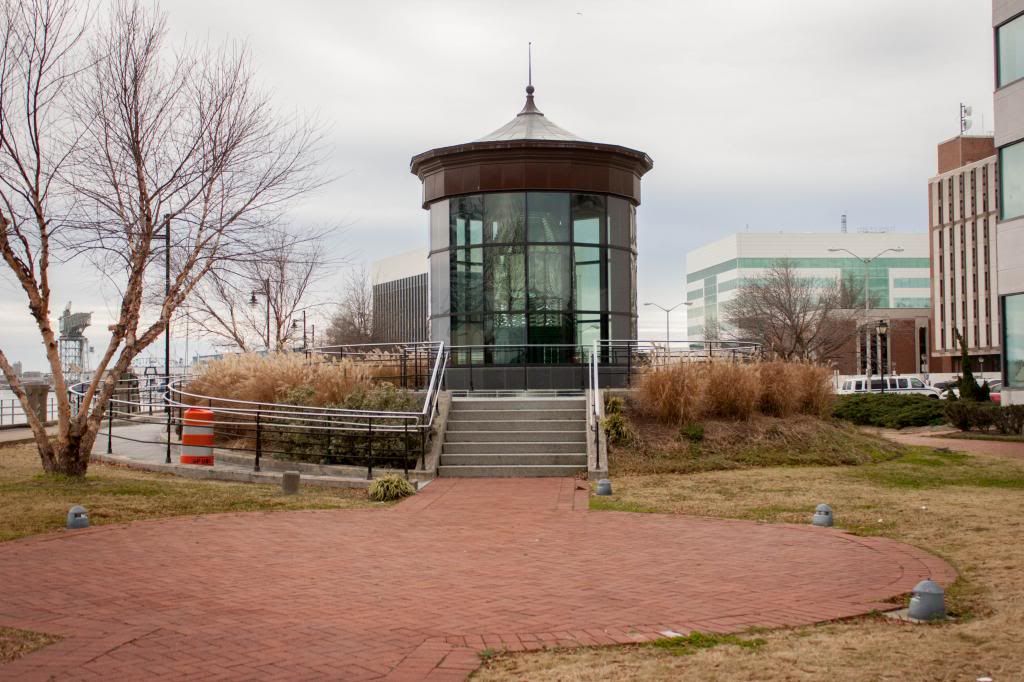
The Hog Island lens stood in a lighthouse on Hog Island (one of the Virginia barrier islands) until the island finally eroded away in the 1940s. Now the lens lives at the Portsmouth waterfront, just by the High Street ferry landing. The lens, dating from 1898, is cut through with tons of prisms, and huge, towering over even James, who towers over me and A. It was fun to walk around the glass pavilion and try and count all of the rainbows (hundreds and thousands of them. We didn't stand a chance).

-Trinity Church

Trinity Church was founded in 1761, served as a British garrison in the Revolutionary War, founded the Children's Hospital of the Kings Daughters in the 1890s, and features several beautiful Tiffany windows. It surrounds a gorgeous courtyard, and next to it is a really gloomily spooky old graveyard. Have I mentioned that one of my favorite things is to walk through graveyards and read the old names? My fingers itched for my grave-rubbing supplies.

-The Pass House

Currently, it's a photography studio, but from 1862-1864, the unassuming brick row house at the corners of Crawford and London Streets was a Union Army headquarters. To go outside the city, or across the river to Norfolk, you needed a pass, which you had to get at (you guessed it) the Pass House. We peeked over the gate and saw the door to the old pass office, and we also saw some really beautiful roses blooming by the fence. (We love January roses. Thanks, global warming!)

-Confederate Monument

It's a little unsettling to see the monument 'to our Confederate dead' standing so imposingly at the intersection of Court and High Streets (at least it was for me). From a purely objective standpoint, the monument is finely done, the carving of the soldiers who stand sentry on the four sides of the tall obelisk are super convincing, at least to a toddler -- Anouk kept pointing to them and calling, "Hi! Hi!" It was an experience to see it -- it made me mindful -- but all the same, it's one I'm glad I don't have to have every day.

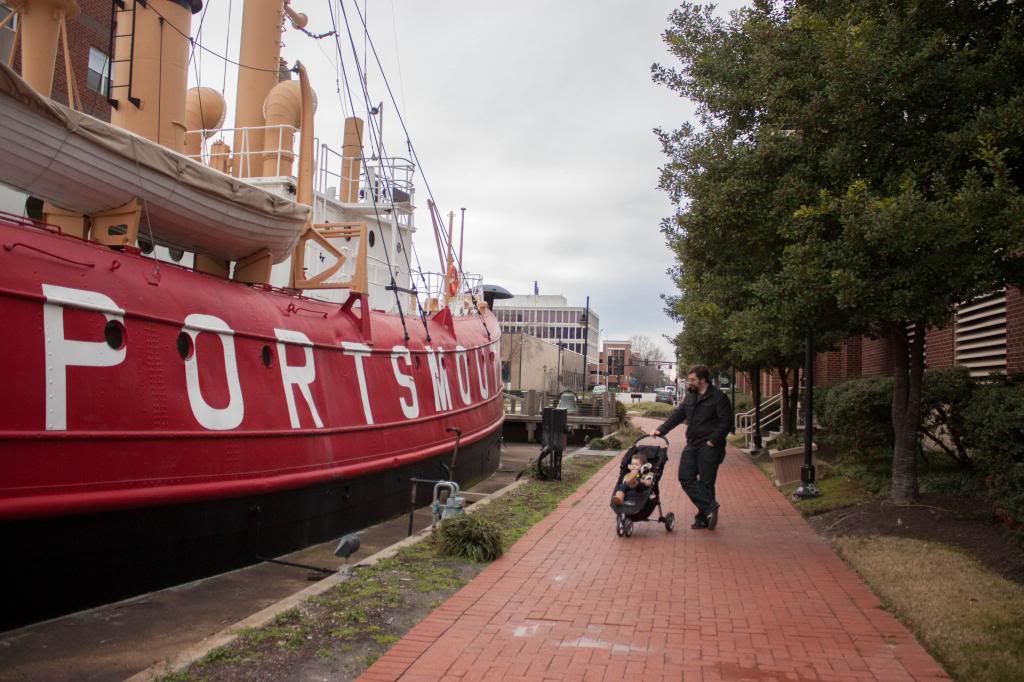
-The Lightship Portsmouth Museum

The Lightship Portsmouth was built in 1915, kind of a traveling lighthouse used to help ships enter harbor at night. She was retired after almost 50 years of service, and now she's a museum featuring artifacts, photographs, old uniforms, and fitted out seaman's quarters (NONE of which we got to see because the museum itself was closed the day we went -- boo!) But we did get to explore the outside of the ship and pronounced it awesome.

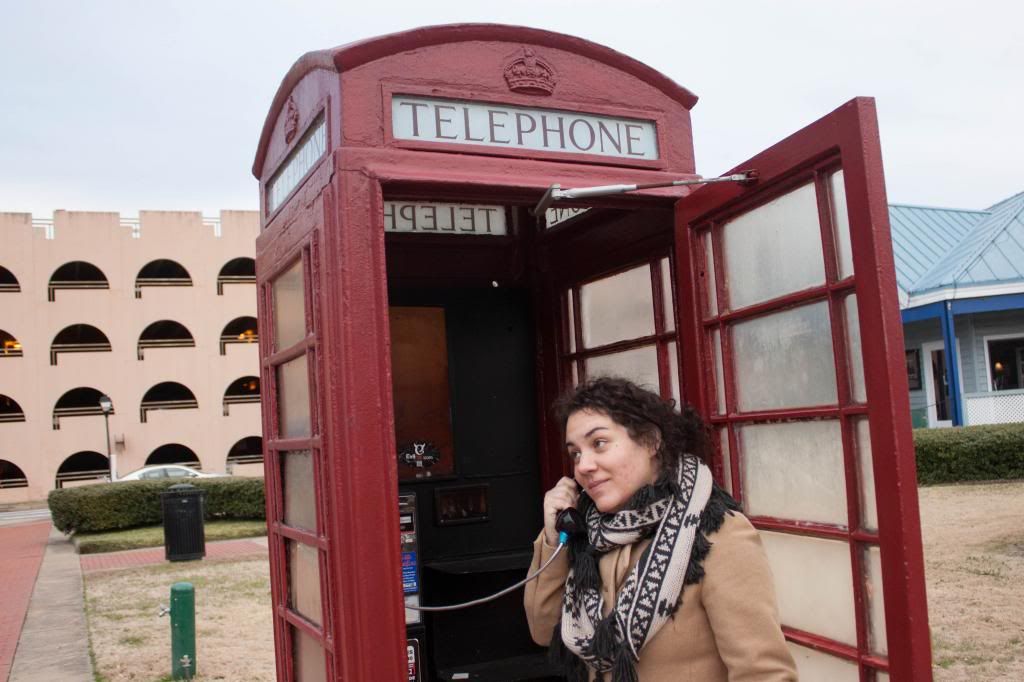
Bonus attractions: The areas next to the High Street and North ferry landings, respectively, feature a red post-box and telephone booth donated by the city of Portsmouth in England. The telephone booth has an actual working pay phone in it, which is notable in and of itself. Definitely something to show the kids. A phone with a cord!

A dial tone! How quaint!

I hope you have enjoyed this brief collection all of the random things we happened to see as we moseyed along Olde Towne (those 'e's are driving me nuts!) Portsmouth. We sure did! I always make James stop when we see one of those old bronze historical marker signs so I can read it and on Sunday I read a dozen to my hearts' content. Hooray!

If you are wondering exactly what route we walked and are interested in recreating it, according to this map, we went up High Street to turn right on Dinwiddie, then right again on London Street all the way back to the ferry landing. Or you could just let the professionals take the lead.


Blog Design by Nudge Media Design | Powered by Blogger