Showing posts with label plants. Show all posts

Trail Center and Bald Cypress Trail at First Landing State Park

Monday, October 7, 2013


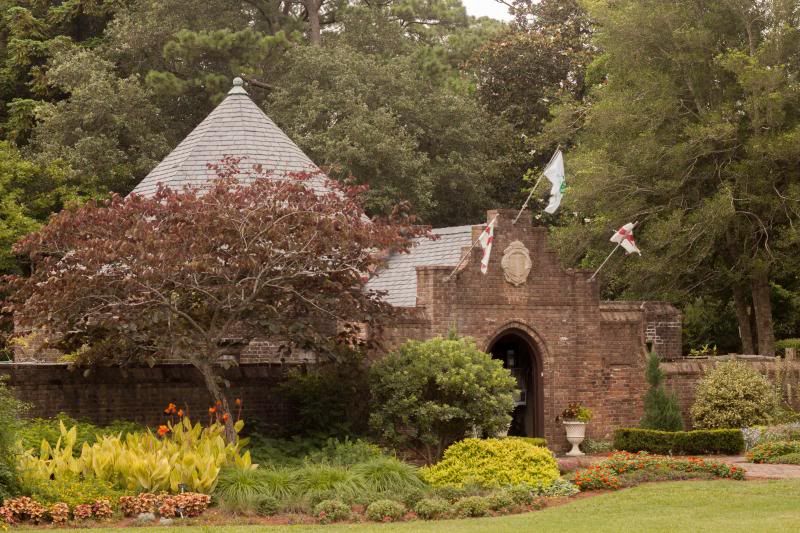
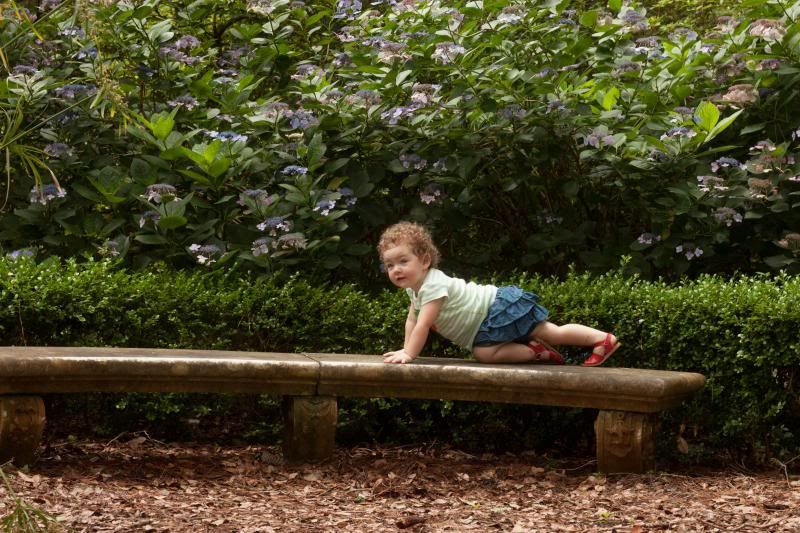
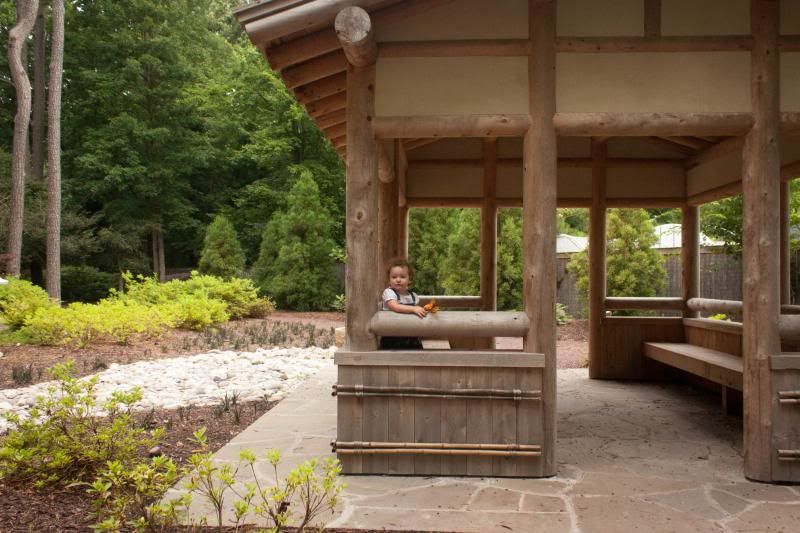
Fall is one of my favorite times to get outdoors, so it's been a bummer that so many of the HRVA area national parks and sites are closed due to the government shutdown. Luckily, First Landing is a state park and is still open! And it's at its absolute prettiest right now.

Our playgroup met up there last week for the express purpose of visiting the new Discovery Room at the Trail Center. Unfortunately, the room was off-limits while staff cleaned and fed the animals, but luckily again, the trail center features some other great stuff to hold the little ones' attention, including a cool little exhibit on local flora and fauna, complete with a "please touch" area where we could stroke fur pelts and listen to seashells.


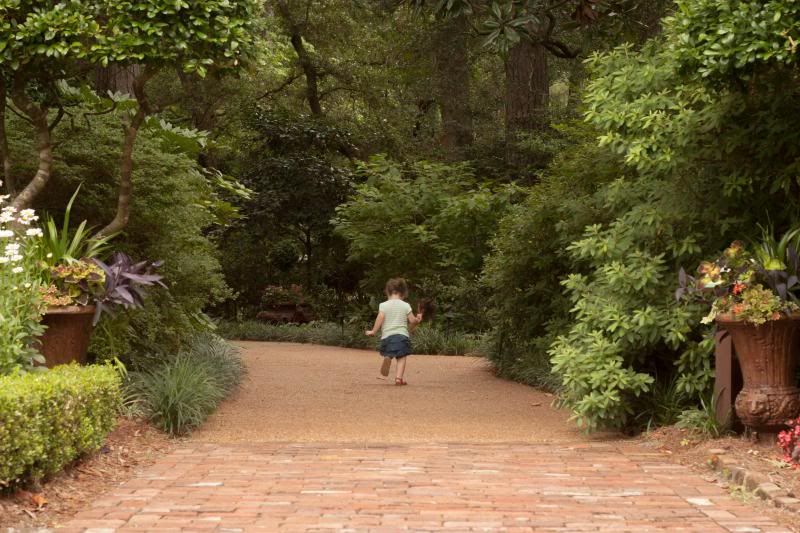
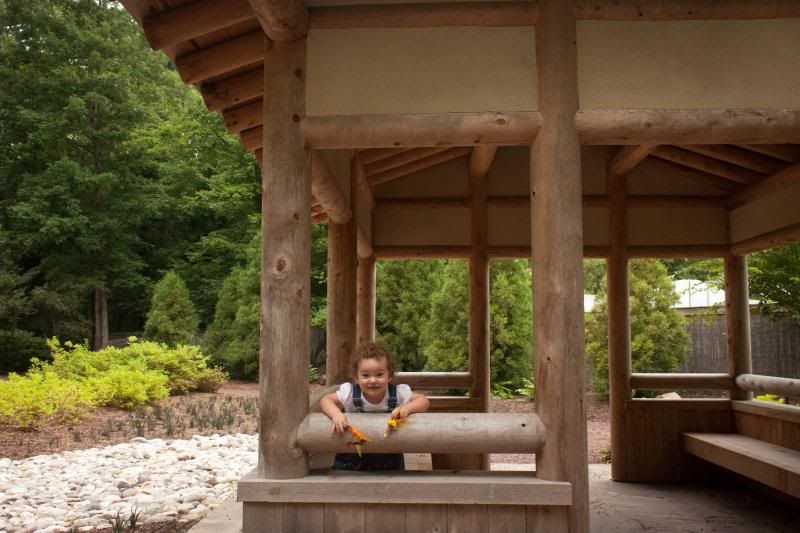
After we'd done a few turns around the exhibit, we went back outside to set off down the Bald Cypress trail, a mile-and-a-half-long boardwalk trail through a marshy wooded area. We didn't make it through the whole loop -- the kids stopped several times, to peer at a frog, climb a hill, and eat some trail mix. And pose for lots of pictures.

First Landing is beautiful in every season, but it really shines in late summer/fall, so much so that I'm adding it to our Fall Fun List as a must-see autumnal destination. What are your favorite spots/trails in the park? Have you made it to the Discovery Room? I'm determined to check it out, so I know we'll be back soon.


Elizabethan Gardens (Manteo, NC)

Sunday, July 28, 2013


It seems like we can't get enough of the Outer Banks this summer. A few weeks ago, James, Anne and I went back -- this time, to Roanoke Island, to explore the little town of Manteo, which is one of the most charming spots I've ever visited. There was so much to see and do, but our favorite part of the day was spending time at the Elizabethan Gardens on the grounds of old Fort Raleigh.

Roanoke Island is the site of the first English colony in America. It was founded by Sir Walter Raleigh in 1587; by the time he returned from a voyage to England in 1590, all of the 115 Roanoke colonists had disappeared without a trace.

The Elizabethan Gardens were designed as a living memorial to this Lost Colony. Spanning 10 acres, the gardens were laid out to resemble a traditional 17th century English pleasure garden but also includes native plants and a few modern-day flourishes. There's a rhododendron garden, a tobacco walk, and rose and herb gardens, all extending from the Gate House, which houses a mysterious portrait of Queen Elizabeth I.


We enjoyed so much about the day, but I think Anne's favorite part of the gardens was the larger-than-life statue of Queen Elizabeth I. We had a hard time explaining to her that what she was seeing was a princess, since she's used to them being a little more sparkly. But I think Elizabeth serves as a better role model than any of those Disney waifs, for sure.


We're having a ridiculous week, thanks to some unexpected home repairs (long story), so things might be a little slower around here than usual. We'll be back in full force ASAP. Happy Monday!

Miyazaki Japanese Garden

Wednesday, July 3, 2013


One evening a few weeks ago, we went for an after-dinner walk in the Miyazaki Japanese Garden at Red Wing Park in Virginia Beach. Red Wing Park has several beautiful gardens, but the Miyazaki Garden is our favorite. No matter how hot the day has been, it's always cool there, and no matter how gloomy the skies might be, there are always a few sun-dappled spots to explore.

The garden was planted in honor of Miyazaki, Japan, which is Virginia Beach's sister city. (Side note: I love the concept of sister cities -- Norfolk has several, which you can read about here.) The Miyazaki Garden is a wonderful mix of Japanese plants that fit perfectly with the native Virginia foliage in a way that encapsulates the spirit of both places and feels both familiar and unfamiliar at once. In the spring, they feature the area's best show of cherry blossoms, which we appreciate, since we were big fans of the ones in DC when we lived there.  


Anne had a great time running out some pre-bedtime energy on the garden's shady paths and setting up elaborate Barbie doll panoramas in the azumaya (Japanese-inspired outbuilding). She also tried to take home several of the smooth white rocks from the rock garden to add to her collections. Is there anything more attractive to toddlers than a pile of rocks? If there is, I don't think I've found it.


Happy 4th of July! Hope that everyone has a safe and festive holiday. See you back here on Monday. 

Reflections of Nature at the Norfolk Botanical Garden

Friday, May 17, 2013


I'm guest posting today over at My Active Child! Click on over to read about our visit to see the Norfolk Botanical Garden's "Reflections of Nature" sculpted glass exhibit.

P.S.: Google Reader is closing soon -- don't forget to follow Where the Watermelons Grow on Bloglovin' instead.

Have a great weekend, all!

Garden Tales at the Virginia Zoo

Wednesday, April 24, 2013


We're big fans of Zoo Tales at the Virginia Zoo, so we gave a big cheer when they brought back their summertime sister program, Garden Tales, at the beginning of April. Like Zoo Tales, the Garden Tales program consists of a few themed stories suitable for toddlers and younger kids, but instead of meeting new animal friends each week, participants are introduced to a different kind of plant that grows around the zoo, with an activity to follow.

This year's inaugural Garden Tales focused on vegetables, and how they can be either "tops" or "bottoms." The kids were invited to examine some vegetables up close, and to guess whether they grew above or below the ground by putting the relevant veggie cutout above or below the soil line on a felt board. Some of them were familiar, like carrots, but a few, like radishes with their leafy tops, required more thought. The funniest part, I think, was seeing the storytime leader hold out a round green head of lettuce and ask the group what it was. "It's a salad!" one toddler piped up, and the others scrambled to voice their agreement: yes, yes, this is definitely a salad.

Baby A. and I have been frequent Zoo Tales-goers, but to tell the truth, she's become a little bored with animals lately (after having been asked over and over again for the past 18 months what this one or that one "says," I'm not sure I blame her).  With all of the plants in our yard bursting into bloom, and because of our renewed visits to the farm, she's become really interested in plants over the past few weeks -- how they grow, what they eat, what makes them happy -- so Garden Tales is right up her alley. She's asked every morning this week whether we're going to see the "baby plants" today and seems bummed when I tell her she'll have to content herself with the pallets of seedlings in our backyard. It's just not as exciting when there's not a lion or two nearby, I guess. (Or a tiger -- the VA Zoo's new zoo tigers arrived in their habitats in last week!)

The Virginia Zoo has some gorgeous gardens and trained horticulturalists to recreate animal habitats from all over the world (many of the treats the animals enjoy are grown right on the zoo grounds). The gardens and the plants are so pretty and well-kept that it's almost a reason in itself to visit. (You can read more about the zoo's different gardens and the plants in them here).

Garden Tales is held every Thursday morning at 11 in the zoo's Eco-Garden, just off of the main plaza. It's free with admission (and always free to zoo members).

I can't get over how much older Baby A. looks in this picture compared to our first visit to the zoo last summer. Next year she'll probably be as tall as that turtle, right?


Grassy grass grass

Thursday, March 21, 2013


With all of the gardening prep going on at our house lately, Anne has started to get very interested in plants and seedlings. I thought we should try to grow something, to give her a sense of the process. It's still a little early to start our seedlings for our garden, and besides, I wanted something a little more toddler friendly (i.e., able to be touched/experienced/loved on without too much damage), so I searched for another plant that would make a good project.

We decided to grow wheatgrass. It's the perfect plant for kids. It's hardy, it doesn't ask for much, and it grows so quickly that sometimes I feel like I can see it growing, which means that it offers pretty quick results, nice when you're dealing with toddler-sized attention spans. Not to mention that it will make a perfect Easter centerpiece, and we won't have to use that crinkly cellophane grass that makes the cats throw up. We could even harvest it for wheatgrass juice once it's full grown, if we were so inclined (I'm not -- whatever the health benefits might be: YUCK.)

Here is how we grew our wheatgrass. First, we ordered some seed online (Todd's Seeds offers inexpensive, organic products, so that's where we got ours). Once it arrived, we sprouted the seeds for a day in a jar of water that we changed every eight hours or so. Then we filled a small pot with a layer of rocks (for drainage -- if your container has drainage holes, you don't need to do this). Added some pre-moistened potting soil, scattered the sprouted seeds in a thick layer on top (so that almost no soil was showing), and covered the whole thing with a damp paper towel. And waited.

Within two days, our sprouts were an inch high, so we took the paper towel off and moved them to the light. Wheatgrass doesn't like direct sunlight, so we keep our pot on the radiator cover in the kitchen, just under the window. We've been watering our seeds twice a day with a plant mister and they've been growing like crazy.


Anouk thought the little seeds were babies, and she calls her grass her "baby grass." Several times a day we take the pot down and check to see how it's grown, check the soil, and give it a nice stroke. The other day I caught her trying to brush the grass with a tiny Barbie brush, and that was my cue to move it to higher ground. :)

Here's the Woody Guthrie song that this post title comes from, btw -- so simple that it shouldn't be a favorite but it is. Have you ever grown anything with your kids? What did they think?

How to make a terrarium

Thursday, January 17, 2013


I blogged just before the holidays about how James and Anne and I were making a lot of our Christmas presents this year, and got a few inquiries about what we made and how it went. As to the latter question...it was a great experience but a lot of stress, and I think next year I might be a little less ambitious so that I can enjoy the holiday season more (you told me, Dee!)

As to what we made...my dad got a bunch of different pickles, my sister and cousin got handmade necklaces, my mom got a disk with all 4,000 pictures I have taken of Anne since she was born painstakingly cropped and edited (this was by far the biggest time-sink).

But the project that was the most fun to make was the terrariums we made for my aunts. They got a great response, and I liked them so much that last weekend, I decided to make a couple for myself. At not yet two, this wasn't a project Baby A. could really participate in, but I think older kids might really enjoy it. So I thought I'd share.


You will need:

  • glassware
  • gravel or small rocks
  • activated charcoal 
  • potting soil
  • plants
  • spaghnum moss 

A few notes: first, we found that the best place to get inexpensive terrarium glass is the thrift store. We visited a few and found all shapes and sizes, big, small, round, square, lids and no lids. (Though you should consider the type of plants you want to grow when choosing your terrarium -- succulents and cacti won't do well in a terrarium with a lid because of the extra moisture.) 

Second, it's important to note that activated charcoal isn't the same as the charcoal briquettes you use for grilling -- the kind you need for a terrarium is the same kind found in aquarium filters. We pulled apart an old Brita filter and used the stuff in there but garden centers may also sell it. Speaking of garden centers, McDonald Garden Center in Virginia Beach has a wonderfully extensive terrarium section, and Alan, who manages it, is all too happy to discuss the types of plants that work best together, arrangement ideas, plant care, etc. We had a blast talking to him and got a lot of inspiration from his beautiful creations. 

Third, we found that choosing plants of differing heights/colors/textures makes for the best-looking arrangement, but this is obviously a subjective thing and will vary from person to person. 


Step 1: Wash and dry your glassware. This will help prevent bacteria/mold growth. 

Step 2: Add a layer of rocks. (It's probably best to give them a quick wash, too). The rocks will help with drainage -- because there's no drain holes in your terrarium, the rocks will keep the water off of the roots of your plants and keep them from rotting. We used little bags of stones we found in the garden department at Ikea for $1. 

Step 3: Add a thin layer of charcoal on top of the rocks. This is not strictly a necessary step, but it will keep the terrarium fresh and help with odors from any standing water. 

Step 4: Wet the potting soil (it should be damp, able to somewhat hold its shape if you squeeze it in a ball but not dripping) and add it on top of the charcoal. Altogether, the rocks + charcoal + soil should take up at least 1/3 of your terrarium. 

Step 5: Remove your plants gently from their containers. Dig shallow holes with your hands or a spoon, and place the plants in. (If you've chosen a container with a narrow opening, you can use chopsticks or tongs to maneuver the plants into place). At this point, you might want to move them around a bit to find the best arrangement. When you've gotten them just how you like them, gently pat another layer of soil over top of the root ball to hold the plants in place. 

Step 6: Add spaghnum moss and any decorative objects you might find to your terrarium. 

Anouk volunteered this Lego polar bear...I think he looks pleased with his new habitat. 

I had a hard time taking photos for this project...it's difficult to remind yourself to stop and take a picture when you're in the moment and your hands are covered in dirt and charcoal. For more detailed step-by-step and for information on caring for your terrarium, click here

Or you can attend the terrarium workshop at McDonald Garden Center this Saturday, January 19th, at 2 PM. More details here

Blog Design by Nudge Media Design | Powered by Blogger