I love creative playdates! A week or so ago, Anouk and I joined friends to go and see visiting artist Gianni Toso work live in the
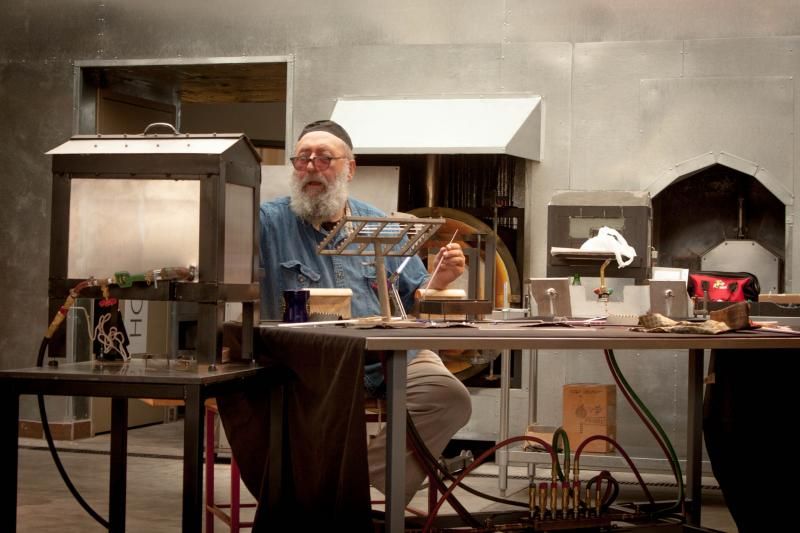
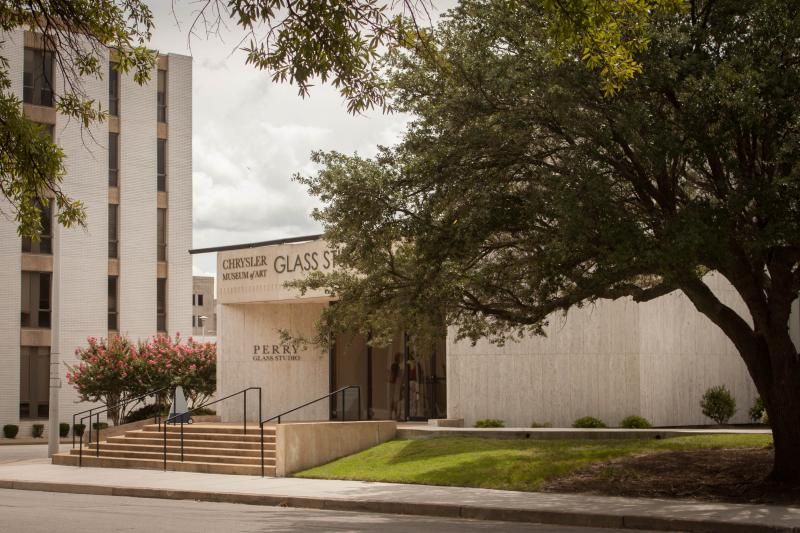
Chrysler Museum's glass studio. And it was probably my favorite of our adventures around town to date -- such an inspiring, educational, and colorful experience. I've never seen anything like it before (not even in all my poking around for things to do).
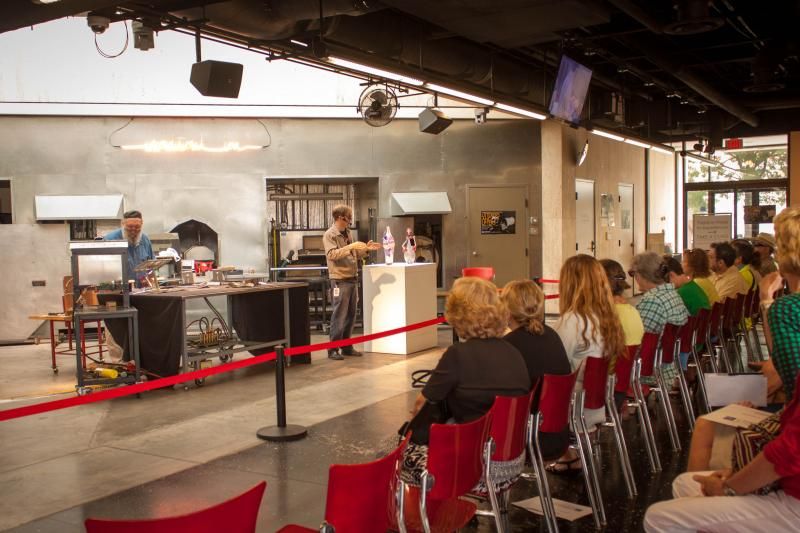
I'm not sure what I expected -- maybe something like the glassblowers at Jamestown? Sort of campy and fun? While this was definitely fun, there was far less of a boisterous vibe. Things were quieter, more focused, as the artist worked and the people sitting in rows of chairs around the workspace watched intently. Occasionally, a staffer with a microphone would step up to narrate what Toso was doing as he switched tools, or melded two different colored glass rods and stretched them into a delicately twisting ribbon. Classical music was playing while he worked and there were also large monitors hanging around the room so that even the people in the back could see. Toso comes from a family line of glass makers spanning back 700 years (that's not a typo), and he himself has been doing this for six decades, so you really want to be able to watch him closely, and luckily, you can.
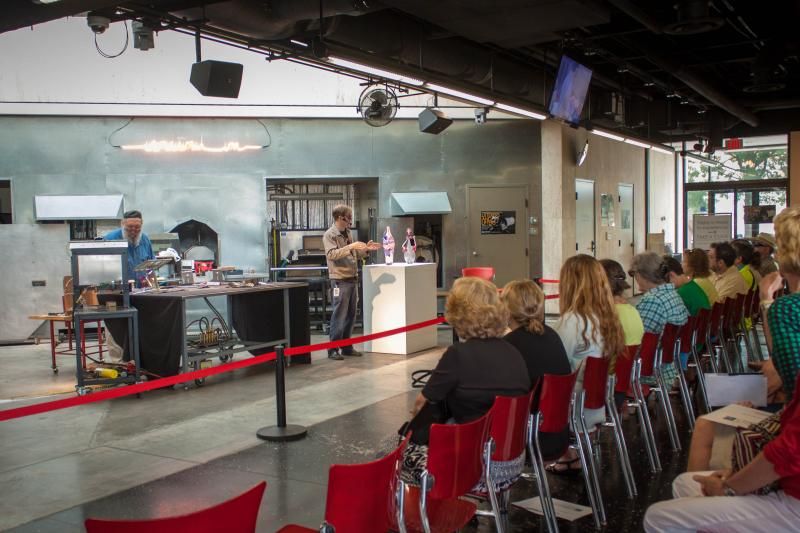
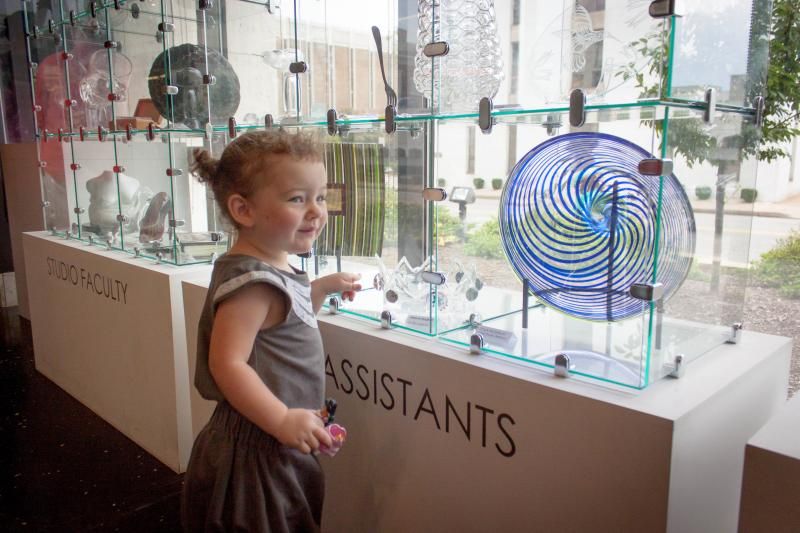
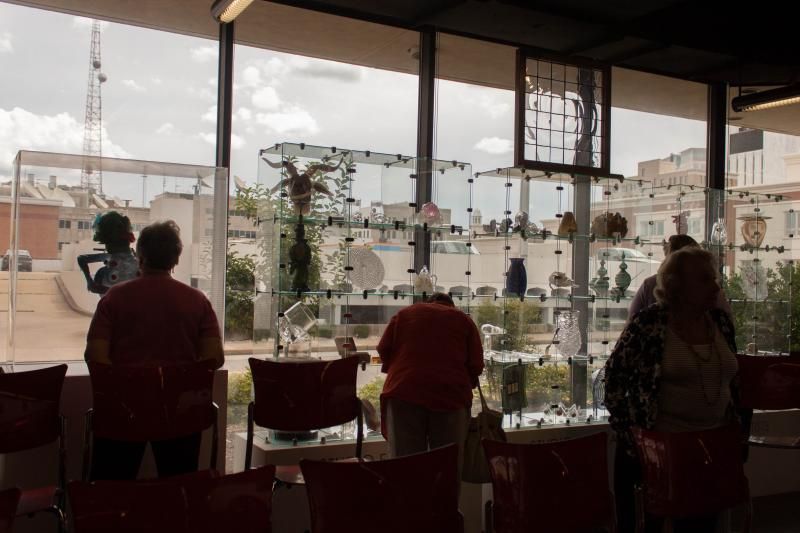

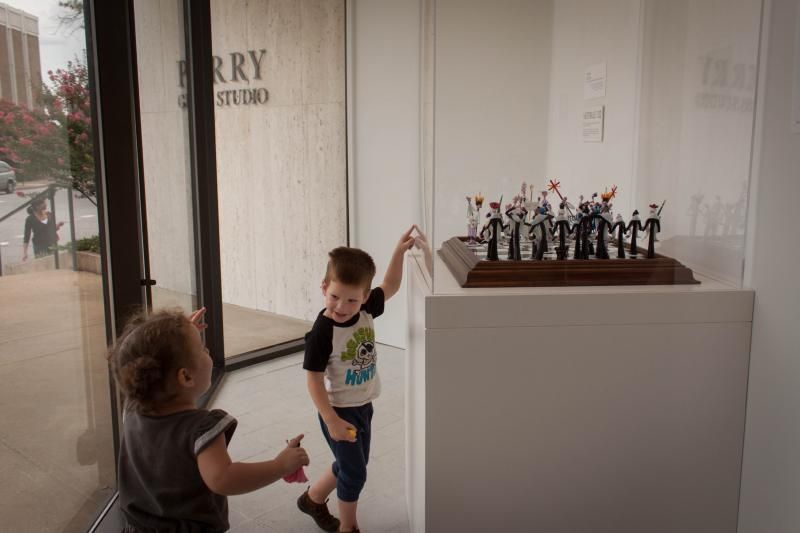
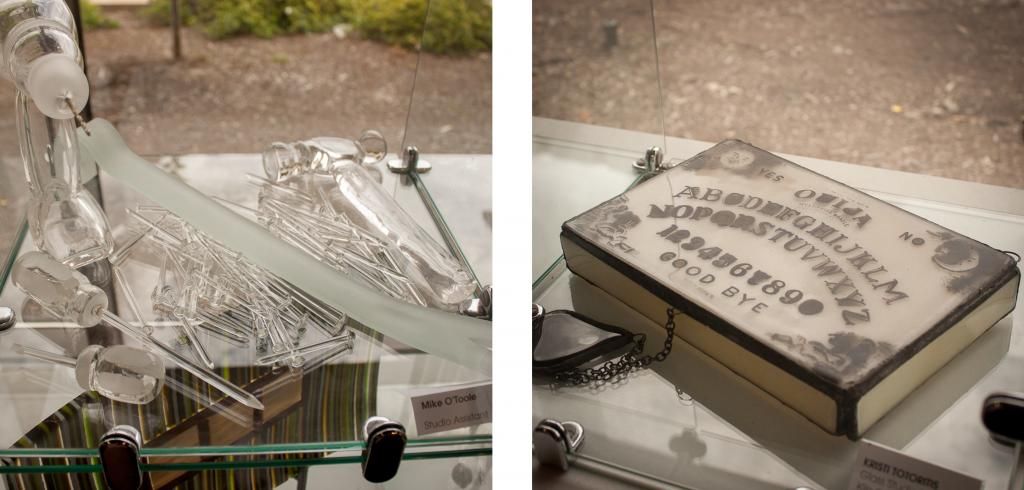
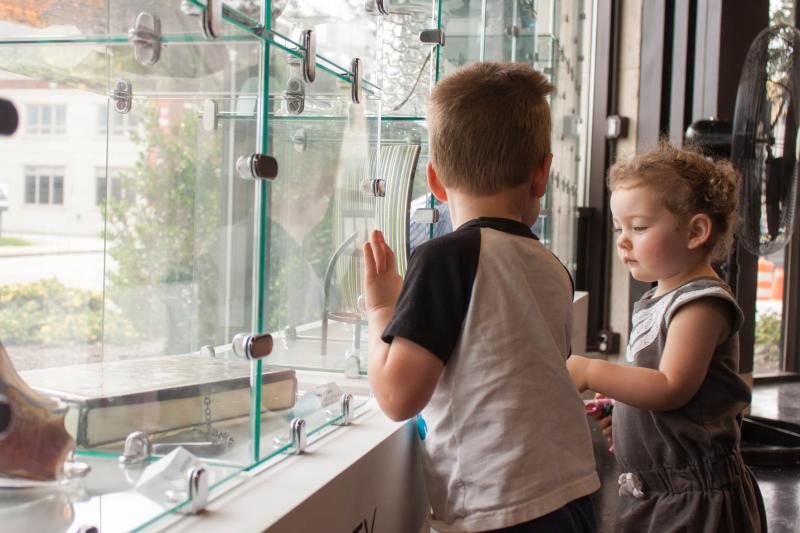
Anne and her friend C. really enjoyed strolling around the perimeter of the room and looking at all of the work done by glass studio resident and visiting artists -- the more colorful or intricate it was, the better. To be completely honest, though, this was probably one of those outings that was more exciting the parents than the kids, at least in our case. S. and I were fascinated by the whole experience, but I think they were just too young to appreciate it fully. However, there were many older children in the audience -- ages 6 to 8 or so and then some older tweens and teens -- who seemed as into it as we were. So that's probably the best age group for this event.
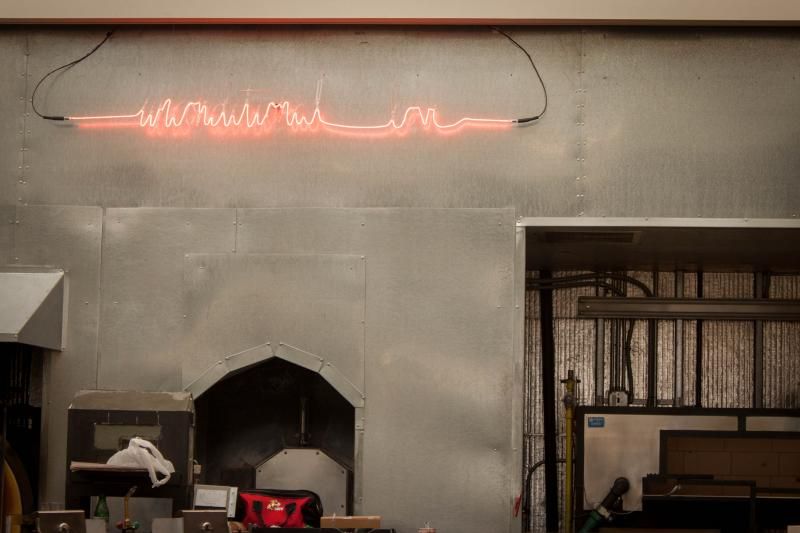
The next nearest museum-affiliated glass studio in the U.S. is in Toledo, Ohio (there are only five in the whole country), so we are very lucky to have this one so close to home. And there are many opportunities to visit. The Chrysler's glass studio presents free daily demonstrations at noon, every Wednesday through Saturday, and regularly offer classes, workshops, and Third Wednesday parties with booze, music, and glass art demonstrations. You can find out more on the studio's website, and you can see more of what these remarkably talented artists do on the studio's
YouTube channel.

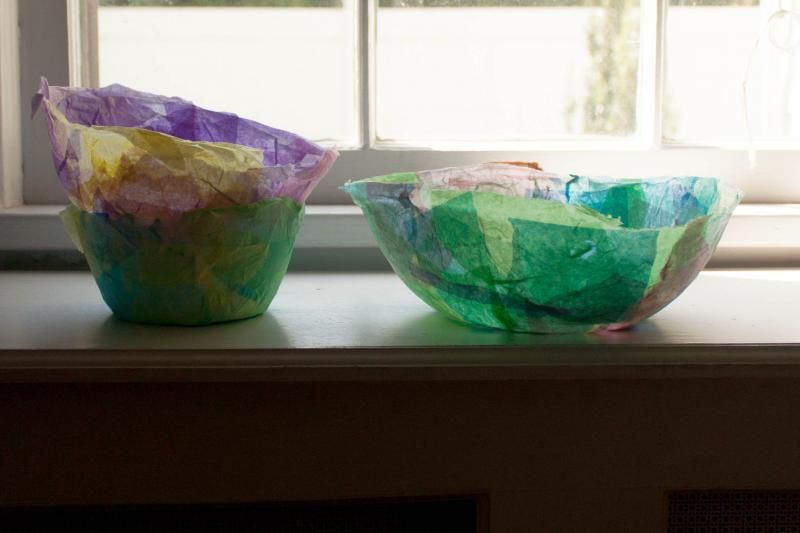
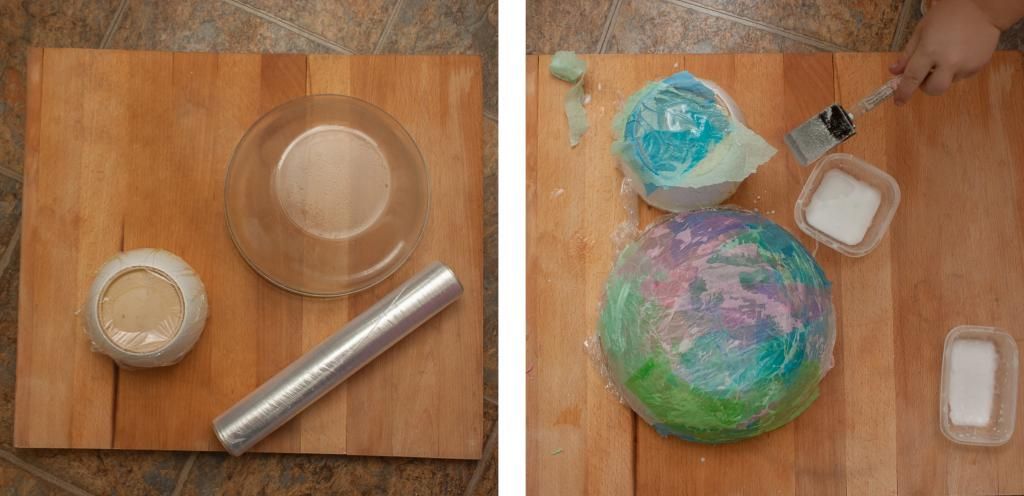
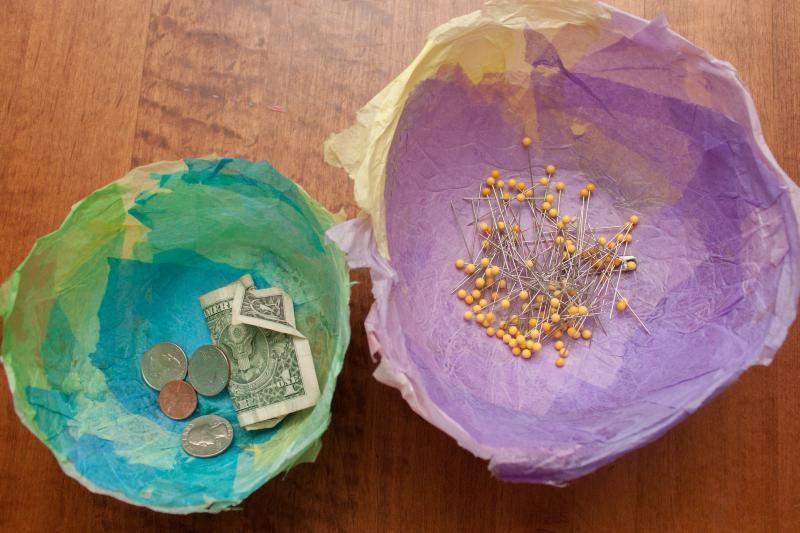
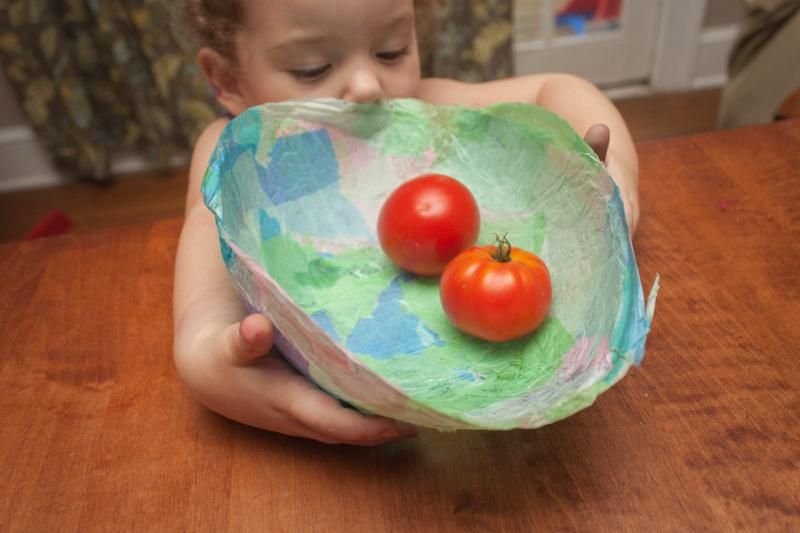
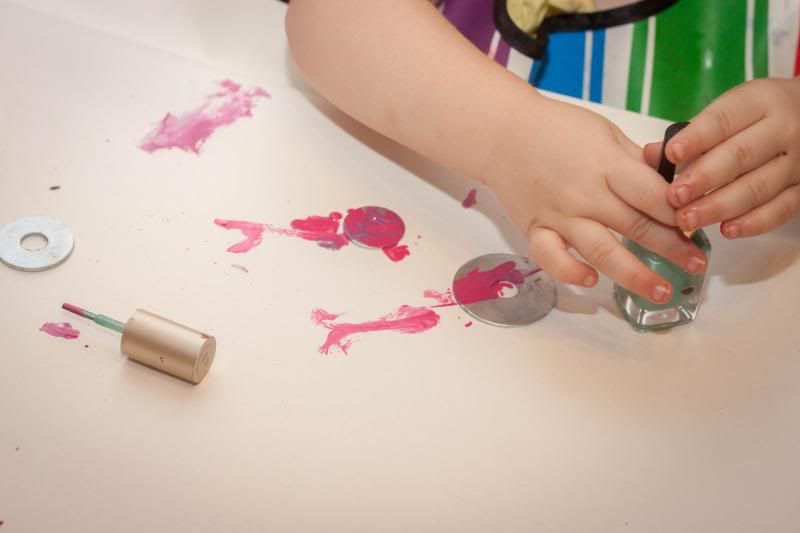
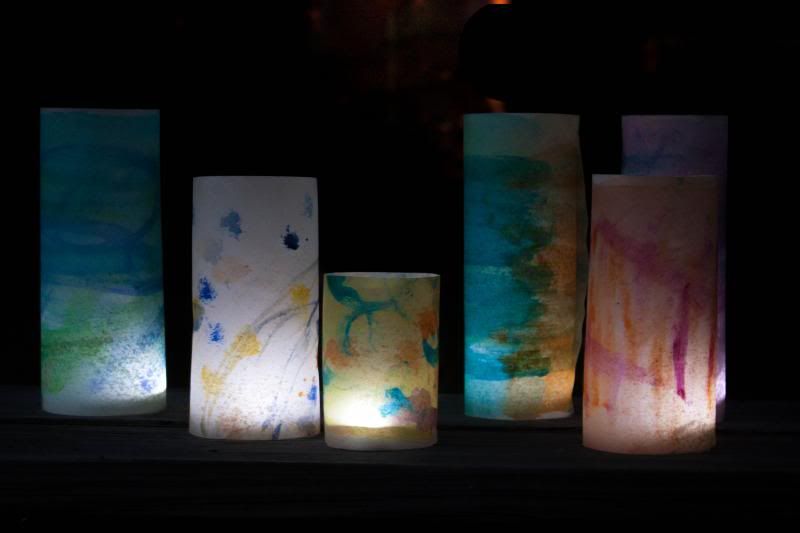
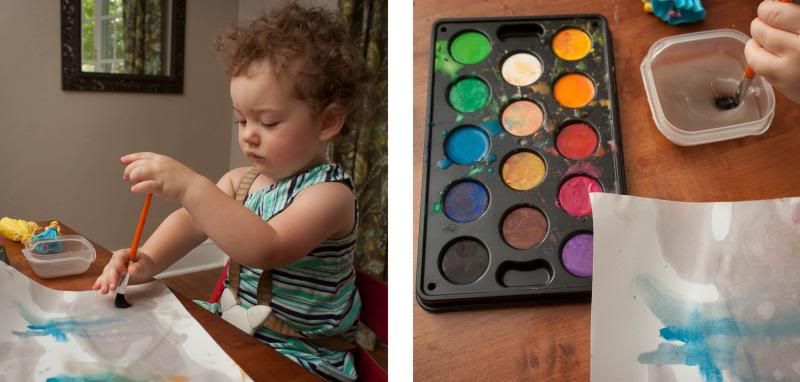
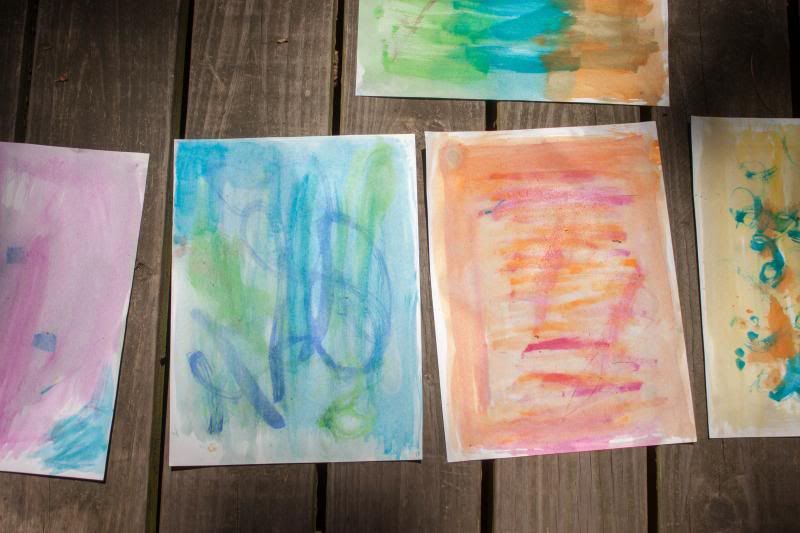
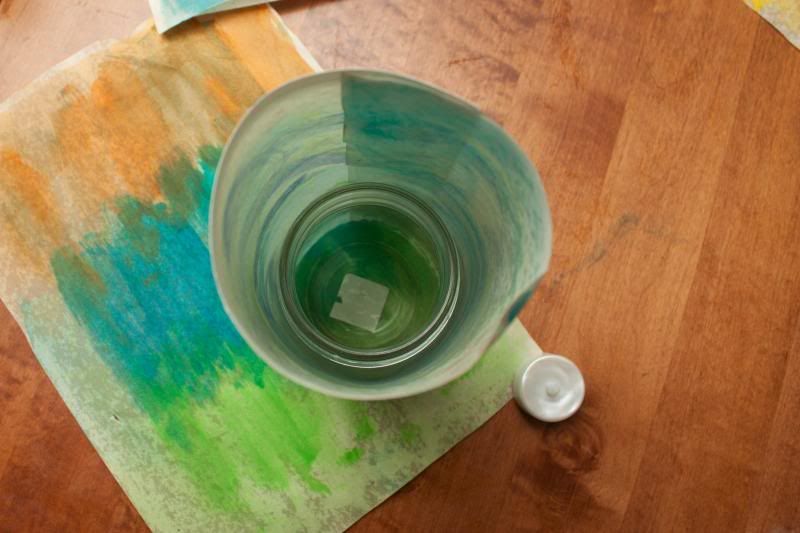
 I used the excuse of moving to get rid of a lot of stuff, including in the craft box. All of our on-its-last-legs art supplies -- worn down crayons, half-empty paints, semi-dry dot markers, glue dregs, foam sheet scraps -- came out for one last hurrah before I threw them in the trash. I put everything on the table in front of Anouk with a stack of junk mail (catalogs that won't stop coming no matter how many times I cancel are my pet peeve) and let her get to work.


