Showing posts with label toddler crafts. Show all posts

Mini-Pumpkin Monsters

Wednesday, October 16, 2013

I feel a little guilty about Halloween this year -- it's the first year that Anouk really understands what's going on, but with the big move in progress, I haven't decorated a bit. All of our Halloween decorations are boxed up and are waiting to be unpacked in the new house.

A. has been looking at all of the decorations in our neighbors' yards, and the pumpkins sitting on their stoops, and asking, "Where's our Halloween stuff, mama?" So on a trip to the grocery store the other day, I picked up a few mini-pumpkins and brought them home to scatter around the house.

But that wasn't enough for Miss A. She rummaged in the craft box for supplies and declared, "We have to paint them." She also pulled out some unopened packages of googly eyes and that was our inspiration for our mini-pumpkin monsters. We used whatever caught our attention to monsterfy our pumpkins -- paints, pom-poms, pushpins for antennae.


I love the way they turned out. These monsters are definitely of the cute rather than scary variety. And now our mantle has some Halloween spirit. Everybody's happy!

Have you decorated for Halloween yet? What's your favorite Halloween swag? (I'm definitely a fan of those fake gravestones with the funny names on them. Al B. Bach, indeed!)

Fall-themed bracelets out of painter's tape rolls

Thursday, October 3, 2013

Time for a quick fall craft (the only kind we do these days it seems, with everything else going on). We're thick in the middle of painting over at the new house, which means we've used about a million rolls of painter's tape and have empty cardboard thingies hanging around everywhere. Anouk was walking around with them stacked on her arm like bracelets and a craft idea was born.

We broke out the poster paint and got to decorating. We tried to use fall colors only -- lots of reds, browns, yellows, oranges, and deep purples. I went for more of a Halloween theme while Anouk's look was a little more abstract.


They aren't perfect but I still love them. Sometimes these are my favorite crafts, the ones that you do on the fly, from materials you find lying around.

We still have approximately four dozen empty tape rolls lying around. What should we do with them? Ideas?


Easy Sewing for Toddlers

Wednesday, October 2, 2013

Anouk is at the stage where she wants to do whatever it is I'm doing, especially if I'm sewing. "I want to sew, mama, can we sew?" For a long time, she was content to merely sit next to me while I ran fabric through the machine, but yesterday when I lifted her up, she looked at me like I was crazy. "No, I REALLY want to sew. By myself." So we did some quick thinking about how to make that happen.


This was what we came up with: a roll of shelf liner, an embroidery hoop, some yarn and some plastic needles that I picked up a while ago with the thought that I would make some lacing cards for A. and her friends. I spent a little time showing Nou how to work the needle -- one hand pokes the needle through, the other pulls it from the other side -- and then she waved me away. She had it.

I think this is a great way to get the youngest kids familiar with sewing techniques, and holding the small needle is definitely good for developing fine motor skills. Not to mention that this project holds Anne's attention really very well. I've seen similar tapestry tables on Pinterest (my friend Molly made a great one for her kids), but what I like about this version is that it's portable. It can go anywhere -- in the car, to the store, to the new house. I got a good chunk of my future guest room/craft room primed last week with the help of this little hoop and some yarn.
I especially like the Lion Brand yarn bon-bons in bright for this project. I thought the neon pop looked so striking against the black that I popped one of A.'s early attempts in a frame to spruce up her dresser top.


Do you sew? Do your kids? What have you been working on lately?


Washer Necklaces

Tuesday, July 23, 2013


We have been having really bad luck with Pinterest finds lately. The Listerine manicure and pedicure soak did nothing more than turn my hands and feet slightly green. The vegetable oil I put on a vintage bowl to remove the sales sticker ended up taking off a good chunk of paint (but left sticker remnants behind). And the baking soda clay that we tried last week crumbled apart and cracked as it dried.

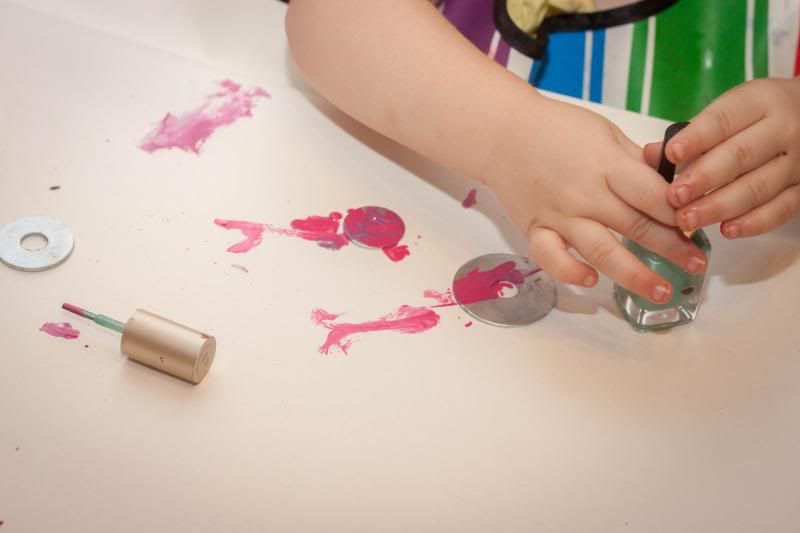
Luckily, this washer necklace project went well enough to get the memory of the other failed projects out of our heads. Probably because it was so so simple. We picked up different-sized washers from the hardware store and painted them with nail polish. When they dried, we added a coat of clear polish, and then strung them on some bakers twine and pretty crochet thread. It all worked just as it should, hurrah!


I am a big fan of vintage enameled jewelry, so I love how the nail polish gives the washers an enameled look. We used clear glitter polish to go over some of our designs for added sparkle, and then A. and I made coordinating beads with Sculpy to enhance our designs.

We've been doing so many jewelry crafts lately that the next thing we DIY is going to have to be something to put it all in. Any ideas?

Hammered leaf and flower prints

Monday, July 1, 2013


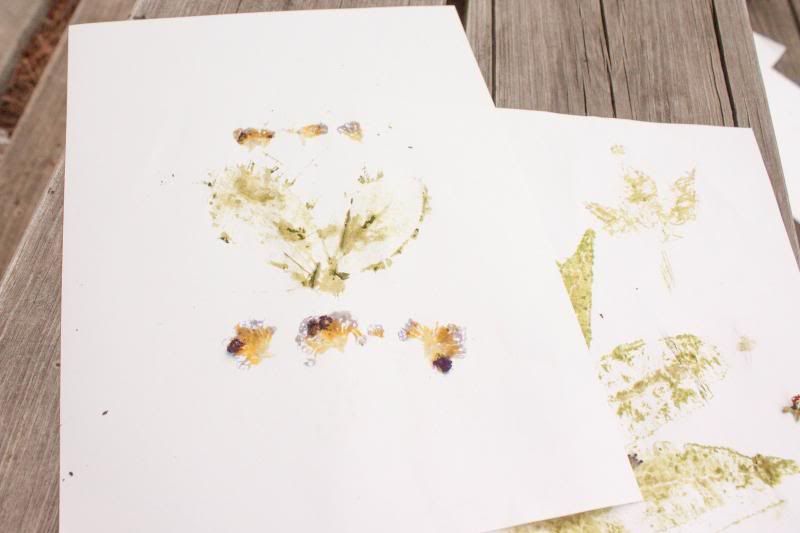
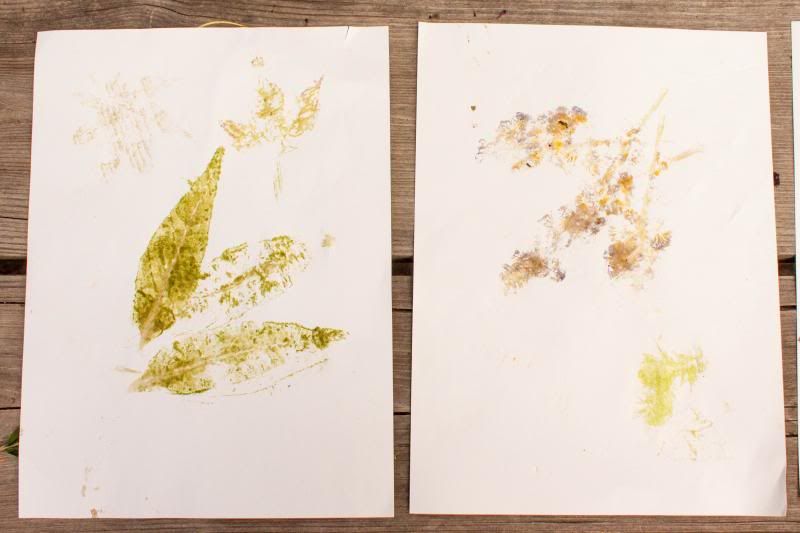
I photographed this project while we were doing it, but looking at the photos after, was kind of like, "Eh, maybe not" about posting it. However, when Anouk was still talking about our leaf prints the next day, and demanded we do it again the day after that, I reconsidered. I've never seen an art project hold her attention for this long.

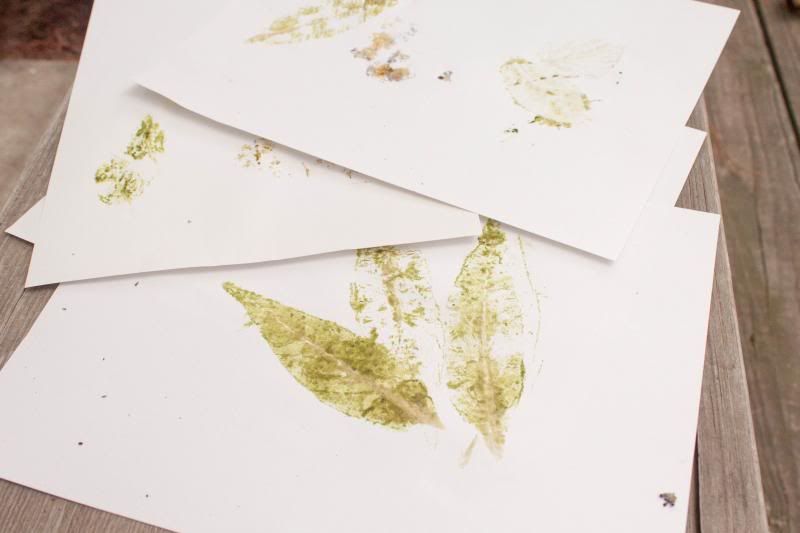
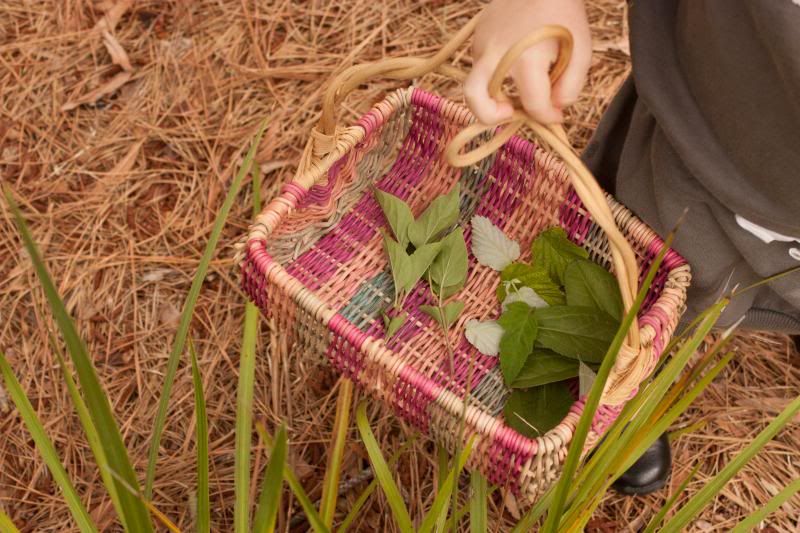
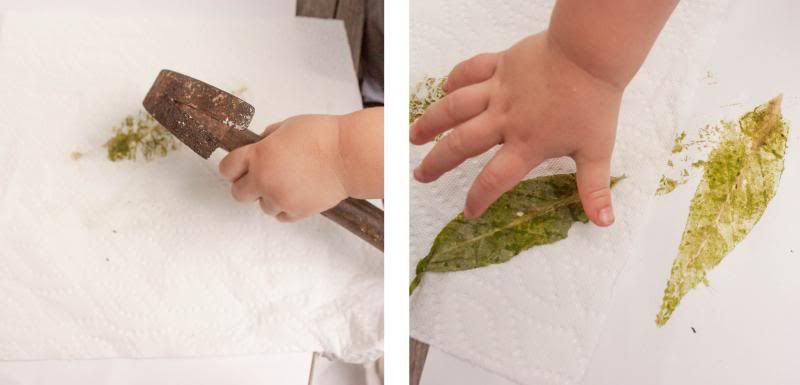
It's a very simple concept: you line up a bunch of leaves and flowers on white paper, cover them with a paper towel, give your kid a hammer, or a mallet, or a wood block, and let them whack to their heart's content. After a good hammering, the pigments in the leaves transfer to the paper, and you've got yourself a nice, nature-inspired print.


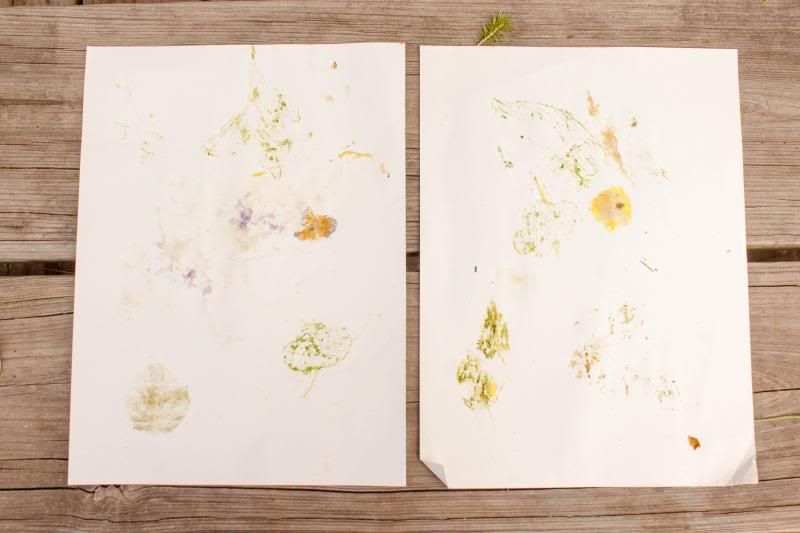
A few tips: dark-colored flowers and needle-y plants (pine needles, rosemary) make the most striking designs. We had the best results when we placed the underside of the leaf against the paper, facing up. We also noticed that after a few hours, some of the colors faded or turned brown -- any suggestions for things that might keep them bright and fresh are appreciated! (Lemon juice? Fixiative spray?)

Our designs turned out a little muddier and less crisp than the examples that we found online, but some of them were really pretty in spite of (because of?) the softer effect. And we had a really fun (and noisy -- sorry neighbors) time making them.


We're going to try this again in the fall, with some bright autumn leaves. Happy Monday!

DIY wrapping paper

Friday, May 31, 2013


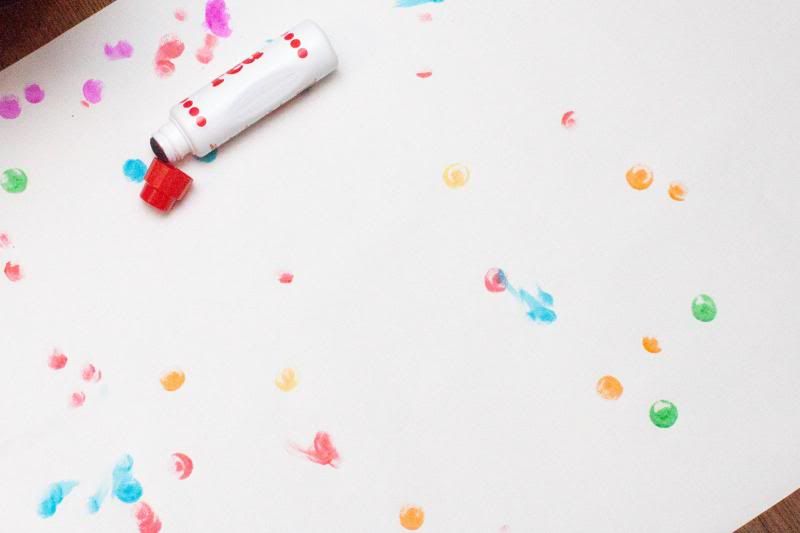
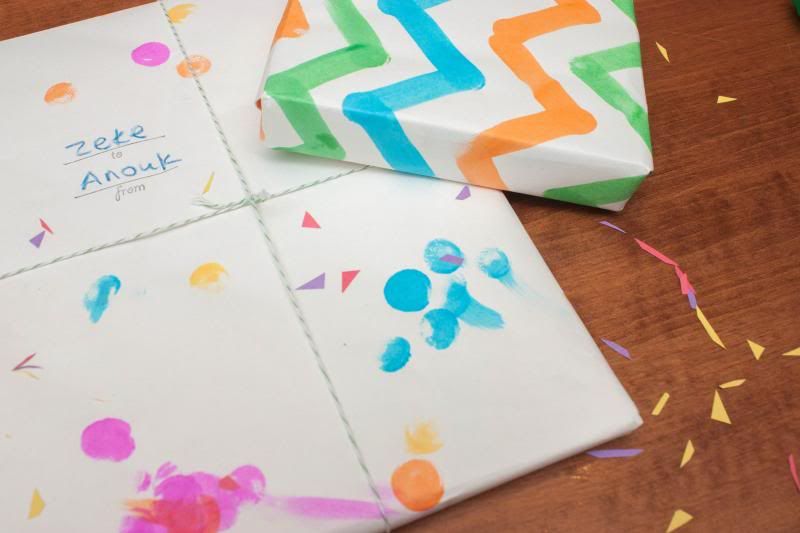
Birthday season is officially upon us, which means that lately, A. and I have been wrapping lots of gifts for friends of all ages. I've mentioned before that Anne isn't the craftiest kid, but something she's always up for is making some DIY wrapping paper to use for our presents. It might be because it's always more fun to make something for someone, it might be because it's a really free-form, unrestricted activity -- there really are no limits, no rules.

I used to buy a lot of gift-wrapping stuff, and dedicated a good amount of space in our tiny apartment to wrapping paper, gift bags, boxes, and bows, which was all pretty bad for the environment. But these days my wrapping paper stash takes up approximately 1% of what it used to. A roll of (recyclable, compostable) craft paper, some dot markers, and a couple of stamps are all we need. The results are always festive, if not professionally perfect. It feels nice to give our gifts a personal touch and to know we're not creating a lot of extra waste.

A couple of our favorite finds are the to/from stamp we bought from Etsy to use in place of tags, and rolls of colorful baker's twine to add a little pizzazz to our designs. Do you create your own wrapping paper or cards? What are some of the supplies you use?


Have a happy weekend, all! And happy birthday to all the birthday boys and girls we've celebrated with recently. :)

Cardboard box projects

Monday, February 18, 2013


Would you believe we are still working on getting rid of leftover cardboard boxes from Christmas? We did a ton of online shopping, plus we had gifts shipped in from family and friends, and on top of that, our recycling pickup only happens every other week. Which all leads to a little bit of a backlog when it comes to getting rid of things. When people come over to the house, I try my very best to dissuade them from going upstairs to the office lest they get lost in a sea of boxes.

In the meantime, before they go, we have been trying to put our cardboard boxes to good use. I have to admit, I love cardboard box activities. The boxes are a cheap, easy-to-work-with, forgivable material, and when the enthusiasm for the new toy wanes, you can get rid of it, guilt-free (after all...it is trash, right?)

I thought I would link to a few cardboard box crafts, in case you, too, find yourself same predicament as us. All in all, we've probably tried a dozen or more box activities, but the ones below are our tried and tested favorites.


  • A. can spend hours practicing writing skills in her salt writing tray, tracing the letters and shapes I draw for her and making up a few of her own. I like this rainbow-paper option just because it's cheerful. 
  • One: cut a hole in the box. Two: put your kid in that box. Three: dump some paint in the box. And throw the box away when you're done for mess-free toddler painting
  • Hanging different-textured fabrics from the roof of a box makes an engaging sensory play tunnel.  Bonus: it gives you something to do with those lonely socks that lose their mates on the journey from the hamper to the dryer. 
  • A string of Christmas lights + a large box + something sharp to make small holes with = a homemade planetarium. We made one after our visit to the Children's Museum last week. It's already gone out to the trash (thanks to an enthusiastic jumping incident), but while it lasted, it was the bomb. 
  • If you've got a large, flat box (like the one James's grill grate came in), why not make a small world play scene? So far we've turned ours into a village backdrop for A.'s trains and a ball pit. In between times, it goes under the couch until we figure out what to do with it next. 


And a couple for the big kids...


  • Creating an imaginary land: like our play scene idea, only with the child's own imagination let loose. I can't wait until A. is old enough for this one. 
  • A homemade reflector can give seedlings a boost until they're ready to go out into the garden. 


We still have a few more boxes upstairs, so...what do you do with your leftover cardboard boxes? (Besides recycle them, of course?) Do you have any fun crafts or activities to share?

Salt crystal painting

Wednesday, January 9, 2013

Salt crystal crafts seem to be popping up all over the internet lately. Just in the past week or so, I've run across tutorials for making your own DIY frosted windows, growing snowflakes and icicles in a jar, and making a salt crystal garden.

Baby A. and I decided to make a few tweaks to make this activity a little more toddler friendly, and did a little salt crystal painting one afternoon earlier this week. This craft rules because it's virtually mess free and because you are guaranteed to already have everything you need for it somewhere in your house.


The first step is to mix a salt solution. The perfect ratio is about one part salt to four parts water; we found that three tablespoons of salt in a 1/4 cup of water worked best for us. (We used table salt -- you can also use Epsom salts or borax crystals, though neither of those are safe for eating).

Add the salt to the water a little bit at a time, stirring to dissolve it as completely as possible in between. When the salt stops dissolving in the solution (crystals will be floating on top of the water and will remain at the bottom of your cup), nuke it in the microwave for about 20-30 seconds (it shouldn't be too hot). Stir some more, just to mix everything one final time, then grab some black construction paper, and start painting. For the brightest results, go over your designs a few times.


Lay your paper flat to dry someplace safe and warm while the water evaporates. We left ours on top of the radiators overnight, and in the morning...


Jack Frost had been by for a visit!


Baby A's "snowflake."


We definitely aren't going to win any art awards any time soon, but we had a lot of fun with this easy, wintery craft. Next time, we'll try adding tempera paint and try painting on white paper for a colorful glittery effect.


Have you ever crafted with salt crystals? Tell us about it!

Blog Design by Nudge Media Design | Powered by Blogger