Showing posts with label at-home fun. Show all posts

Making Murals

Monday, September 16, 2013


Ever since our Norfolk murals post -- and since we got to see some of AlchemyNFK's amazing artists working at First Friday a few weeks ago -- Anouk and I have been really into murals and thinking we'd like to try to make one of our own. So we asked our playgroup if they would like to pitch in. Molly generously offered her house to get all paintified -- we taped craft paper to the wall -- then we poured water-soluble paint into trays and let the kids get to it. The results were kind of awesome.

I think one of my favorite things was seeing how the kids worked together to build on each others' handiwork. One would use markers to scatter dots across the paper, then the next would come through and draw a line of finger paint between them. It was truly a collaborative process. I especially like how little Z. saw the other kids making handprints and then decided to add a border of his own all along the top of the mural.


This project is perfect for a group because you can pool your craft supplies -- the more types of paints/markers/brushes/stamps/crayons you have, the more you can put the little ones' creativity to work.

I think it looks so so cool. I'm really proud of our guys and I think they had a lot of fun. Plus, the finished product makes an awesome photo backdrop.


Banana Pudding à la Anouk

Thursday, September 5, 2013


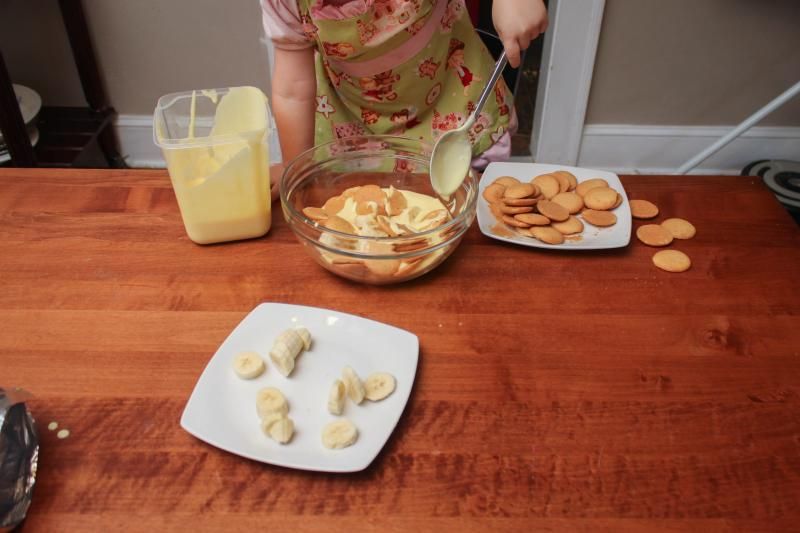
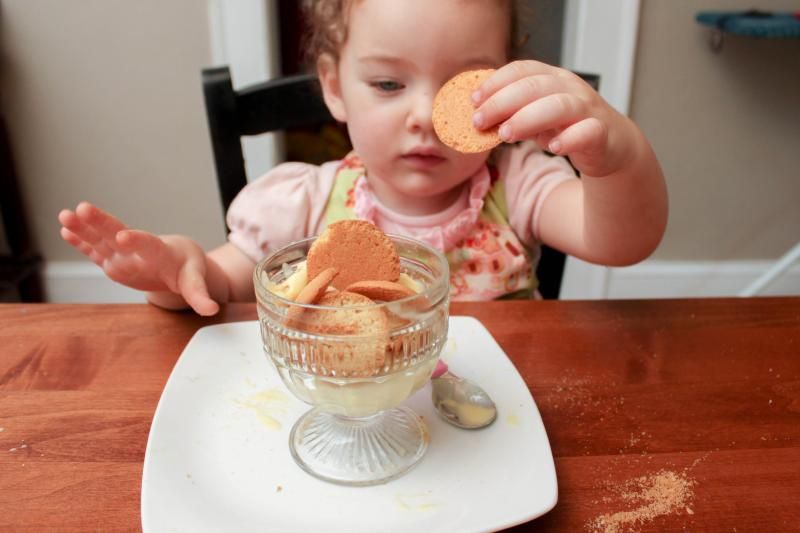
Lately, Anouk's most-often uttered phase is, "I do it myself!" She says it during bath time, when she gets dressed, when we return books to the library, and most of all, when I ask her if she wants to help me cook. Because I have an inquiring mind, I started to wonder, what WOULD happen if I let a not-quite-two-and-a-half-year-old cook something -- all by herself? Then I pulled out all of the ingredients for banana pudding and decided to find out. Because of A's milk allergy, our version of this pudding is dairy free (hooray!).

Ingredients:

1 package instant vanilla pudding
1.5 cups coconut milk
1 box vanilla wafer cookies
3-4 sliced bananas
Coconut whipped cream

Directions:

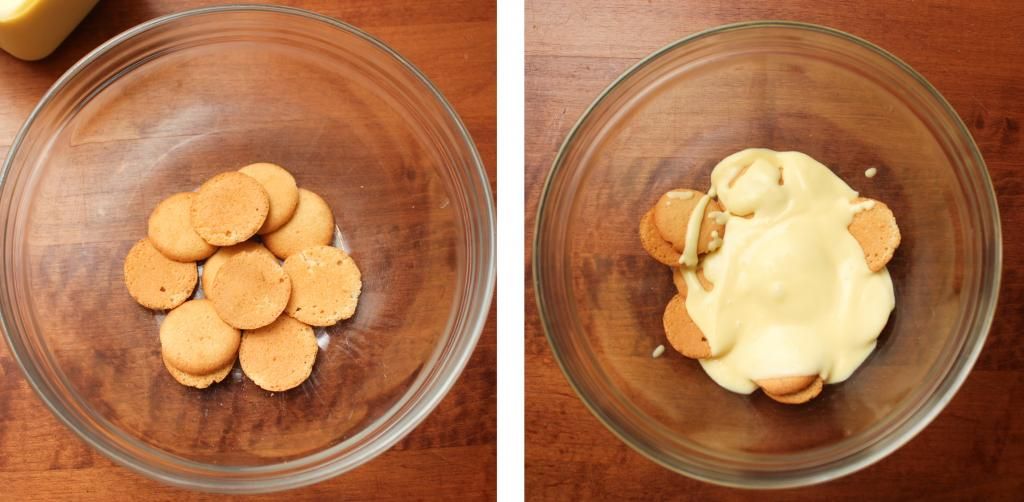
Follow the directions on the back of the instant pudding box to prepare the pudding. The trick of using coconut milk for this is to 1) use full fat coconut milk, the stuff in cans as opposed to the cartons, and 2) to use a half a cup less than the package calls for. It should set up nicely, but if it's too thick, you can add more milk, a little at a time, to think it out. Put a layer of cookies in the bottom of the bowl, follow with a layer of pudding and a layer of sliced bananas. Repeat. Serve with whipped cream on top.


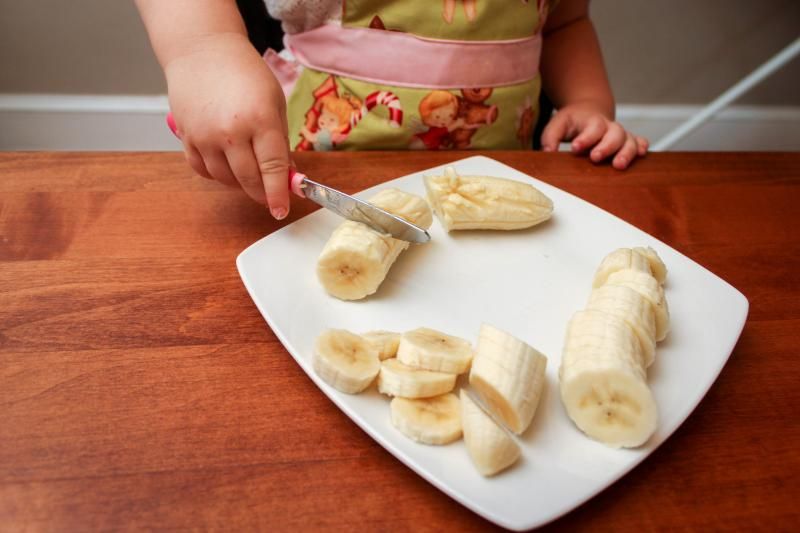
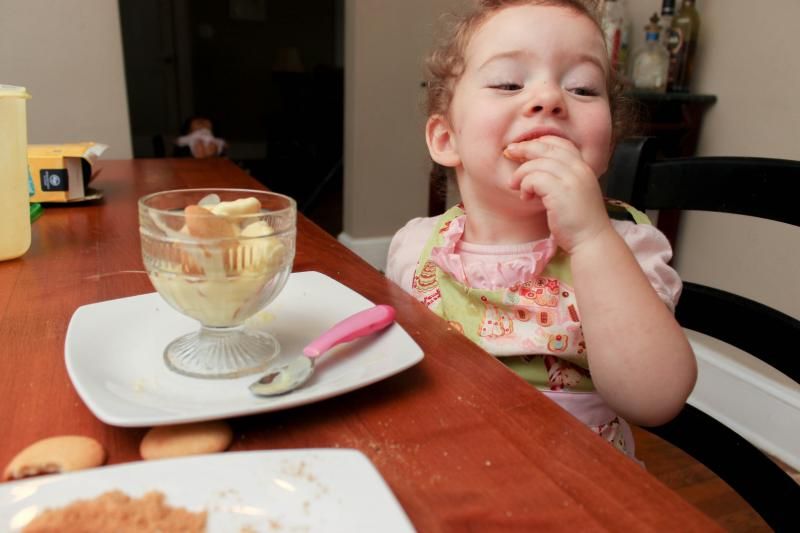
I measured out the milk for the pudding and helped A. stir the lumps out. I also sliced some of the bananas and gave her a general overview of the project. But other than that, Anouk assembled this recipe on her own, all by herself.

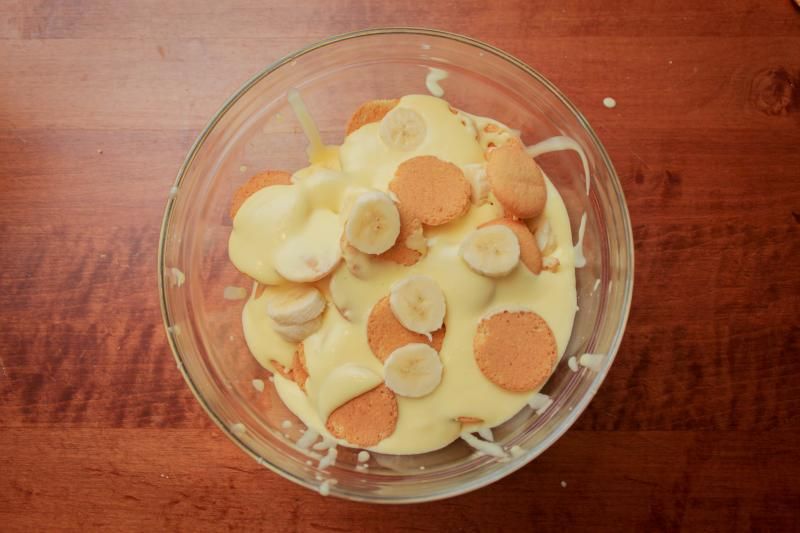
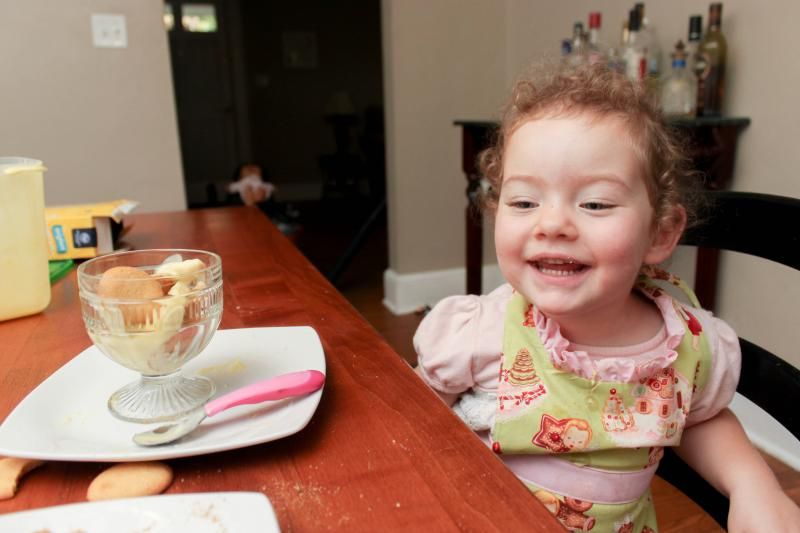
The end result is a little pudding-heavy, and several of the banana slices and a bit more of the cookies went into her mouth instead of the bowl. Oh, and our carefully mixed up coconut cream had a tragic accident with the floor, so we were sadly without delicious (non)dairy topping this go-round. But she was so happy with her creation that I'm deeming the project a full-blown success.

Tastes like victory!


Tissue Paper Bowls

Monday, September 2, 2013


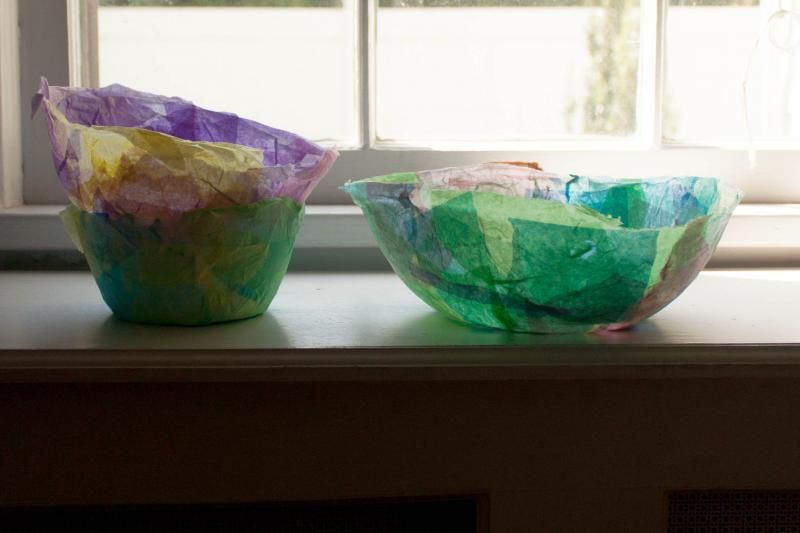
I saw this craft on Design Mom a few weeks ago -- she used balloons to shape tissue paper into beautiful paper mache bowls. We didn't have any balloons in the house, so Anouk and I adapted the craft a bit by using kitchen bowls of various shapes and sizes for our designs.

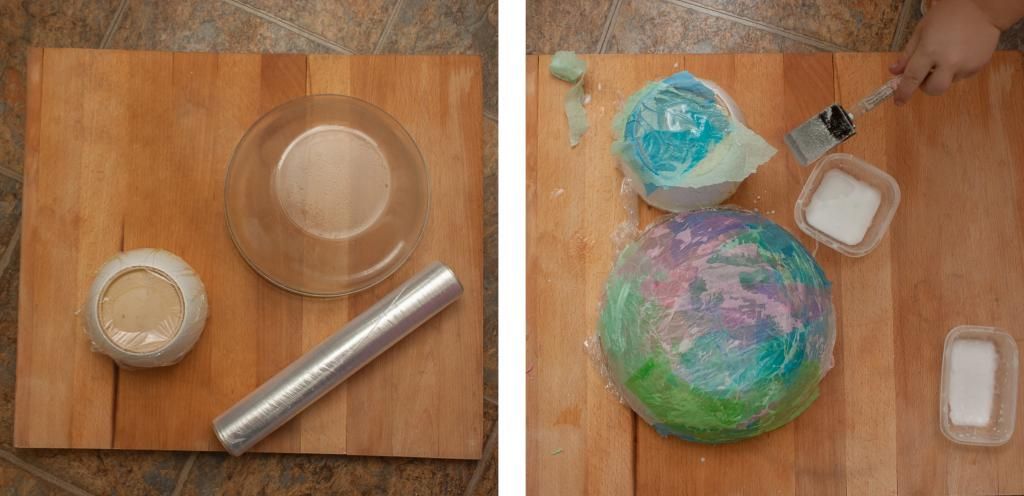
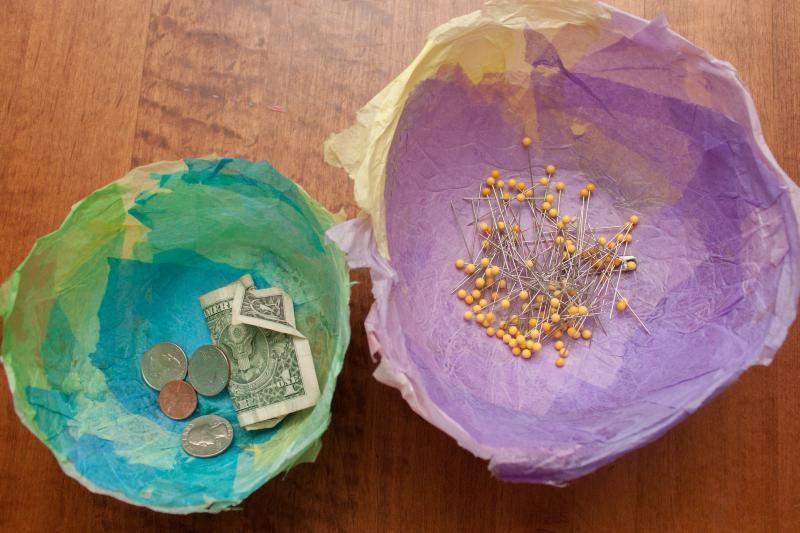
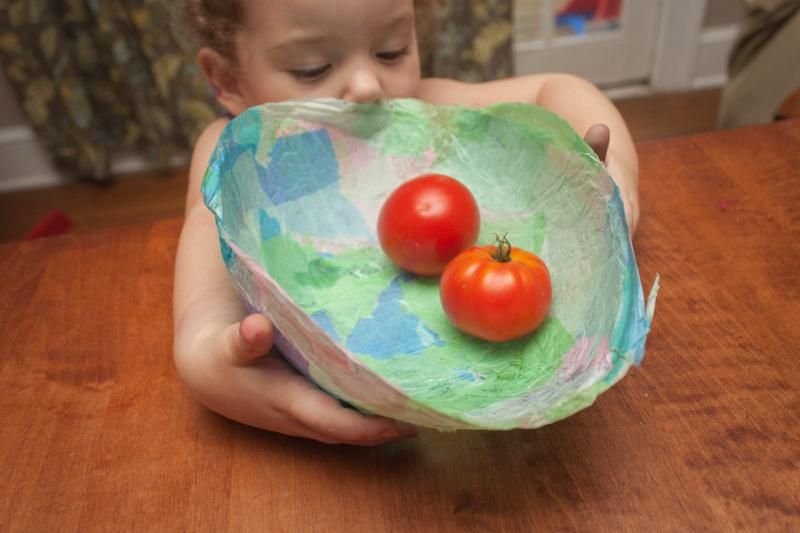
First, we coated the outsides of the bowls with cooking oil and covered them in plastic wrap. Then A. and I got to work tearing strips of tissue paper into small pieces, and pasting them to the plastic wrap with a thin coat of watered down Elmer's glue. After about three or four layers the bowls seemed pretty completely covered, so we set them outside and let them dry. An hour later, we (read: I) gently turned the tissue paper bowls out and sat back to admire the pretty stained glass effect of the light coming through the paper.


We trimmed the edges of the biggest and smallest bowls, but I thought the ragged edge on the purple bowl (which A. did all by herself) was kind of cool so we left it. Currently, our bowls are scattered around the house holding small things like loose change and pins (I like to throw them in there as I sew, so much quicker than poking them into a cushion) and the random stuff A. collects on her travels around the house and yard.

We really enjoyed this project -- it doesn't take a lot of finesse and there is something therapeutic about turning your mind off and just piling the colors on. I'm currently thinking about ways to adapt this project for the holidays, so stay tuned. This craft will surely pop up again in the coming months.


Fun with tangrams

Thursday, August 29, 2013

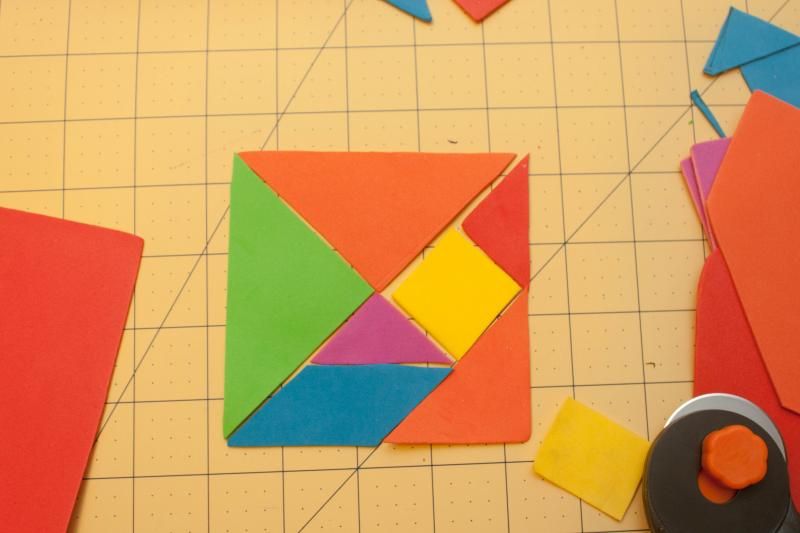
Have you ever heard of tangrams? I hadn't until I came across the concept during a late-night Pinterest session a few days ago but now I am obsessed. Tangrams, which are puzzles made up of seven different shapes that form a square, have been around for thousands of years and used for everything from entertainment in the trenches during WWI to modern day intelligence tests. The gist of the tangram is to look at a silhouetted outline -- of a bird or tree or building, for example -- and to recreate it from the tans, the shapes that make up the tangram.


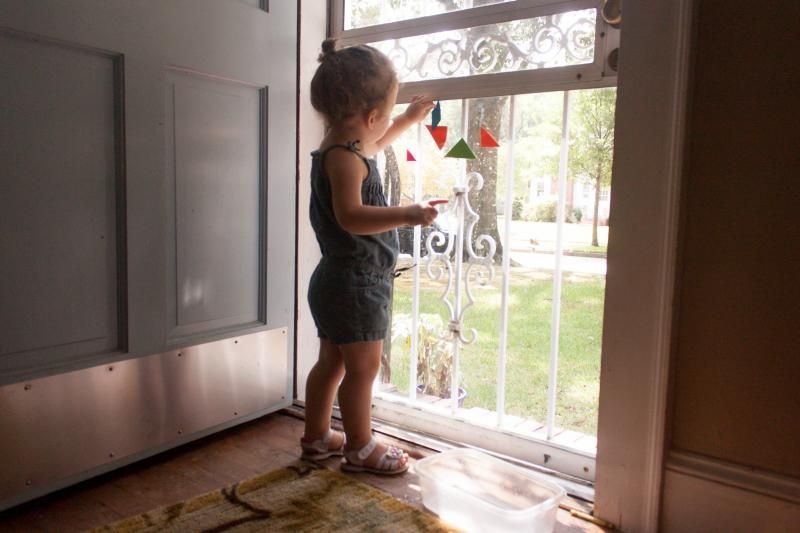
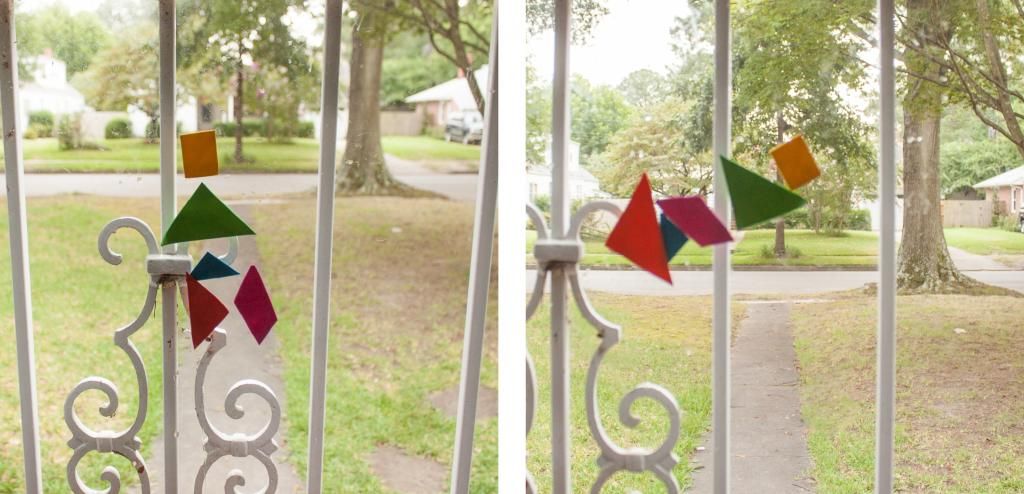
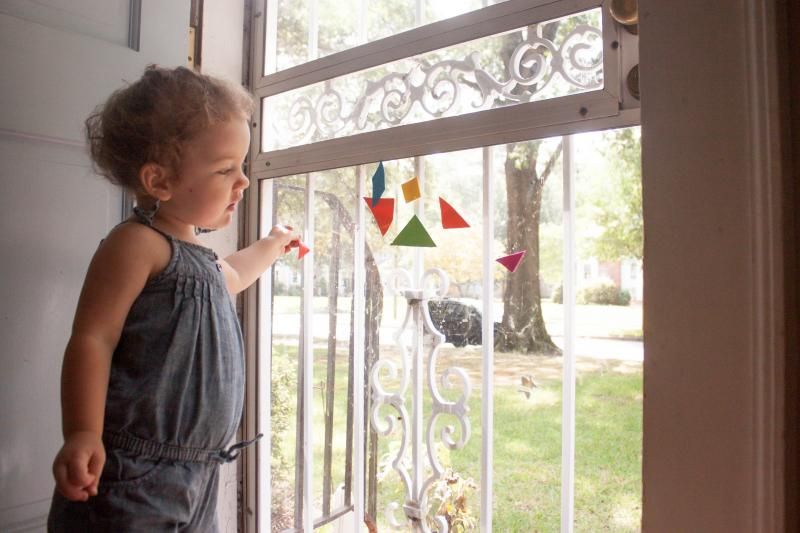
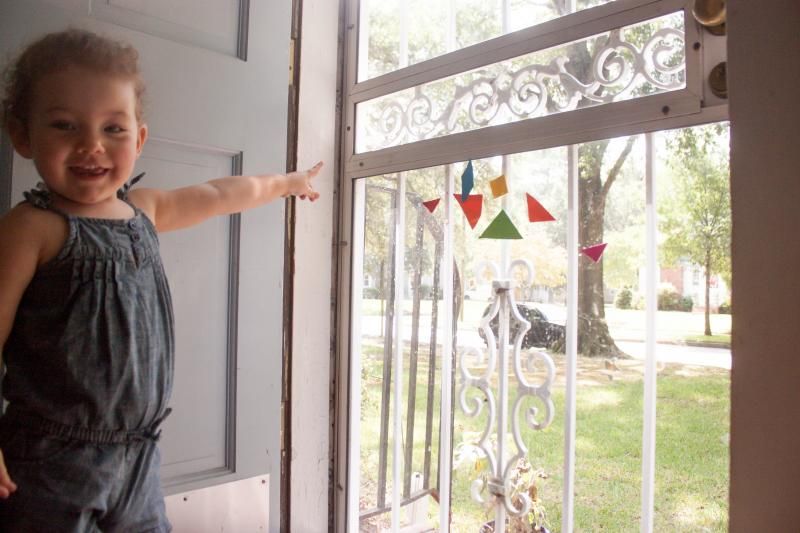
The pin I found was for making a tangram out of wood, but instead, I used a pack of foam sheets from our craft box. Everybody in the house has taken turns playing with the tangram pieces but I think A. likes them best of all. I'll park her at the front door with a bowl of water (water makes the foam stick to the glass) and she'll play for the better part of an hour, using the tans to freestyle a little art while I do laundry or get dinner on the table. I really love how the tangram forces her how to use an unfamiliar set of shapes to idealize familiar concepts (and some of the designs look pretty cool, too).


(The photos above are, according to A., a daddy, an airplane, and a sailboat.)

Who knew geometry could be so fun? (Besides my h.s. geometry teacher who promised me it would be if I could just give it a chance...)

Happy weekend!

Sand Clay

Tuesday, August 27, 2013

I've had a bag of sand hanging out in the garage since I planted my raspberry bushes a few months ago (they like a mix of sand and soil for good drainage). The hardware store where I bought my bag only carried sand in 50 lb increments, and I only used about 2 lbs in my planting, which means I have 48 left to use up somehow. Enter sand clay.

The texture of this clay is just like a grainy play-dough, but the real fun of it is that it will dry hard, meaning that you can use it to make summer treasures to keep.

Ingredients:

2 cups sand
1 cup cornstarch
1.5 cups water
2 tsps alum (found in the spice aisle)

Directions:

Combine the ingredients over medium-low heat, stirring constantly. Within a few minutes, the dough will begin to thicken up like playdough. Turn out onto a surface, kneading smooth when cool enough to touch. Shape and let dry overnight (or longer) to set. The clay can be stored in an airtight container for three or four days or so.

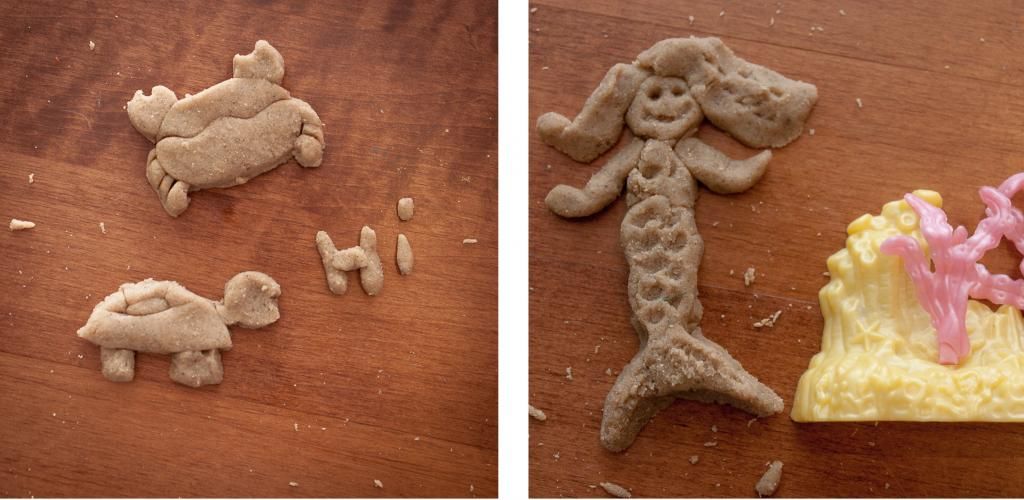
We made a sand castle, of course, and used our beach toys to cut out shapes and some shells from a recent beach trip to decorate them with. About halfway through I realized I could make Christmas tree ornaments and so I worked on that while A. made a few extremely scary sand snakes. We set our shapes outside in the sun to dry (it took about 12 hours) and put the rest away to play with over the next few days (by the end of day four it was gummy and pretty much finished). And only one piece broke, which is a higher success rate than we've had with either salt clay or baking soda clay.

I think this would be a great craft for when you want a little beachy fun but can't get to the beach, or a creative way to use up some of that sand you might bring back from a special beach vacation. I have a jar of sand somewhere that J. and I brought back from the red sand beaches of Prince Edward Island a few years ago -- if I can find it, I'm going to pull it out and make of ornaments out of it.


That last picture makes me think of this. Snake! A snaaaaake!

Egg Creams (Discuss)

Thursday, August 22, 2013


Over the past couple of weeks, our family has developed a little bit of an obsession with the egg cream, which, like a Linda Richman joke, contains neither egg, nor cream but is rather a mix of milk, chocolate syrup, and seltzer. The history of the egg cream varies widely according to whom you ask -- a few minutes of internet research turned up at least four people/institutions claiming responsibility for it. Everyone can agree, however, that it seemed to originate in the late 1800s/early 1900s in New York City and that it is delicious.

When mixed correctly, an egg cream tastes like a velvety chocolate soda with a refreshing, fizzy snap. When mixed incorrectly -- it's kind of weird/unappealing, not gonna lie. Luckily, we have had enough practice by now to be able pass on the correct mixing procedure to you and you will be able to avoid less-than-stellar egg creams! Hooray!
Step 1: Fill a 16 ounce glass with three tablespoons of chocolate syrup and 1/2 cup of very cold milk. To get the milk to the desired level of coldness, we usually chill it in the freezer for a few minutes. Most places seem to recommend whole milk as opposed to skim or 2% for the creaminess factor; we use soy milk because A. and I have issues with milk. Full-fat coconut milk works, too and is probably my favorite, but the flavor is a little off from the original recipe.

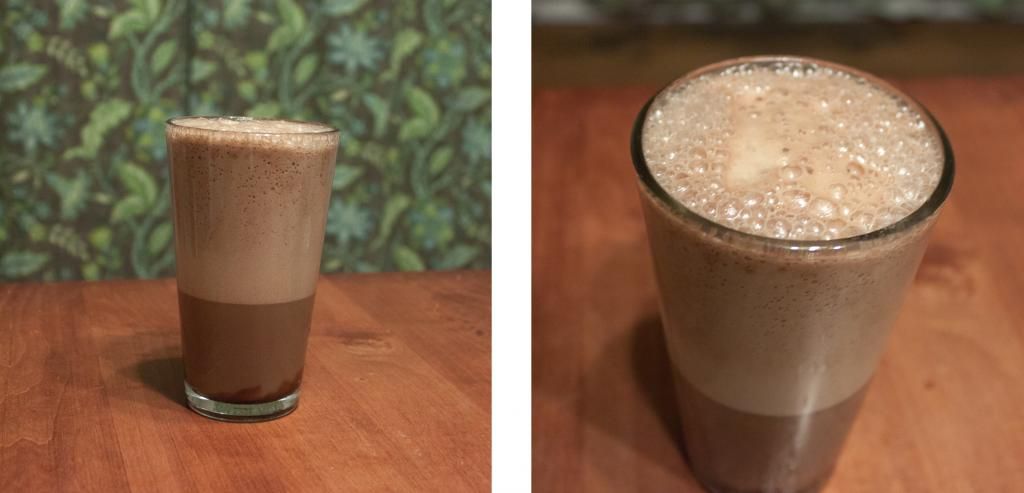
Step 2: While whipping the chocolate and milk mixture with a fork, as though you were beating and egg, pour enough chilled seltzer into the glass to fill it to about an half-inch from the top. The result of the whipping and the pouring should cause a thick layer of foam to form that will rise up and fill the rest of the glass.

Step 3: Enjoy immediately, while it's still at maximum levels of coldness and fizziness.

Our recipe lacks total authenticity because we didn't use Fox's U-Bet, the legendary syrup used to make this drink in the old days, and also because we added the chocolate before we added the seltzer, which made our foam turn brown instead of white. Technically, you're supposed to pour the chocolate down the side of the glass and stir it gently into the milk and seltzer once the foam has formed, but we found that led to improperly mixed egg creams or a lack of foam. We just don't have the knack, but what do you expect from a bunch of Southerners?

After our first perfect egg cream, I had to admit that y'all Yankees actually can do some eats pretty well (though I still think your cornbread sucks). Who knows, we might even have to venture north of the Mason-Dixon line to try out a real New York egg cream one of these days.

Have you ever made an egg cream? Do you have any tips on mixing? Do tell.


12 in 12 (August 2013)

Wednesday, August 21, 2013

It's August, and therefore time for another 12 photos in 12 hours. I feel like every time this project rolls around we have a really boring day and I long to be able to put my camera aside and wait to shoot when something more interesting is happening. It's hard to find the inspiration when you're just not feeling it. But I guess that's why this project is important -- it gives me a chance to search for something special in the little moments that don't seem very inspiring. And isn't that what most of life is?

I'm sure Rebecca and Darcy had far more interesting days, so be sure to check out their blogs today too. Here's to you, August 2013! Can you believe we're more than halfway through August already?


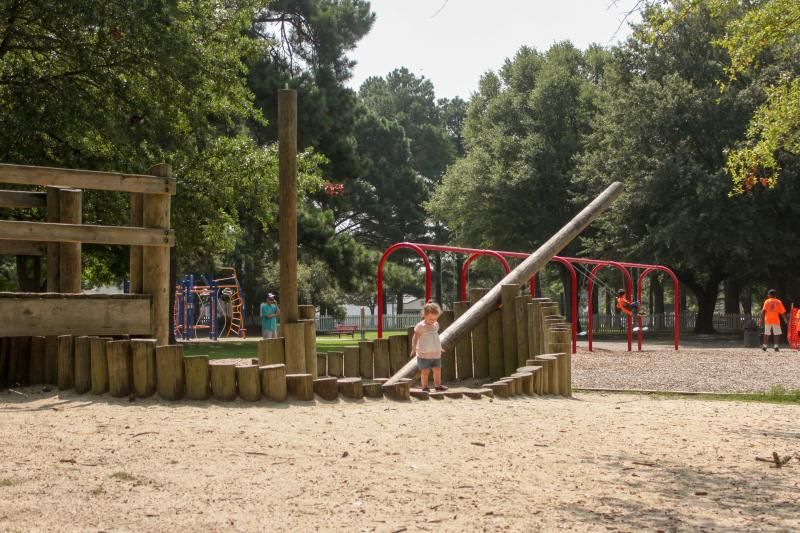
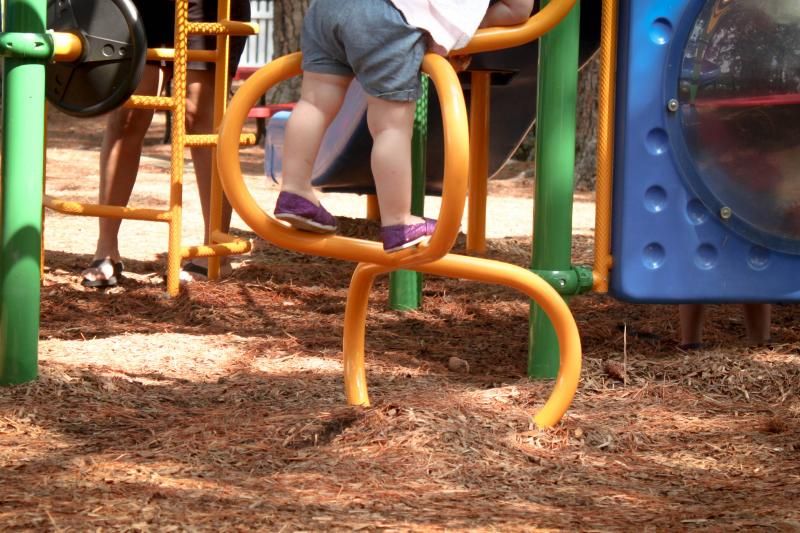
9:45 AM: It's a hot day that's only supposed to get hotter, so A. and I take our trip to the park as early as possible, right after breakfast. Despite our best-laid plans, it still feels like we're sitting in someone's armpit. Bleh. However, the chubby baby legs (climbing so high!) made me smile.


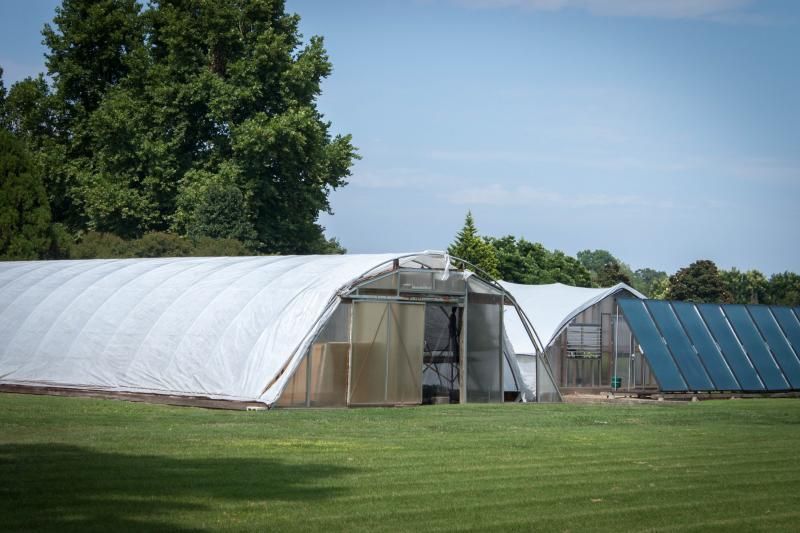
11:00 AM: A quick stop by the Virginia Tech Agricultural Research and Extension Center, a site that I'm thinking of reviewing for the blog based on a recommendation by my friend E. It looks interesting so A. and I make plans to come back later in the week when we have a little more time to explore (and when it will hopefully be cooler).


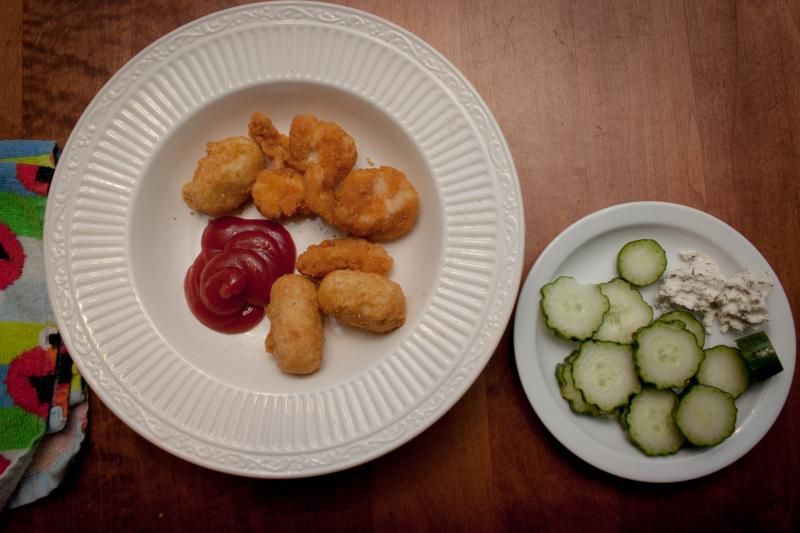
12:00 PM: Anouk's lunch: chicken nuggets, cucumber, goat cheese, and ketchup. Lots of ketchup. Anouk likes everything with a side of ketchup these days. Mama's lunch: a second latte and a few handfuls of Captain Crunch (not pictured because it was eaten hurriedly while A.'s back was turned, I want to keep her from a horrible lifelong Crunch addiction).


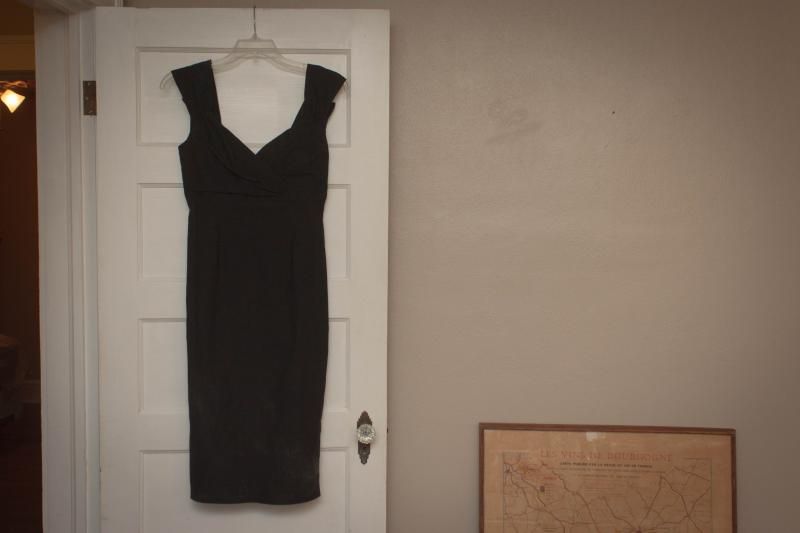
1:30 PM: While Anouk naps, I try on the bridesmaid dress I'm wearing in K. & D.'s wedding to see if I need to alter it at all. I can't believe I'm going to be wearing this beautiful dress in less than two months! I can't wait to see two of the best people that I know get married to each other. It's going to be rad.


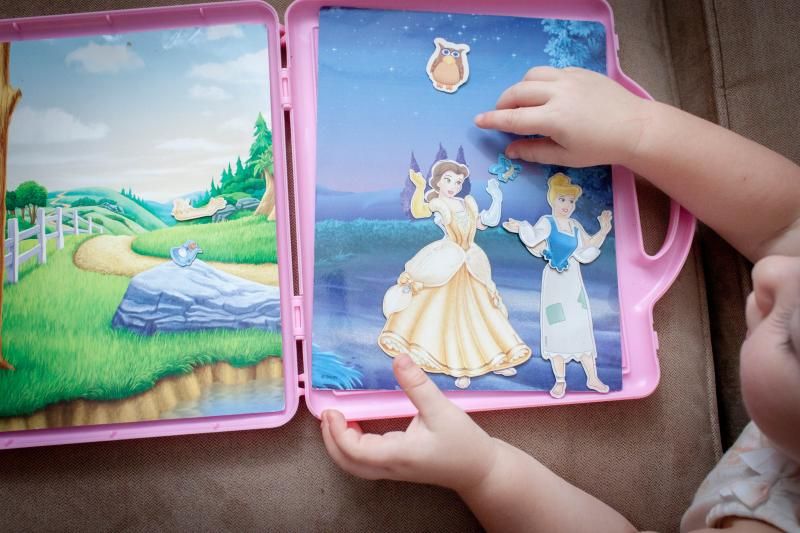
2:15 PM: I reached for this magnetic Disney Princess set when we were in the thrift store a week or two ago to distract a very whiny Anouk from trying to jump out of the cart. It worked and she basically hasn't stopped playing with it since. Totally worth the $1.50 I paid for it.


3:30 PM: Kroger! Grocery shopping goes six times faster when the car-cart is available.


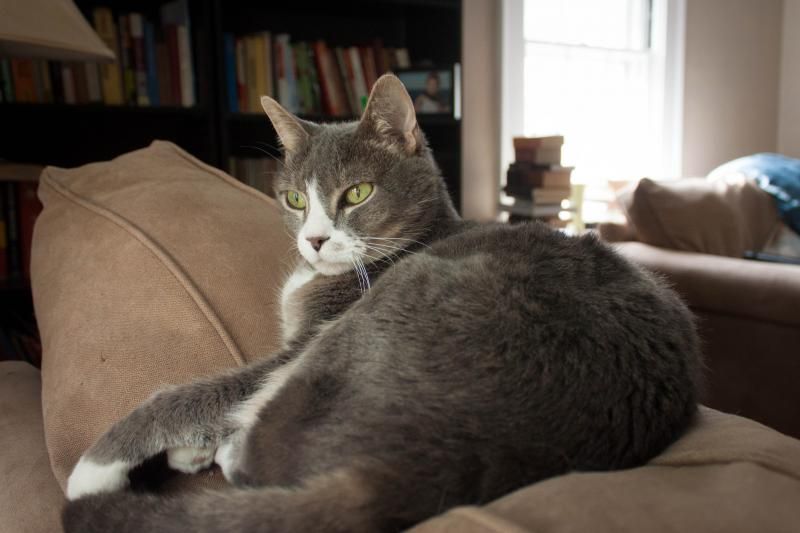
4:45 PM: The Josie-cat watches the squirrels in our yard. She got a clean bill of health at her checkup at the vet last week, not one issue for our 14-year-old girl. I hope this means we'll have her for 14 more.


6:00 PM: It's too hot to cook so we go out for dinner at Guad's at Granby. Our waitress was nice enough to bring A. her own bowl of  salsa because she understands that sometimes, you just have to double-dip your chip.


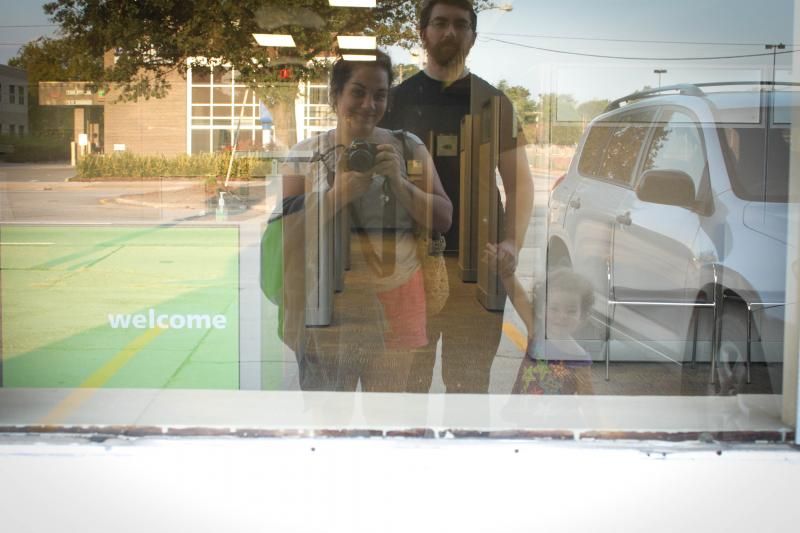
7:30 PM: On the way home, we stopped for a family portrait in the window of the H&R block. If I was still a humanities undergrad, I could write a fifteen page paper on how this photo is a commentary on the attitudinal changes between the American family in today's recession versus the Great Depression of the 1930s, and I would draw allusions to Grant Wood and Dorothea Lange and Sinclair Lewis. But luckily I'm not and so I don't have to do that kind of thing ever again.


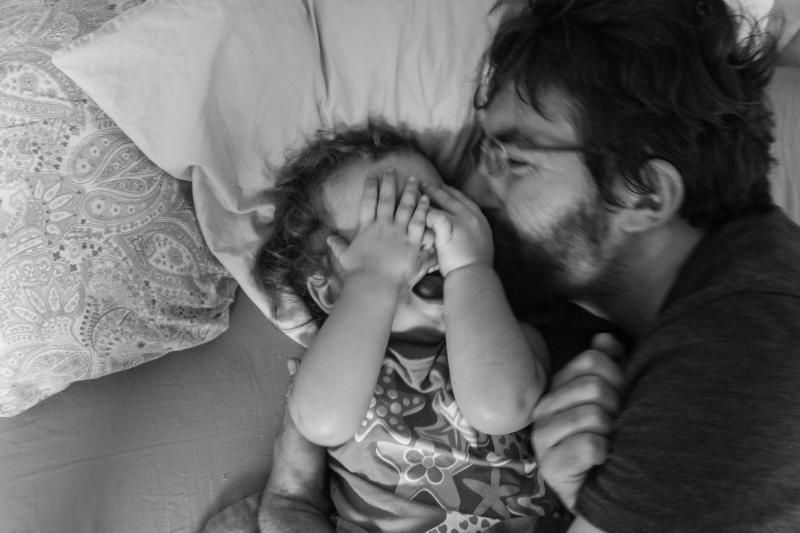
8:30 PM: Bedtime cuddles with Daddy.

Pollinator Protection Project: A Home for Bees

Monday, August 19, 2013


It's been a few weeks since we last wrote about it, but that doesn't mean that we haven't been hard at work on our Pollinator Protection Project. One of the duties under the Pollinator Protection Pledge is to create and protect bee nest sites, and after noticing a few mason bees swarming around the yard at the beginning of the summer, we decided that we would build a nest for them.

Mason bees are solitary bees that make their homes in holes caused by wood-boring animals or in hollow reeds near rivers and swamps. They are important in the pollination of fruit trees (so much so that they are sometimes called "orchard bees.") Like other bees, their populations are threatened by deforestation and the use of pesticides and insecticides, so steps should be taken to protect and supplement their habitats, where possible.

Building a house for the mason bees in our yard was a quick and easy project that took only a small slice of our Saturday afternoon. There's a great tutorial here with step-by-step instructions. In a nutshell: we took about a foot long piece of 4x4 lumber and drilled small, deep holes in it using a piece of pegboard as a template for spacing. Then we angled the top to encourage water runoff and hung it on the fence near a nice wet spot where water from our gutters accumulates when it rains (mason bees love mud).


So far we're not entirely sure if any bees have moved in to the home we've made for them, but we have seen more of them buzzing around than usual so maybe? We're excited to see if any decide to become our neighbors permanently and will keep you updated if they do.

Here are some other tutorials for making nesting spots for backyard pollinators:


And for good measure, a few super-creative and fabulous designs for solitary bee houses. Some of these are really gorgeous!

Do you have bees in your backyard? What kind?


Update, 10/20/13: By mid-October, about half the nesting holes in our mason bee house were occupied. See how some of the holes are plugged with gray mud? This will hopefully mean lots of pollinators in the yard next spring/summer. Hooray!

Washer Necklaces

Tuesday, July 23, 2013


We have been having really bad luck with Pinterest finds lately. The Listerine manicure and pedicure soak did nothing more than turn my hands and feet slightly green. The vegetable oil I put on a vintage bowl to remove the sales sticker ended up taking off a good chunk of paint (but left sticker remnants behind). And the baking soda clay that we tried last week crumbled apart and cracked as it dried.

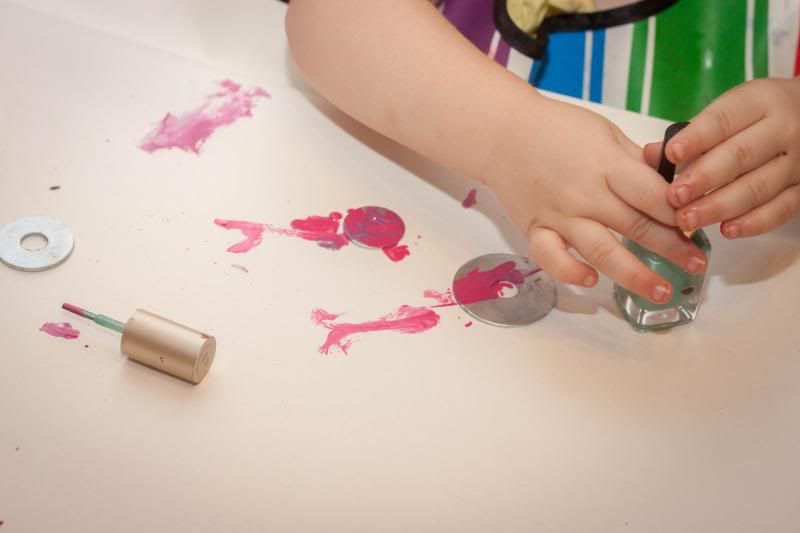
Luckily, this washer necklace project went well enough to get the memory of the other failed projects out of our heads. Probably because it was so so simple. We picked up different-sized washers from the hardware store and painted them with nail polish. When they dried, we added a coat of clear polish, and then strung them on some bakers twine and pretty crochet thread. It all worked just as it should, hurrah!


I am a big fan of vintage enameled jewelry, so I love how the nail polish gives the washers an enameled look. We used clear glitter polish to go over some of our designs for added sparkle, and then A. and I made coordinating beads with Sculpy to enhance our designs.

We've been doing so many jewelry crafts lately that the next thing we DIY is going to have to be something to put it all in. Any ideas?

Blog Design by Nudge Media Design | Powered by Blogger