Showing posts with label crafts. Show all posts

Apple-Printed Wrapping Paper

Monday, October 7, 2013


As I mentioned before, we had a lot of birthdays in September. And as you know, we like to get creative with our wrapping paper for gifts. So when Anouk and I pulled out some supplies to do a quick apple-printing craft a few weeks ago, I got an idea. Why not use our apples to print some cute and seasonal DIY wrapping paper?

We had a lot of fun with this simple craft, so much so that after we'd done a few sheets of wrapping, Anouk and I kept going and made a whole slew of apple prints to hang around the house. The wrapping paper project was more about being precise, so it was fun to have the opportunity to let loose and see where our imaginations took us.


So fun! And the birthday boy really liked his book, so it was a success all around.

Have you tried apple printing? Do you decorate with your prints?


Fall-themed bracelets out of painter's tape rolls

Thursday, October 3, 2013

Time for a quick fall craft (the only kind we do these days it seems, with everything else going on). We're thick in the middle of painting over at the new house, which means we've used about a million rolls of painter's tape and have empty cardboard thingies hanging around everywhere. Anouk was walking around with them stacked on her arm like bracelets and a craft idea was born.

We broke out the poster paint and got to decorating. We tried to use fall colors only -- lots of reds, browns, yellows, oranges, and deep purples. I went for more of a Halloween theme while Anouk's look was a little more abstract.


They aren't perfect but I still love them. Sometimes these are my favorite crafts, the ones that you do on the fly, from materials you find lying around.

We still have approximately four dozen empty tape rolls lying around. What should we do with them? Ideas?


Easy Sewing for Toddlers

Wednesday, October 2, 2013

Anouk is at the stage where she wants to do whatever it is I'm doing, especially if I'm sewing. "I want to sew, mama, can we sew?" For a long time, she was content to merely sit next to me while I ran fabric through the machine, but yesterday when I lifted her up, she looked at me like I was crazy. "No, I REALLY want to sew. By myself." So we did some quick thinking about how to make that happen.


This was what we came up with: a roll of shelf liner, an embroidery hoop, some yarn and some plastic needles that I picked up a while ago with the thought that I would make some lacing cards for A. and her friends. I spent a little time showing Nou how to work the needle -- one hand pokes the needle through, the other pulls it from the other side -- and then she waved me away. She had it.

I think this is a great way to get the youngest kids familiar with sewing techniques, and holding the small needle is definitely good for developing fine motor skills. Not to mention that this project holds Anne's attention really very well. I've seen similar tapestry tables on Pinterest (my friend Molly made a great one for her kids), but what I like about this version is that it's portable. It can go anywhere -- in the car, to the store, to the new house. I got a good chunk of my future guest room/craft room primed last week with the help of this little hoop and some yarn.
I especially like the Lion Brand yarn bon-bons in bright for this project. I thought the neon pop looked so striking against the black that I popped one of A.'s early attempts in a frame to spruce up her dresser top.


Do you sew? Do your kids? What have you been working on lately?


Fall Fun List

Tuesday, September 24, 2013

Since summer is officially over, I thought it would be a good time to share some of our favorite fall places, crafts, and treats from last year. If you have any suggestions you'd like to share, from your own blog or around the web, please link in the comments! Also, if you do any of these, please write and let us know how you enjoyed it. :)

I'm cuddled up under a wool blanket as I type this and I love love it. Welcome, fall!


GO:

-Bergey's Breadbasket: Quite possibly the best petting zoo in the area, with a PYO pumpkin patch and a delectable bakery attached. Bergey's inspired our apple dumpling recipe (below).

-Hunt Club Farm: The photos at the bottom of this post is from our visit last October (look how small my Nou was!). Their fall harvest fair runs through Nov. 1 this year and you can bet we'll be there again.

-Apple Picking at Martin Vineyard & Orchard: A recent trip that's going to become a family tradition. Apple season ends in November, but I would call ahead to make sure they're still open (their website doesn't seem to be updated frequently).

-New Earth Farm: A beautiful farmer's market in Virginia Beach, with probably the most interesting and delicious organic and seasonal produce in the area.

-First Landing State Park: So gorgeous this time of year. Try the Bald Cypress Trail, an easy hike for little legs.

-Big Woods State Forest: Some "real wilderness" hiking just about an hour away in Sussex County.

-Bennett's Creek Farm Market: Bennett's Creek is a treat in any season but fall makes us hungry and when the weather turns cool, we crave their she-crab soup.


MAKE: 

-Pumpkin pie playdough: Adding pumpkin-pie spice makes everything feel more festive.

-Gravestone rubbing: A spooky craft to get older kids interested in family history.

-Pinecone prints: This is a great time of year for nature painting.


COOK:

-Maple cinnamon marshmallows: Dresses up hot cocoa; a lot easier than you'd think.

-Apple dumplings: A quick and easy version of the famous ones at Bergey's Breadbasket.

-Pumpkin quinoa: The perfect breakfast for fall mornings.

-Sugar cookies: Not our recipe, but one we use constantly. These cookies are tasty and don't spread!


Tissue Paper Bowls

Monday, September 2, 2013


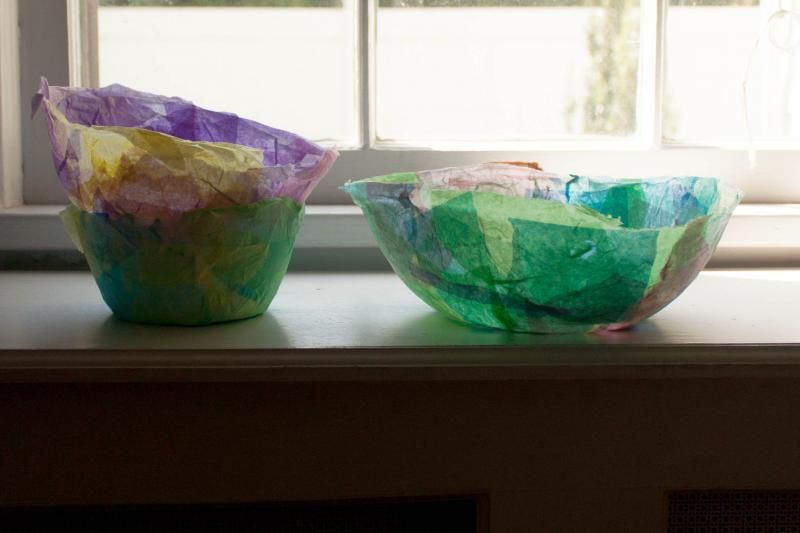
I saw this craft on Design Mom a few weeks ago -- she used balloons to shape tissue paper into beautiful paper mache bowls. We didn't have any balloons in the house, so Anouk and I adapted the craft a bit by using kitchen bowls of various shapes and sizes for our designs.

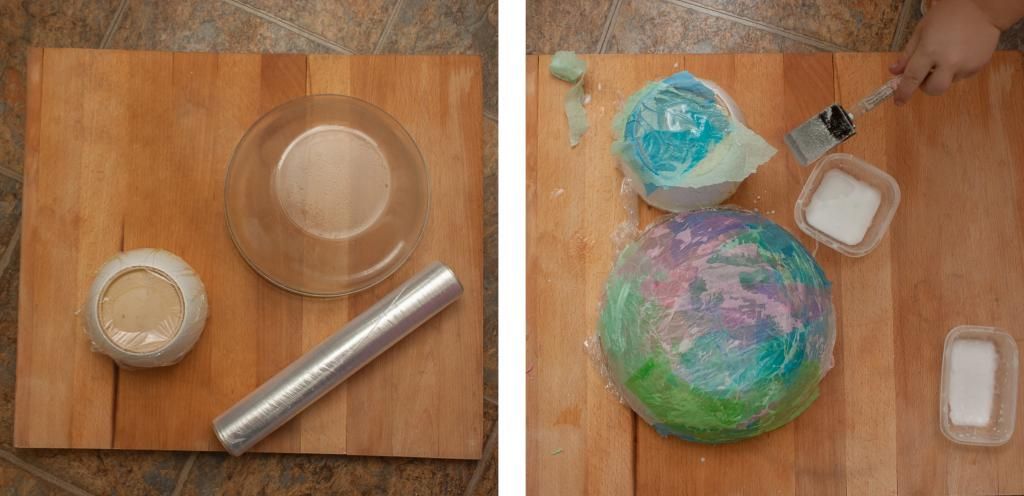
First, we coated the outsides of the bowls with cooking oil and covered them in plastic wrap. Then A. and I got to work tearing strips of tissue paper into small pieces, and pasting them to the plastic wrap with a thin coat of watered down Elmer's glue. After about three or four layers the bowls seemed pretty completely covered, so we set them outside and let them dry. An hour later, we (read: I) gently turned the tissue paper bowls out and sat back to admire the pretty stained glass effect of the light coming through the paper.


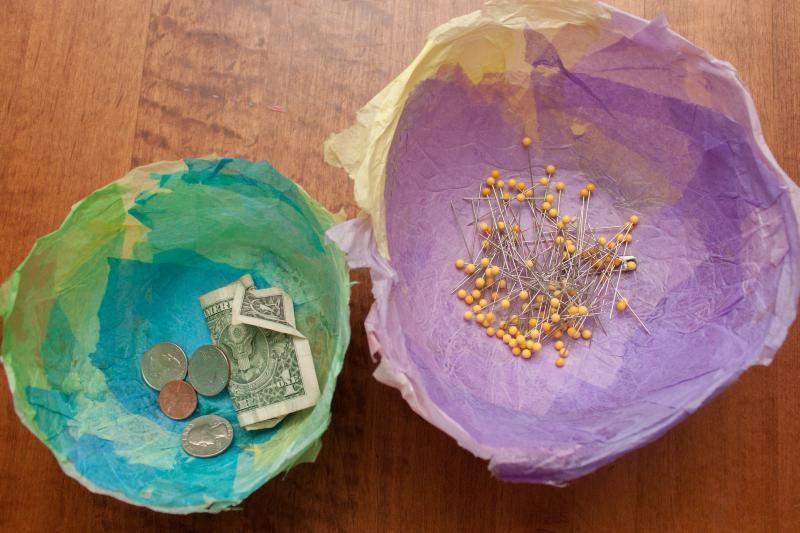
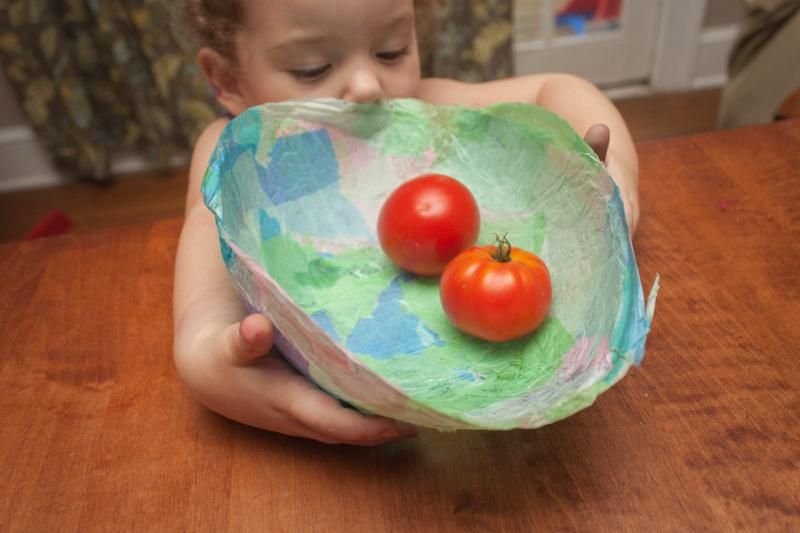
We trimmed the edges of the biggest and smallest bowls, but I thought the ragged edge on the purple bowl (which A. did all by herself) was kind of cool so we left it. Currently, our bowls are scattered around the house holding small things like loose change and pins (I like to throw them in there as I sew, so much quicker than poking them into a cushion) and the random stuff A. collects on her travels around the house and yard.

We really enjoyed this project -- it doesn't take a lot of finesse and there is something therapeutic about turning your mind off and just piling the colors on. I'm currently thinking about ways to adapt this project for the holidays, so stay tuned. This craft will surely pop up again in the coming months.


Sand Clay

Tuesday, August 27, 2013

I've had a bag of sand hanging out in the garage since I planted my raspberry bushes a few months ago (they like a mix of sand and soil for good drainage). The hardware store where I bought my bag only carried sand in 50 lb increments, and I only used about 2 lbs in my planting, which means I have 48 left to use up somehow. Enter sand clay.

The texture of this clay is just like a grainy play-dough, but the real fun of it is that it will dry hard, meaning that you can use it to make summer treasures to keep.

Ingredients:

2 cups sand
1 cup cornstarch
1.5 cups water
2 tsps alum (found in the spice aisle)

Directions:

Combine the ingredients over medium-low heat, stirring constantly. Within a few minutes, the dough will begin to thicken up like playdough. Turn out onto a surface, kneading smooth when cool enough to touch. Shape and let dry overnight (or longer) to set. The clay can be stored in an airtight container for three or four days or so.

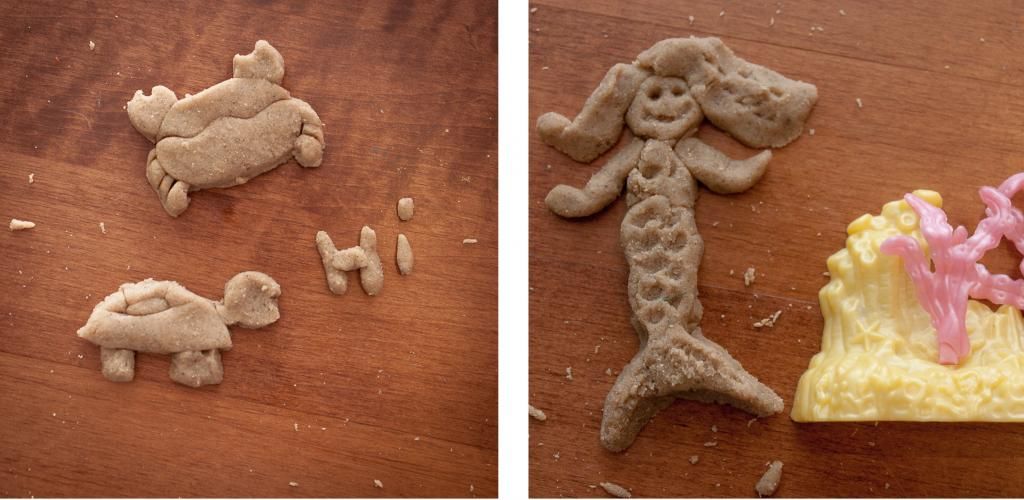
We made a sand castle, of course, and used our beach toys to cut out shapes and some shells from a recent beach trip to decorate them with. About halfway through I realized I could make Christmas tree ornaments and so I worked on that while A. made a few extremely scary sand snakes. We set our shapes outside in the sun to dry (it took about 12 hours) and put the rest away to play with over the next few days (by the end of day four it was gummy and pretty much finished). And only one piece broke, which is a higher success rate than we've had with either salt clay or baking soda clay.

I think this would be a great craft for when you want a little beachy fun but can't get to the beach, or a creative way to use up some of that sand you might bring back from a special beach vacation. I have a jar of sand somewhere that J. and I brought back from the red sand beaches of Prince Edward Island a few years ago -- if I can find it, I'm going to pull it out and make of ornaments out of it.


That last picture makes me think of this. Snake! A snaaaaake!

Flower Arranging

Tuesday, July 30, 2013


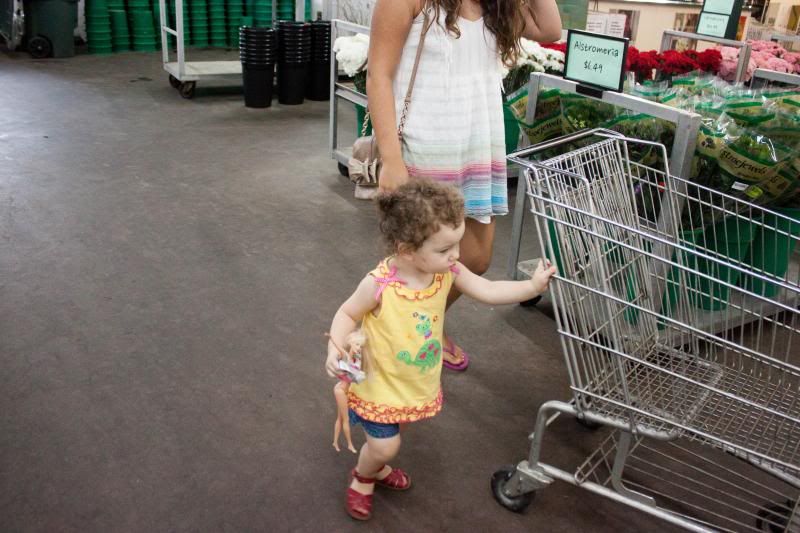
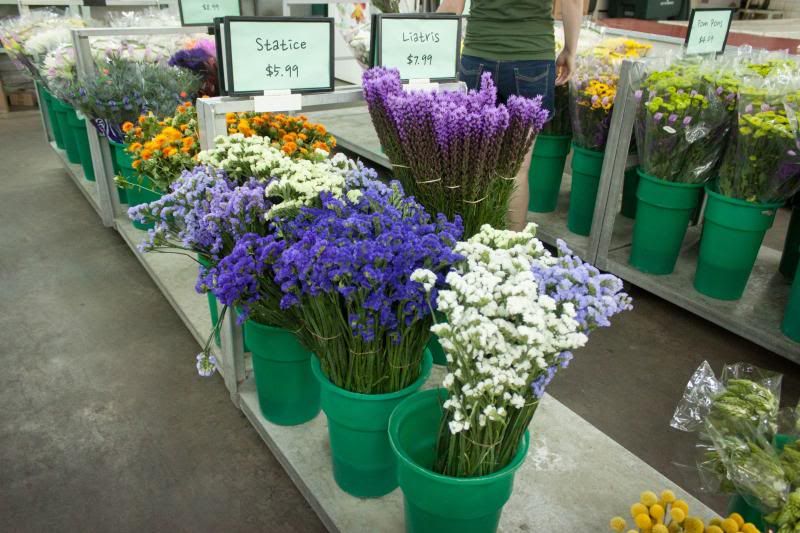
We're spending some time with Anouk's cousin KK this week, and it's been a little bit of a challenge to think of crafts and activities that will appeal to both a toddler and a thirteen-year-old. Finally, after a lot of thinking, we decided that we would pay a visit to Norfolk Wholesale Florist, to get some supplies to make flower arrangements.

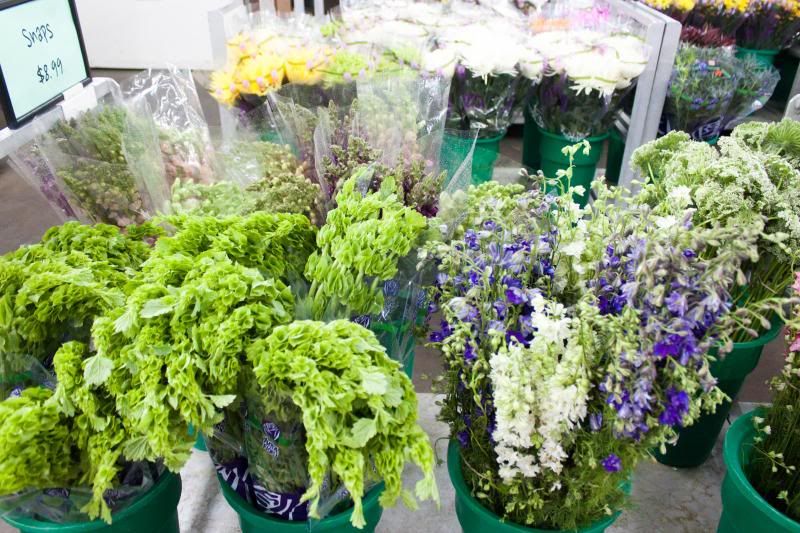
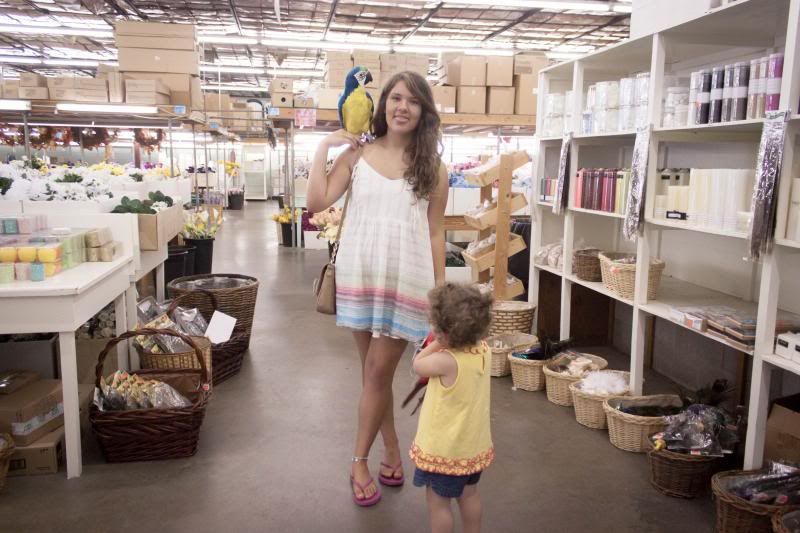
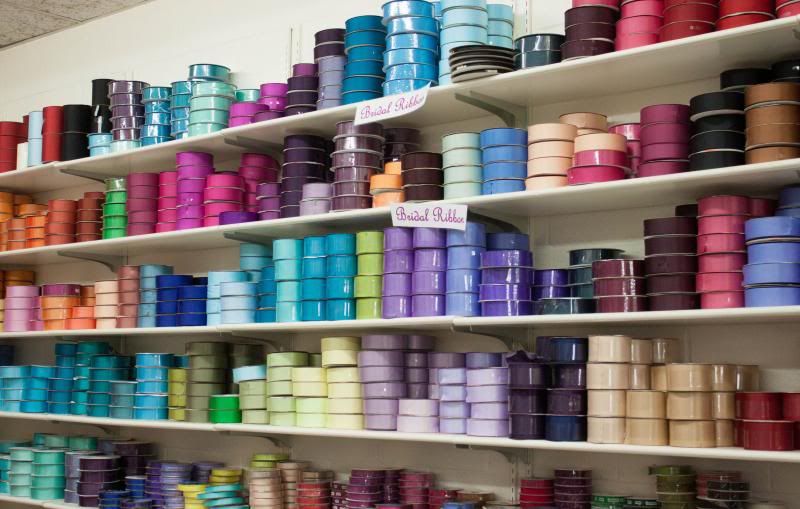
Norfolk Wholesale Florist is kind of paradise if you're a flower lover. There are blossoms everywhere -- from exotic orchids to delicate baby's breath, PLUS all of the accoutrements you  need to tie them all together (including very realistic stuffed parrots, below). We gathered our blooms (fawning over some of the more exotic ones like protea and star of Bethlehem), browsed the selection of vases, and then stopped by the ribbon room (truly a crafty mom's delight).


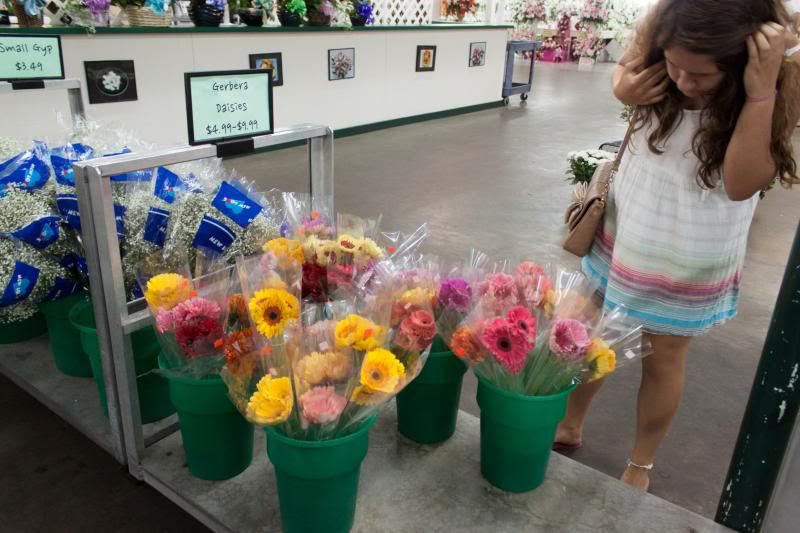
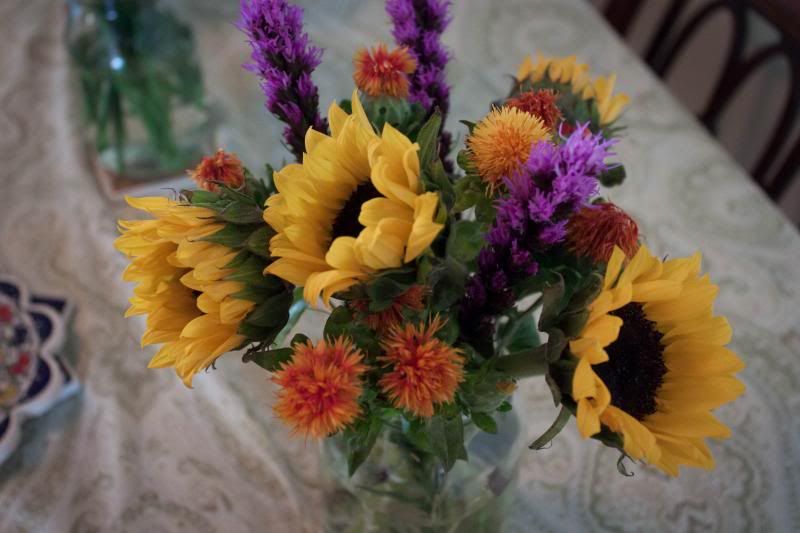
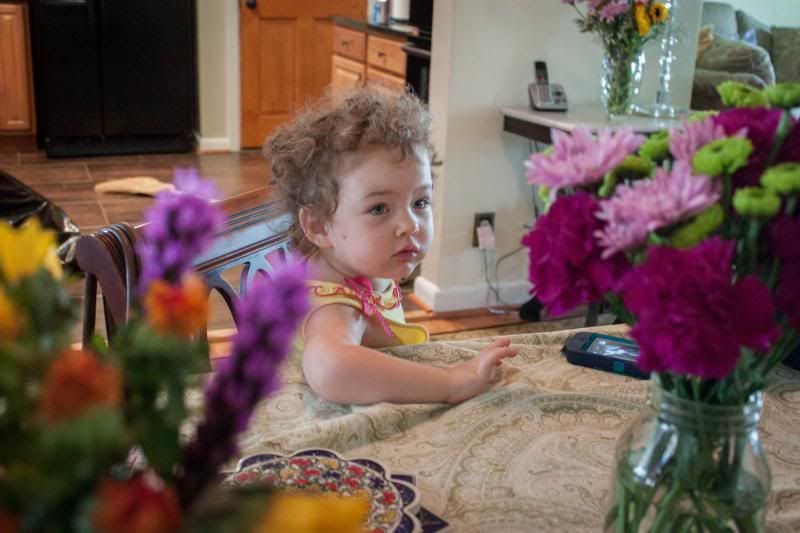
I gave each of the girls some cash and then stepped back to see what they would choose to buy with it. KK got her hands on some beautiful gerbera daisies and bright carnations, while Anouk chose a handful of lime green mums and some sunflowers. I of course couldn't leave myself out, so I picked up some safflowers and tall purple liatris. I can't say enough about how helpful the NWF staff were -- they helped us find everything we needed and gave us lots of hints about how to make the best-looking, longest-lasting bouquets.

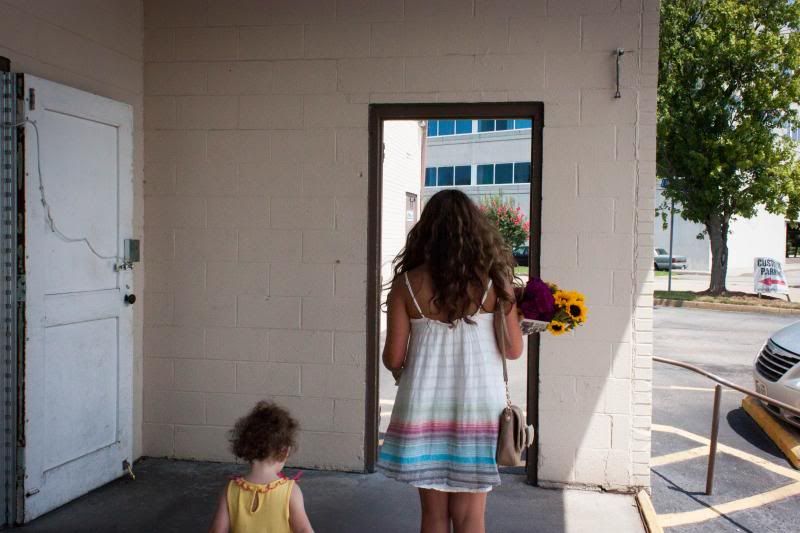
At home, we set to it and arranged our dozens of flowers as artistically as we could. Altogether, $30 got us enough flowers and filler for six small bouquets! I think they turned out to be pretty amazing.


Here are some links on flower arranging that we found helpful when putting our bouquets together:

Washer Necklaces

Tuesday, July 23, 2013


We have been having really bad luck with Pinterest finds lately. The Listerine manicure and pedicure soak did nothing more than turn my hands and feet slightly green. The vegetable oil I put on a vintage bowl to remove the sales sticker ended up taking off a good chunk of paint (but left sticker remnants behind). And the baking soda clay that we tried last week crumbled apart and cracked as it dried.

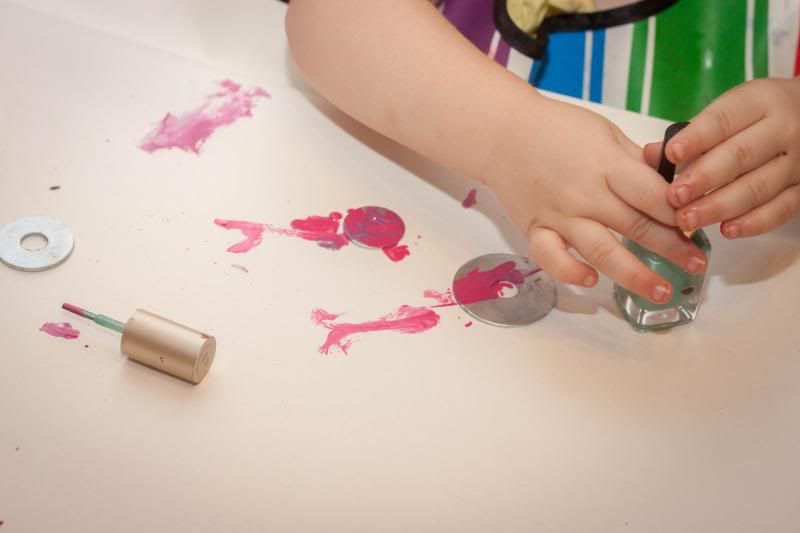
Luckily, this washer necklace project went well enough to get the memory of the other failed projects out of our heads. Probably because it was so so simple. We picked up different-sized washers from the hardware store and painted them with nail polish. When they dried, we added a coat of clear polish, and then strung them on some bakers twine and pretty crochet thread. It all worked just as it should, hurrah!


I am a big fan of vintage enameled jewelry, so I love how the nail polish gives the washers an enameled look. We used clear glitter polish to go over some of our designs for added sparkle, and then A. and I made coordinating beads with Sculpy to enhance our designs.

We've been doing so many jewelry crafts lately that the next thing we DIY is going to have to be something to put it all in. Any ideas?

A midsummer night's lanterns

Friday, June 21, 2013


Today is the Summer Solstice -- the first day of summer and traditionally, the longest day of the year. In ancient times, it was celebrated with bonfires, as a gesture of gratitude for the sun's warmth and a way to mark the beginning of the dying of the year. Tonight, we'll celebrate the Solstice by throwing some steaks on the grill, and lighting a fire in the fire pit to make s'mores (a modern addition to the ritual.)

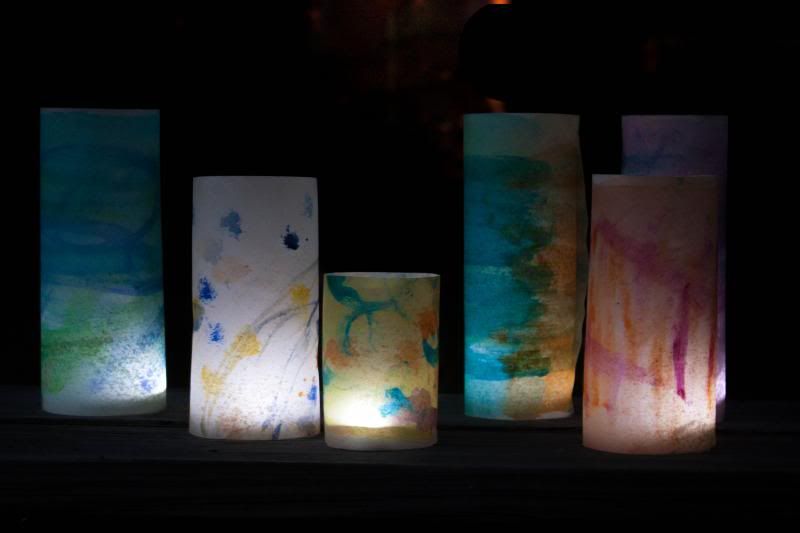
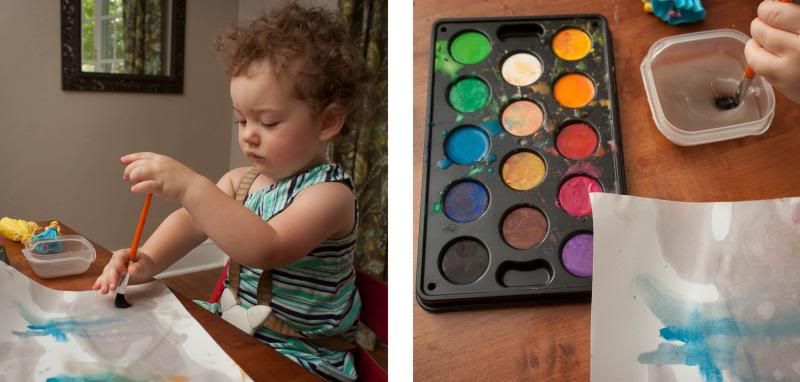
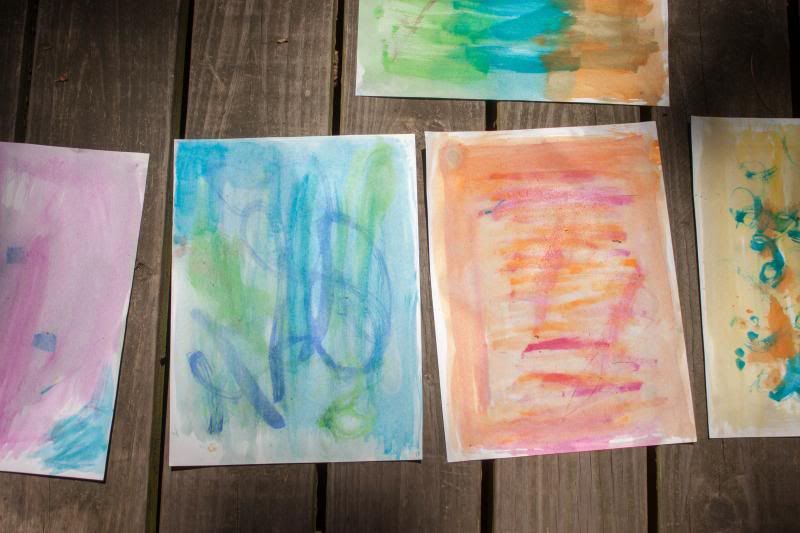
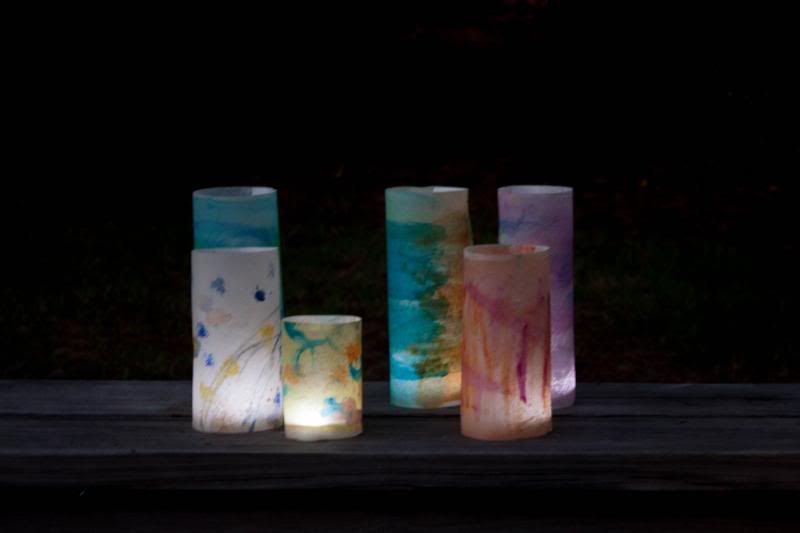
Earlier in the week, Anouk and I made some colorful lanterns to add to our festivities. We've been setting them out on the deck at night and enjoying them since.

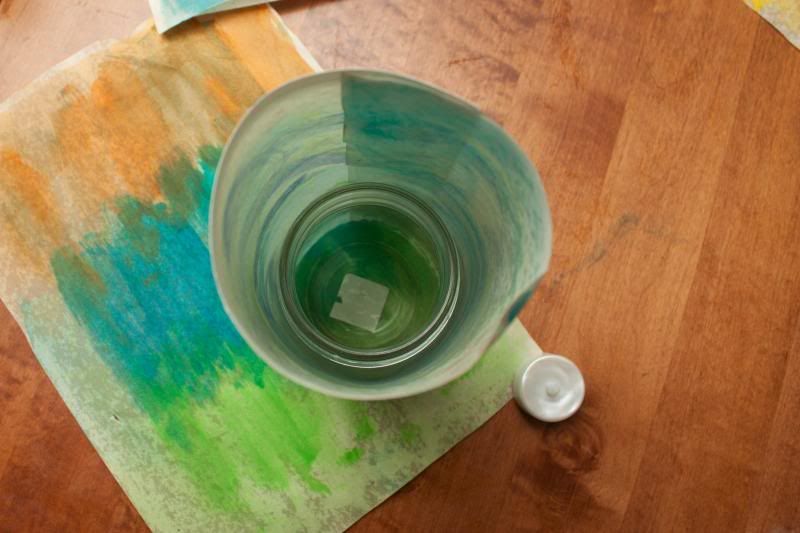
The stained glass technique is one we found on The Artful Parent. It involves rubbing watercolor paintings with cooking oil, which makes them translucent when they dry. Then we took it another step by shaping our oiled paintings into cylinders and gluing them into place (tape doesn't stand a chance on the slick paper). We slid mason jars into them to stabilize them, and dropped flameless candles inside to light up our designs.


Such a simple project -- but one that we've really enjoyed.

Happy weekend! And happy Solstice.


Popsicle stick bracelets

Monday, April 22, 2013


It could be I am possibly too excited about this craft that Baby A. and I did last week. I'm a very crafty person -- but Anouk isn't, which means that most of our art sessions end up with a toddler crying because her hands are covered in goop. But I still keep pressing on because I want my child to grow creatively... and because, come on, getting to do art projects as an adult is about 40% of the reason
to have a kid in the first place.

These wooden bracelets, made out of popsicle sticks, were a big hit with both mama and baby. Luckily, my girl loves a good accessory more than she hates getting her hands dirty.

The bracelets are a little tricky to make -- here's how to do it.


First, the craft sticks have to be soaked in water overnight, then they have to be bent into shape and let dry for another 24-48 hours. When ours were waterlogged to the point of flexibility, we very, very slowly bent them and fitted them into the opening of a glass and mason jar, for adult-sized bracelets. To make ones that would fit little toddler wrists, we bent the wet sticks around a paper towel roll and secured them in place with rubber bands. (Some of them will break in this process, so I suggest prepping a few extras, just in case.)

We left the sticks outside all day and night on one of the warm days last week and by the next morning, they were dry and ready to paint. We carefully took them out of the glasses and sanded the rough splintery bits with sandpaper. Then we painted them, using acrylic paints and some paint pens.

For the finishing touch, we added foam sticker "jewels" to a select few.


I think our bracelets turned out very nicely and I found myself admiring mine as I worked around the house over the weekend. Anouk loves her new bling and has barely taken her bracelets off since we first put them on her wrists. (She lost her sticker jewels pretty quickly, so if you want added durability, I suggest a few drops of glue to hold it more firmly in place.)

Even James got one. He says he likes it -- in a manly way.


Please excuse the mess in that picture. After a very long week, the last thing we wanted to do was laundry, etc. Here's to a better week than the last one. Happy Monday!

Blog Design by Nudge Media Design | Powered by Blogger