Showing posts with label painting. Show all posts

Mini-Pumpkin Monsters

Wednesday, October 16, 2013

I feel a little guilty about Halloween this year -- it's the first year that Anouk really understands what's going on, but with the big move in progress, I haven't decorated a bit. All of our Halloween decorations are boxed up and are waiting to be unpacked in the new house.

A. has been looking at all of the decorations in our neighbors' yards, and the pumpkins sitting on their stoops, and asking, "Where's our Halloween stuff, mama?" So on a trip to the grocery store the other day, I picked up a few mini-pumpkins and brought them home to scatter around the house.

But that wasn't enough for Miss A. She rummaged in the craft box for supplies and declared, "We have to paint them." She also pulled out some unopened packages of googly eyes and that was our inspiration for our mini-pumpkin monsters. We used whatever caught our attention to monsterfy our pumpkins -- paints, pom-poms, pushpins for antennae.


I love the way they turned out. These monsters are definitely of the cute rather than scary variety. And now our mantle has some Halloween spirit. Everybody's happy!

Have you decorated for Halloween yet? What's your favorite Halloween swag? (I'm definitely a fan of those fake gravestones with the funny names on them. Al B. Bach, indeed!)

Making Murals

Monday, September 16, 2013


Ever since our Norfolk murals post -- and since we got to see some of AlchemyNFK's amazing artists working at First Friday a few weeks ago -- Anouk and I have been really into murals and thinking we'd like to try to make one of our own. So we asked our playgroup if they would like to pitch in. Molly generously offered her house to get all paintified -- we taped craft paper to the wall -- then we poured water-soluble paint into trays and let the kids get to it. The results were kind of awesome.

I think one of my favorite things was seeing how the kids worked together to build on each others' handiwork. One would use markers to scatter dots across the paper, then the next would come through and draw a line of finger paint between them. It was truly a collaborative process. I especially like how little Z. saw the other kids making handprints and then decided to add a border of his own all along the top of the mural.


This project is perfect for a group because you can pool your craft supplies -- the more types of paints/markers/brushes/stamps/crayons you have, the more you can put the little ones' creativity to work.

I think it looks so so cool. I'm really proud of our guys and I think they had a lot of fun. Plus, the finished product makes an awesome photo backdrop.


A midsummer night's lanterns

Friday, June 21, 2013


Today is the Summer Solstice -- the first day of summer and traditionally, the longest day of the year. In ancient times, it was celebrated with bonfires, as a gesture of gratitude for the sun's warmth and a way to mark the beginning of the dying of the year. Tonight, we'll celebrate the Solstice by throwing some steaks on the grill, and lighting a fire in the fire pit to make s'mores (a modern addition to the ritual.)

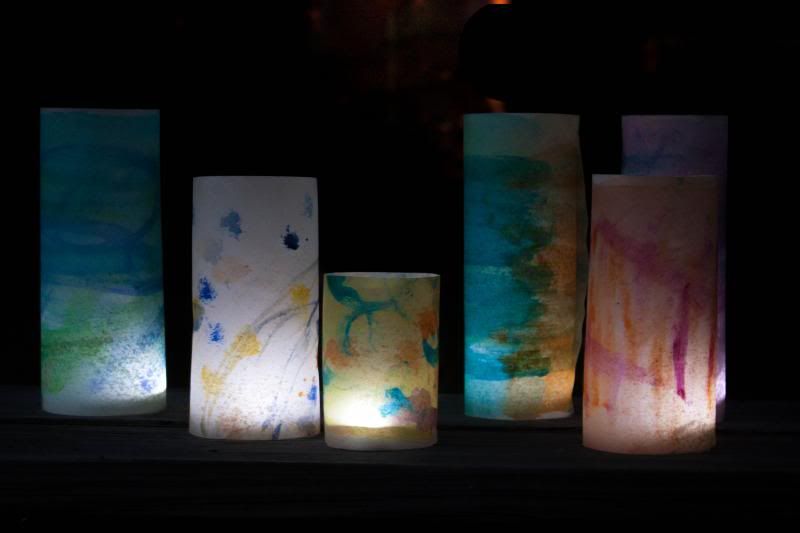
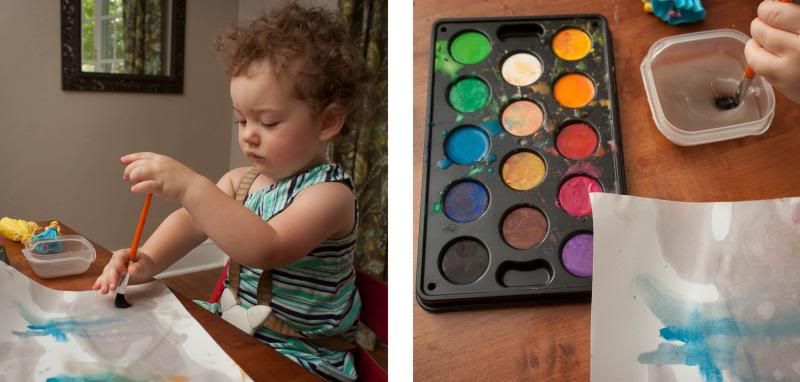
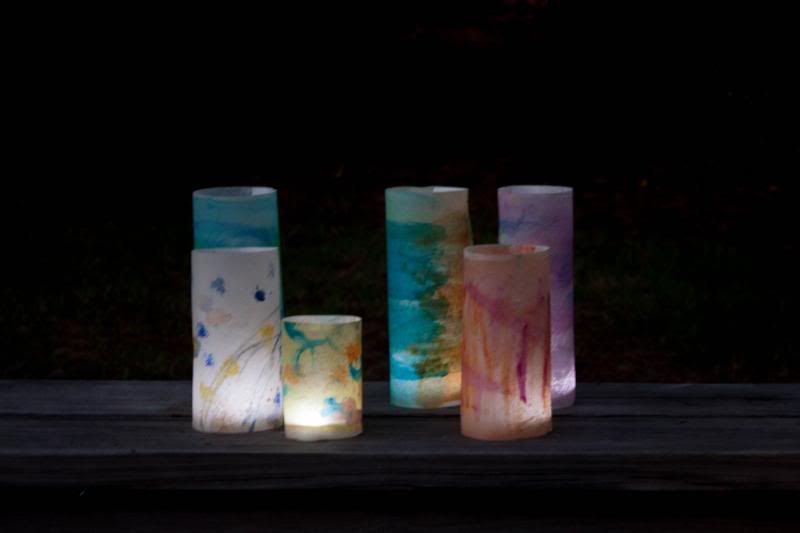
Earlier in the week, Anouk and I made some colorful lanterns to add to our festivities. We've been setting them out on the deck at night and enjoying them since.

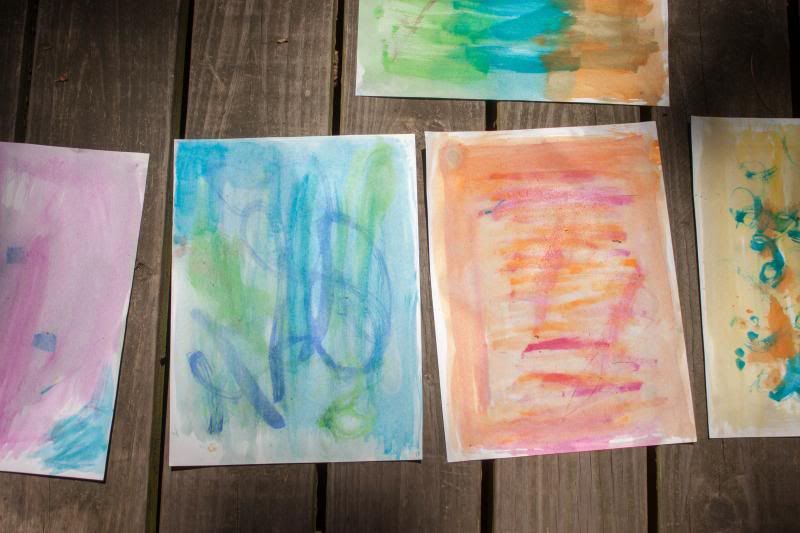
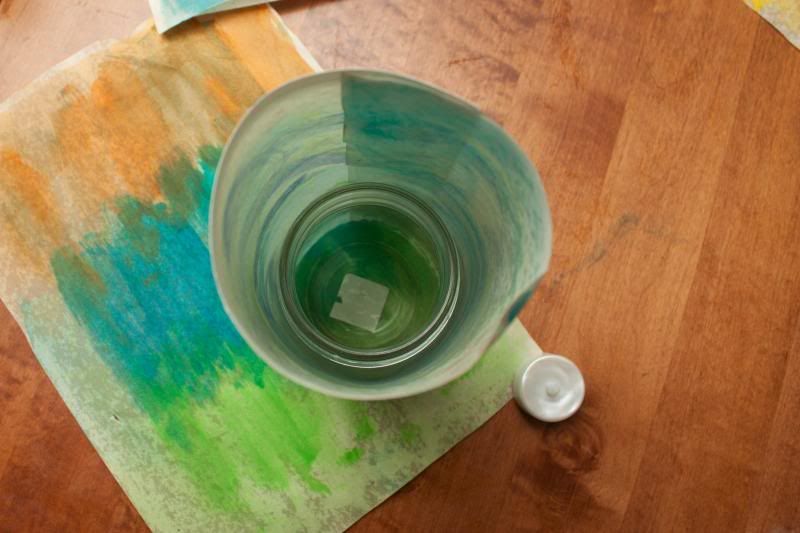
The stained glass technique is one we found on The Artful Parent. It involves rubbing watercolor paintings with cooking oil, which makes them translucent when they dry. Then we took it another step by shaping our oiled paintings into cylinders and gluing them into place (tape doesn't stand a chance on the slick paper). We slid mason jars into them to stabilize them, and dropped flameless candles inside to light up our designs.


Such a simple project -- but one that we've really enjoyed.

Happy weekend! And happy Solstice.


Salt crystal painting

Wednesday, January 9, 2013

Salt crystal crafts seem to be popping up all over the internet lately. Just in the past week or so, I've run across tutorials for making your own DIY frosted windows, growing snowflakes and icicles in a jar, and making a salt crystal garden.

Baby A. and I decided to make a few tweaks to make this activity a little more toddler friendly, and did a little salt crystal painting one afternoon earlier this week. This craft rules because it's virtually mess free and because you are guaranteed to already have everything you need for it somewhere in your house.


The first step is to mix a salt solution. The perfect ratio is about one part salt to four parts water; we found that three tablespoons of salt in a 1/4 cup of water worked best for us. (We used table salt -- you can also use Epsom salts or borax crystals, though neither of those are safe for eating).

Add the salt to the water a little bit at a time, stirring to dissolve it as completely as possible in between. When the salt stops dissolving in the solution (crystals will be floating on top of the water and will remain at the bottom of your cup), nuke it in the microwave for about 20-30 seconds (it shouldn't be too hot). Stir some more, just to mix everything one final time, then grab some black construction paper, and start painting. For the brightest results, go over your designs a few times.


Lay your paper flat to dry someplace safe and warm while the water evaporates. We left ours on top of the radiators overnight, and in the morning...


Jack Frost had been by for a visit!


Baby A's "snowflake."


We definitely aren't going to win any art awards any time soon, but we had a lot of fun with this easy, wintery craft. Next time, we'll try adding tempera paint and try painting on white paper for a colorful glittery effect.


Have you ever crafted with salt crystals? Tell us about it!

Blog Design by Nudge Media Design | Powered by Blogger